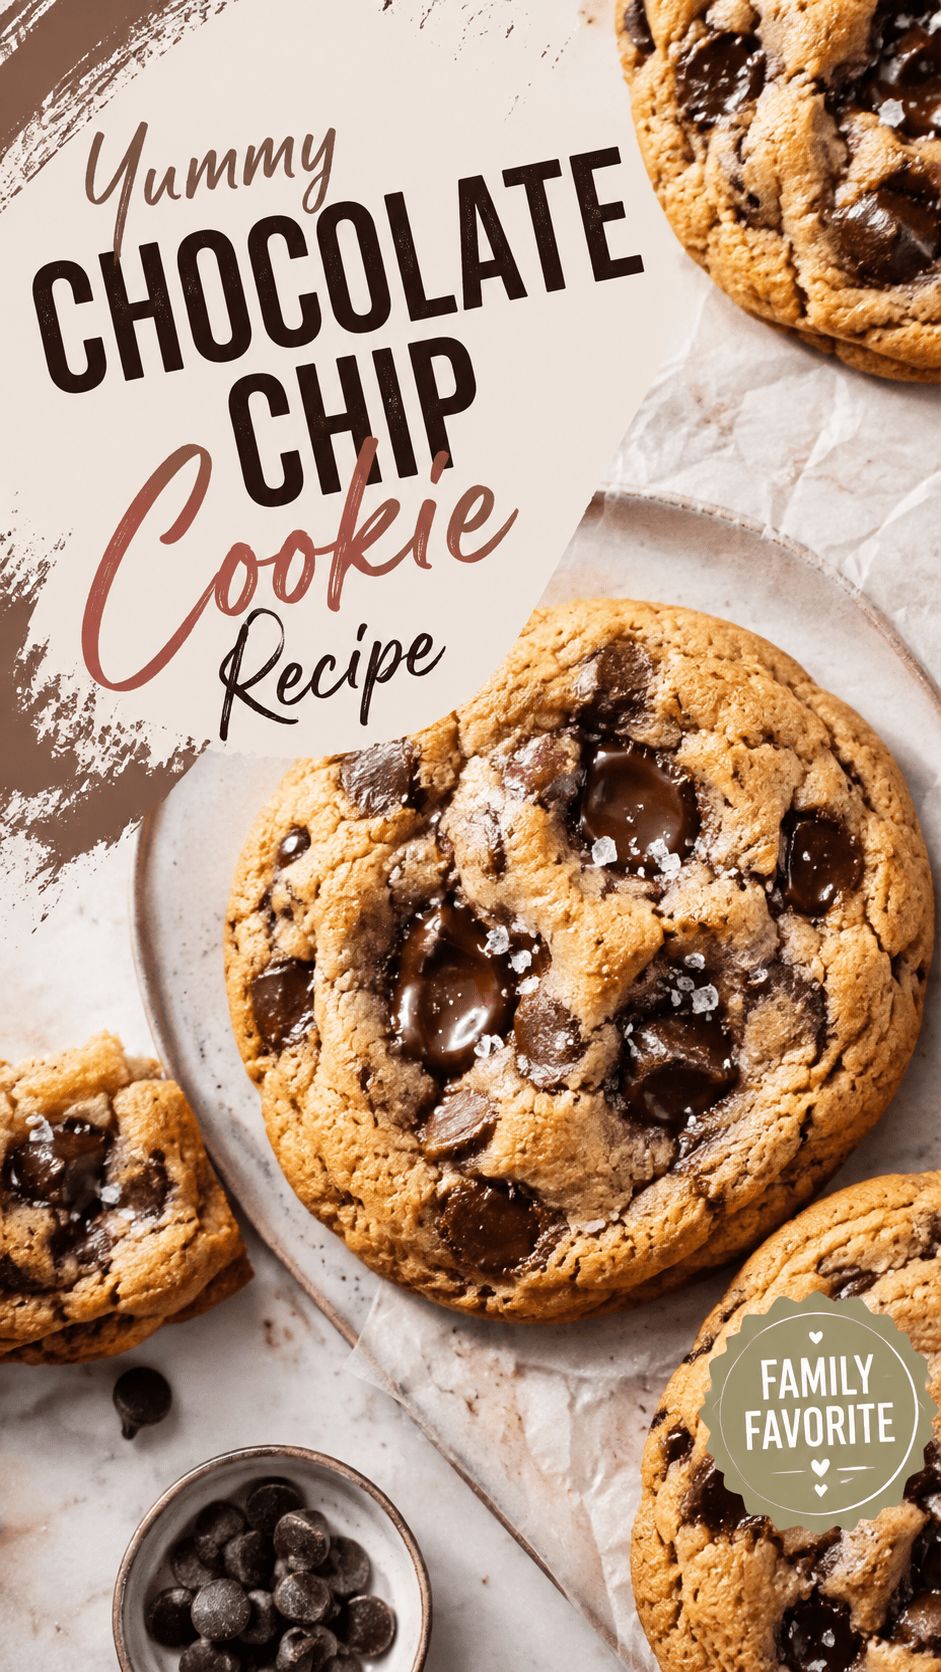
My husband once ate five of these in one sitting and tried to convince me he only had two.
I counted the crumbs. Five.
That’s the kind of reaction this chocolate chip cookie recipe gets in our house, and honestly, I get it. There’s a very specific texture I’m chasing with these: crisp on the edges, soft and almost gooey in the middle, with chocolate that’s still a little melty even after they cool.
It took me a few batches to land on it. Too much flour and you get cakey cookies. Too little chilling time and they spread into thin, crispy discs. This version splits the difference perfectly.
Silas actually requests these by name now, which is saying something because he’s not usually the type to ask for dessert twice in one week.
If you’ve been burned by dry, flat, or bland chocolate chip cookies before, this is the recipe that fixes that. Let’s get into it.
Why This Recipe Works
A few small things make a big difference here.
- Browned butter adds a nutty, deeper flavor than regular melted butter.
- More brown sugar than white sugar keeps the cookies soft and chewy instead of crisp all the way through.
- A short chill time stops the dough from spreading too thin in the oven.
- Two kinds of chocolate (chips and chunks) give you pockets of melty chocolate in every bite instead of just scattered chips.
None of these steps are complicated. They just matter.
What You’ll Need
| Ingredient | Amount |
|---|---|
| Unsalted butter | 1 cup (2 sticks) |
| Brown sugar, packed | 1 ½ cups |
| Granulated sugar | ½ cup |
| Large eggs | 2 |
| Vanilla extract | 2 teaspoons |
| All-purpose flour | 2 ¾ cups |
| Baking soda | 1 teaspoon |
| Baking powder | ½ teaspoon |
| Salt | 1 teaspoon |
| Semi-sweet chocolate chips | 1 cup |
| Chocolate chunks | 1 cup |
| Flaky sea salt (optional, for topping) | A pinch per cookie |
That’s it. Nothing fancy, nothing you can’t find at a regular grocery store.
Tools You’ll Need
- Medium saucepan (for browning the butter)
- Large mixing bowl
- Hand mixer or stand mixer
- Rubber spatula
- Cookie scoop (a 2-tablespoon size works great)
- Baking sheets
- Parchment paper
- Wire cooling rack
Pro Tips
1. Brown the butter, but don’t rush it. It takes about 5 to 7 minutes over medium heat. You’re looking for a golden-brown color and a nutty smell. Pull it off the heat right when you see brown flecks at the bottom of the pan.
2. Let the browned butter cool before mixing. If it’s still hot, it’ll scramble your eggs a little. Give it about 15 minutes on the counter.
3. Don’t skip the chill time. Even 30 minutes in the fridge makes a real difference in how these cookies hold their shape.
4. Underbake them slightly. Pull the cookies out when the edges are set but the centers still look a bit underdone. They’ll finish cooking on the hot pan.
5. Save some chocolate for the top. Press a few extra chips or chunks onto each dough ball right before baking. It makes them look bakery-style.
Step-by-Step Instructions
Brown the Butter
Add the butter to a medium saucepan over medium heat. Stir occasionally as it melts, then keep stirring as it foams and starts to turn golden brown, about 5 to 7 minutes total.
Once you see small brown bits forming at the bottom and it smells nutty, take it off the heat immediately. Pour it into a large mixing bowl and let it cool for 15 minutes.
Mix the Wet Ingredients
Add the brown sugar and granulated sugar to the cooled browned butter. Beat with a hand mixer for about 2 minutes, until the mixture looks slightly lighter and creamy.
Add the eggs one at a time, mixing well after each. Add the vanilla extract and mix again.
Add the Dry Ingredients
In a separate bowl, whisk together the flour, baking soda, baking powder, and salt.
Add the dry ingredients to the wet mixture in two batches, mixing on low speed just until combined. Don’t overmix here or your cookies will turn out tough.
Fold in the Chocolate
Switch to a rubber spatula and fold in the chocolate chips and chunks by hand.
Chill the Dough
Cover the bowl and refrigerate for at least 30 minutes. If you have time, chilling for a few hours (or overnight) actually makes the flavor even better.
Scoop and Bake
Preheat your oven to 350°F. Line your baking sheets with parchment paper.
Scoop the dough into balls using your cookie scoop and place them about 2 inches apart on the baking sheet. Press a few extra chocolate pieces on top of each one.
Bake for 10 to 12 minutes, until the edges are golden and the centers still look slightly soft.
Cool and Sprinkle
Let the cookies sit on the hot baking sheet for 5 minutes before moving them to a wire rack. Add a small pinch of flaky sea salt on top while they’re still warm, if you’re using it.
Substitutions and Variations
| Original | Swap |
|---|---|
| Semi-sweet chocolate | Dark chocolate or milk chocolate |
| All-purpose flour | 1:1 gluten-free baking flour |
| Butter | Plant-based butter for a dairy-free version |
| Chocolate chips only | Add chopped walnuts or pecans |
| Vanilla extract | Almond extract for a slightly different flavor |
| Regular sugar | Coconut sugar (results in a slightly darker cookie) |
Make Ahead Tips
This dough freezes really well, which makes it perfect for having fresh cookies on demand.
Scoop the dough into balls first, then freeze them on a baking sheet until solid. Once frozen, transfer the dough balls into a freezer bag or container.
When you’re ready to bake, you don’t even need to thaw them. Just add 1 to 2 extra minutes to the bake time straight from frozen.
The dough also keeps well in the fridge for up to 3 days if you’d rather bake a few fresh each day instead of all at once.
Estimated Nutrition
These numbers are estimates based on a standard batch of 24 cookies, and they’ll change depending on the exact brands you use.
| Nutrient | Per Cookie (approx.) |
|---|---|
| Calories | 210 |
| Total Fat | 10g |
| Carbohydrates | 28g |
| Sugar | 17g |
| Protein | 2g |
Before publishing or sharing this recipe, run the exact ingredient brands through Cronometer to get accurate figures. These are rough estimates only, not a substitute for verified nutrition data.
What to Serve These With
A glass of cold milk is the obvious answer, but here are a few other ways we like to enjoy them.
- Ice cream sandwiches. Two cookies, a scoop of vanilla ice cream in the middle.
- Warm with coffee. A slightly underbaked cookie next to a hot cup of coffee is one of my favorite afternoon breaks.
- Crumbled over yogurt. Silas does this constantly and I pretend not to judge him for it.
Leftovers and Storage
Store the cooled cookies in an airtight container at room temperature for up to 5 days. They tend to stay soft if the container is actually sealed well.
To keep them extra fresh, add a slice of plain white bread to the container. It sounds strange, but it helps keep the moisture level right.
For longer storage, freeze the baked cookies in a freezer-safe bag for up to 3 months. Let them thaw at room temperature for about 20 minutes before eating.
Frequently Asked Questions
Why did my cookies turn out flat? This usually happens when the butter was too warm when it went into the dough, or the dough wasn’t chilled long enough before baking.
Can I use regular melted butter instead of browning it? Yes, but you’ll lose that deeper, nutty flavor that makes these stand out. It’s worth the extra 5 minutes if you have the time.
Why do I need both baking soda and baking powder? Baking soda helps the cookies spread and brown, while baking powder gives them a little extra lift. Using both gets you that chewy-but-not-flat texture.
Can I make these smaller or larger? Definitely. Just adjust the bake time. Smaller cookies need about 8 to 9 minutes, larger ones might need 13 to 14.
Do I have to chill the dough? You can skip it in a pinch, but the cookies will spread more and turn out thinner and crispier instead of thick and chewy.
Can I double this recipe? Yes, this recipe doubles well. Just make sure you have enough bowl space to mix everything properly.
How do I know when they’re actually done? The edges should look set and lightly golden, but the center should still look a little underdone. They firm up as they cool on the pan.
Wrapping Up
These are the cookies I make when I want something that actually feels worth the effort, without needing a long list of specialty ingredients or fancy equipment.
Once you try the browned butter version, it’s hard to go back to the regular kind.
Give this recipe a try this week, then come back and leave a comment letting me know how they turned out. If you tried any of the substitutions above, I’d love to hear how they worked out too.
And if you have questions about any of the steps, drop them in the comments. I read every single one.