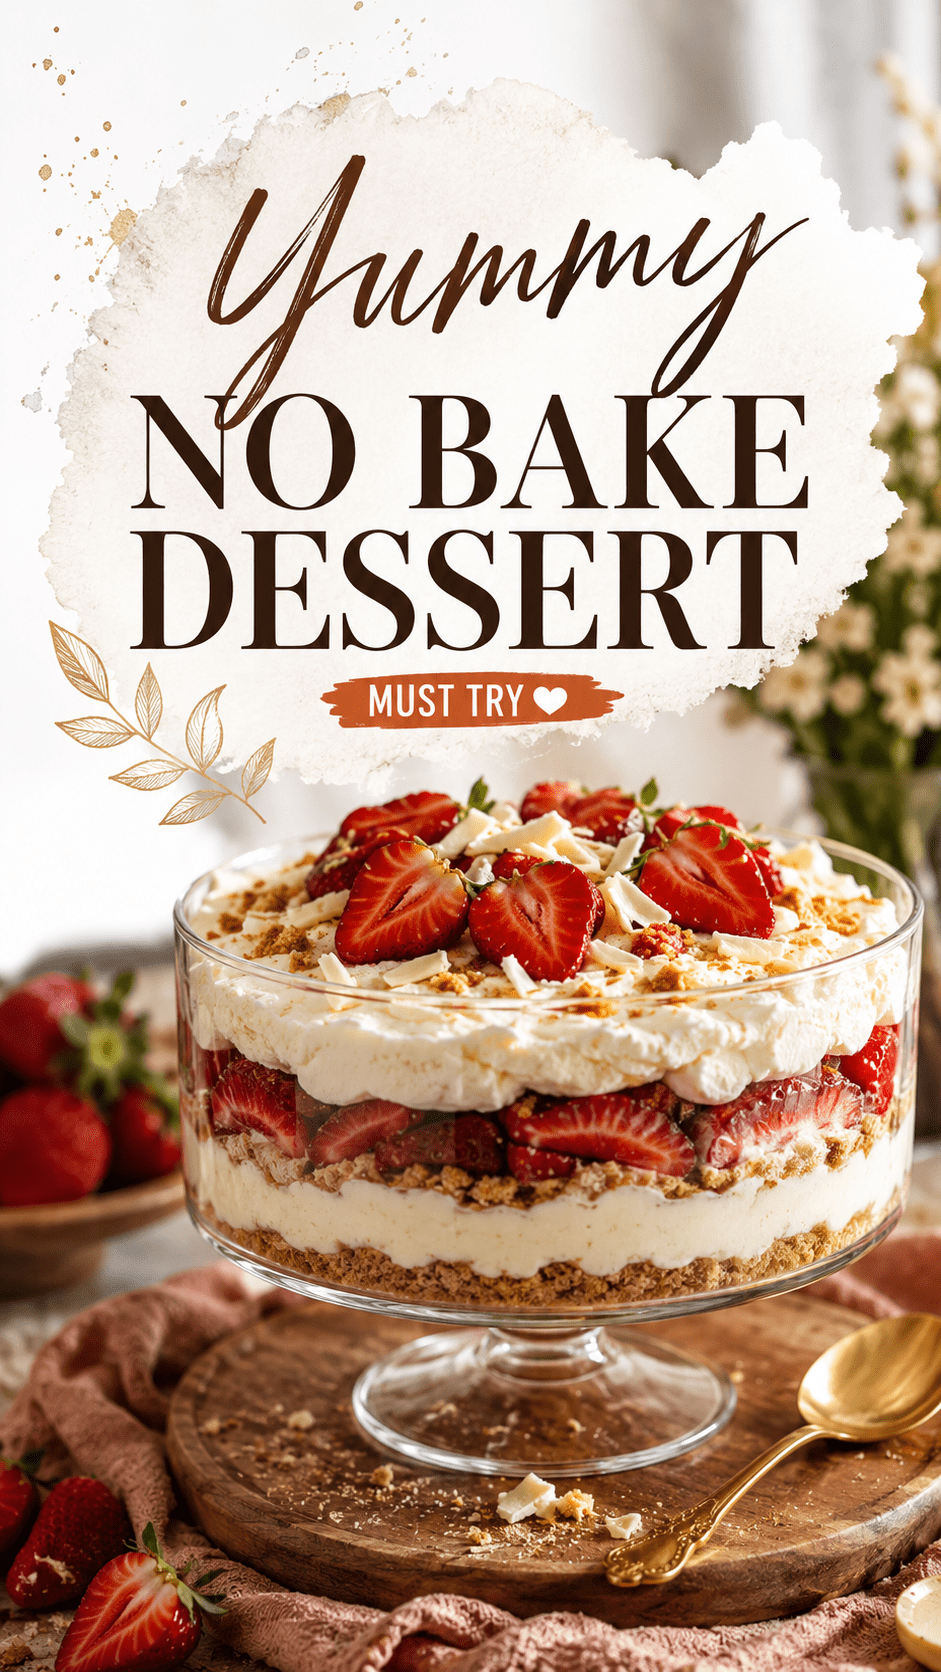
I made these on a Tuesday with zero plans and somehow ate three before dinner.
That’s the kind of dessert we’re talking about here. No oven. No waiting around for a cake to set overnight. Just a bowl, a whisk, and about 20 minutes before you’re spooning cookie butter cheesecake into your mouth.
If you’ve never had Biscoff before, buckle up. This stuff is a caramelized cookie spread that tastes like brown sugar and cinnamon had a baby. Pair it with cream cheese and you get something that feels fancy but takes almost no effort.
Let’s get into it. 🍪
What You’ll Need
Here’s everything going into these cups:
- 24 Biscoff cookies, crushed
- 1/4 cup melted butter
- 16 oz cream cheese, softened
- 1/2 cup powdered sugar
- 1 cup heavy cream, cold
- 1/2 cup smooth Biscoff cookie butter
- 1 tsp vanilla extract
- Extra crushed Biscoff cookies, for topping
- Whipped cream, for topping (optional)
That’s it. Nine ingredients, most of which you probably already have.
Tools You’ll Need
- Mixing bowls (2, one large and one medium)
- Hand mixer or stand mixer
- Rubber spatula
- Measuring cups and spoons
- Ziplock bag and rolling pin (or a food processor) for crushing cookies
- 4 to 6 small jars or cups
- Spoon for layering
Pro Tips
1. Cold cream cheese ruins the texture. Let it sit out for a solid hour before mixing. Cold cream cheese clumps and you’ll end up with lumpy cheesecake instead of that silky, spoonable layer you want.
2. Whip the cream separately first. Don’t dump everything into one bowl and hope for the best. Whip your heavy cream to stiff peaks on its own, then fold it into the cream cheese mixture. This is what gives you that light, mousse-like texture instead of something dense and heavy.
3. Save some cookies for crunch. Mix most of the crushed cookies into the crust, but hold back a spoonful to sprinkle on top later. That little crunch on top makes a huge difference.
4. Warm your cookie butter slightly. If your Biscoff spread is thick and stubborn, microwave it for 10 seconds. It’ll blend into the cream cheese mixture so much smoother.
5. Layer while everything is still soft. The mixture firms up in the fridge, so get your layers into the cups while it’s still easy to spread and smooth out.
How to Make Them
Step 1: Make the crust
Crush your Biscoff cookies into fine crumbs. A ziplock bag and rolling pin works great for this, or toss them in a food processor if you have one.
Mix the crumbs with melted butter until it looks like wet sand.
Press a spoonful into the bottom of each cup or jar. Pop them in the fridge while you make the filling.
Step 2: Whip the cream
In a separate bowl, whip your cold heavy cream until stiff peaks form. This usually takes 3 to 4 minutes with a hand mixer.
Set it aside.
Step 3: Make the cheesecake filling
Beat the softened cream cheese, powdered sugar, Biscoff cookie butter, and vanilla together until smooth and creamy.
Gently fold in the whipped cream. Don’t overmix here, you want to keep that air in there for a fluffy texture.
Step 4: Layer everything
Spoon or pipe the cheesecake mixture over your crust layer in each cup.
Repeat with another cookie layer if you’re feeling extra, then top with more filling.
Step 5: Chill
Refrigerate for at least 2 hours. Overnight is even better if you can manage the patience.
Step 6: Top and serve
Right before serving, add a dollop of whipped cream, a sprinkle of crushed Biscoff, and maybe a whole cookie stuck on top for drama.
Substitutions and Variations
Here’s how to switch things up depending on what you’ve got or what you’re craving:
| Original | Swap | Why It Works |
|---|---|---|
| Biscoff cookies | Graham crackers | Similar texture, more neutral flavor |
| Biscoff cookie butter | Peanut butter | Adds a nutty, salty twist |
| Heavy cream | Cool Whip | Faster, no whipping required |
| Cream cheese | Mascarpone | Lighter, slightly sweeter result |
| Regular jars | Mason jars with lids | Great for gifting or picnics |
Want a chocolate version? Swap in chocolate sandwich cookies for the crust and add 2 tablespoons of cocoa powder to the filling.
Make Ahead Tips
These are honestly better made a day ahead. The flavors settle and the texture firms up perfectly.
You can make the full cups up to 3 days in advance. Just hold off on the whipped cream topping until right before serving so it doesn’t deflate.
Leftovers and Storage
Cover each cup tightly with plastic wrap or a lid and store in the fridge for up to 5 days.
These don’t freeze well because the texture gets grainy once thawed, so plan to eat them within the week.
FAQ
Can I make this in one big dish instead of individual cups? Yes. Use an 8×8 dish and follow the same layering process. Just add an extra hour to the chill time since it’s a thicker layer.
Why is my filling runny? Your cream cheese was probably too warm, or the whipped cream wasn’t whipped to stiff peaks before folding it in.
Can I use low-fat cream cheese? You can, but the texture won’t be as rich or smooth. Full-fat gives you that classic cheesecake mouthfeel.
Is Biscoff the same as cookie butter? Yes, Biscoff is a brand name for cookie butter made from caramelized biscuits. You’ll find it near the peanut butter at most grocery stores.
How far ahead can I prep the crust? The crust layer can be made up to 2 days ahead and kept in the fridge before adding filling.
Wrapping Up
This is one of those desserts that looks like you spent hours on it when really you just whipped a few things together and let the fridge do the work.
Make a batch this week. Bring them to your next get-together or just keep them all to yourself, no judgment here.
Drop a comment below once you’ve made them. I want to know if you went classic Biscoff or tried one of the swaps.