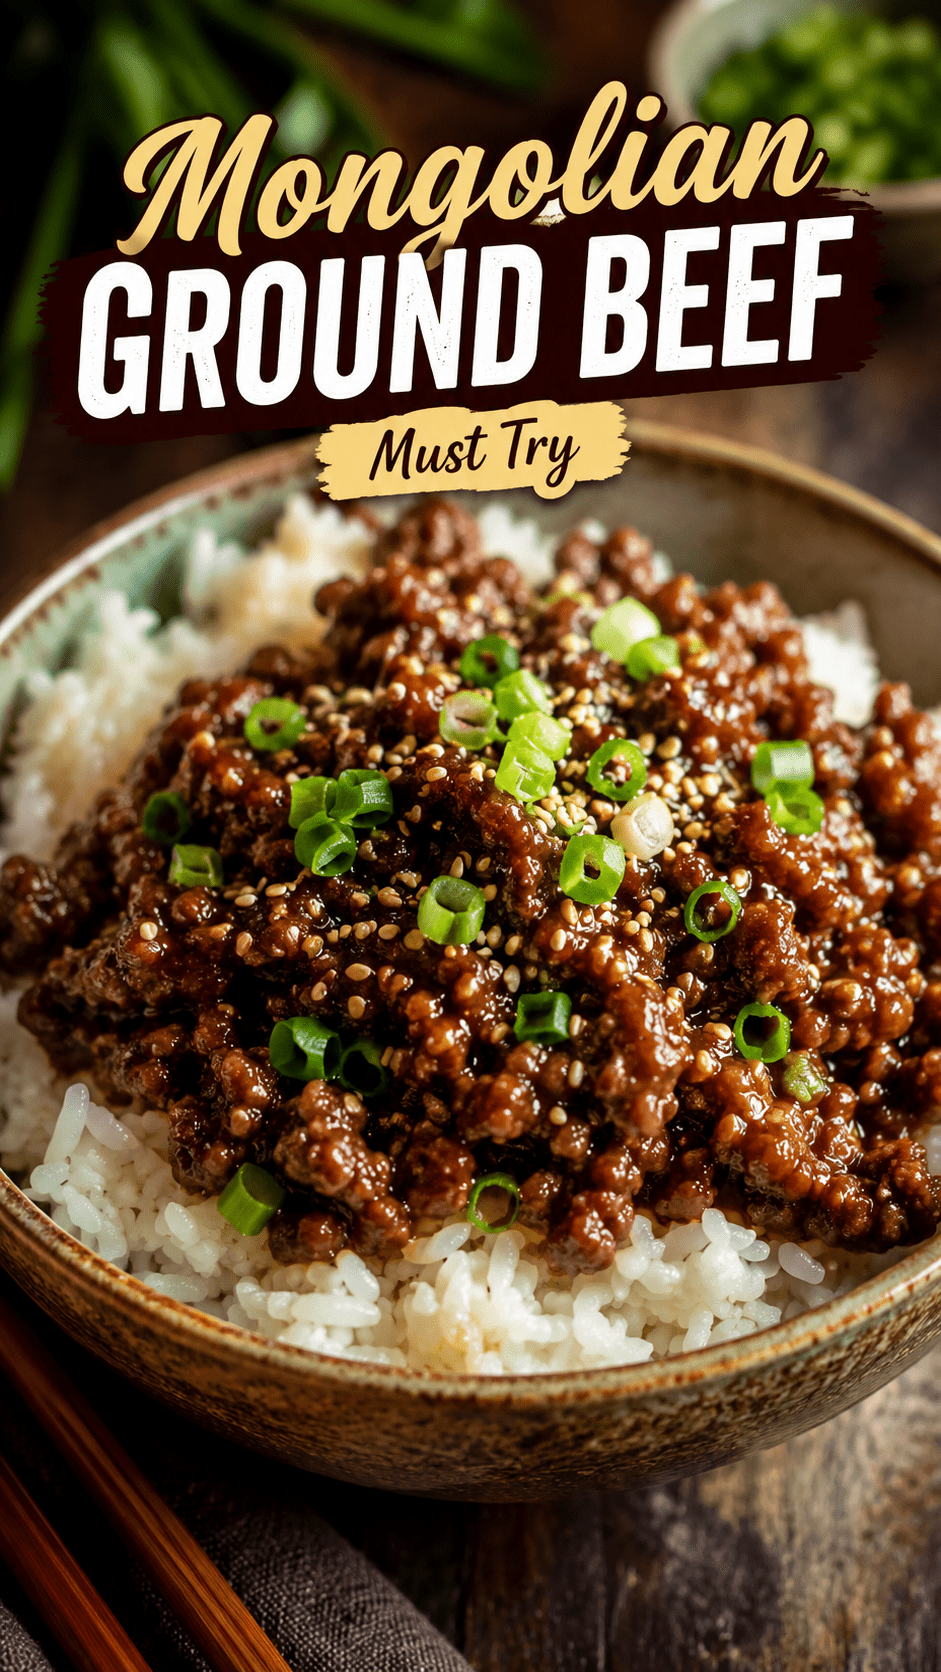
Most “Mongolian beef” you’ve ever eaten has never been anywhere near Mongolia.
I found that out a few years ago and it kind of blew my mind. The dish is widely believed to have started in Taiwanese-American restaurants, then it made its way onto American Chinese food menus everywhere. The name stuck even though it has zero real ties to Mongolian cuisine.
That fact has nothing to do with why I make this recipe every other week, though.
I make it because it’s faster than ordering takeout, costs a fraction of the price, and tastes about ten times better.
This version uses ground beef instead of sliced flank steak. No pounding meat thin, no marinating overnight, no waiting around for anything. Just one skillet, one sauce, and dinner on the table in under 20 minutes.
If you’ve only had the restaurant version with strips of beef, the ground beef version might actually surprise you. It soaks up more sauce per bite, and there’s zero risk of chewy, overcooked meat.
Homemade vs Takeout
I compared notes after making this a few times, and the gap is bigger than I expected.
| Homemade | Takeout | |
|---|---|---|
| Cost (serves 4) | Around $10 to $12 | Often $35 to $50 |
| Time | 15 to 20 minutes | 30 to 45 minutes with delivery |
| Sodium | Fully adjustable | Often over 1,000mg per serving |
| Leftovers | Reheats well | Texture changes fast |
That sodium difference alone is enough to make this a weekly thing instead of an occasional treat.
Why Ground Beef Works So Well Here
Sliced beef needs to be cut against the grain and usually marinated for at least an hour to avoid turning rubbery.
Ground beef skips all of that. It browns fast, it’s already tender by nature, and it grabs onto a glossy sauce in a way strips of steak just can’t match.
It’s also cheaper per pound, which matters on a random Tuesday when flank steak feels like overkill for one dinner.
What You’ll Need
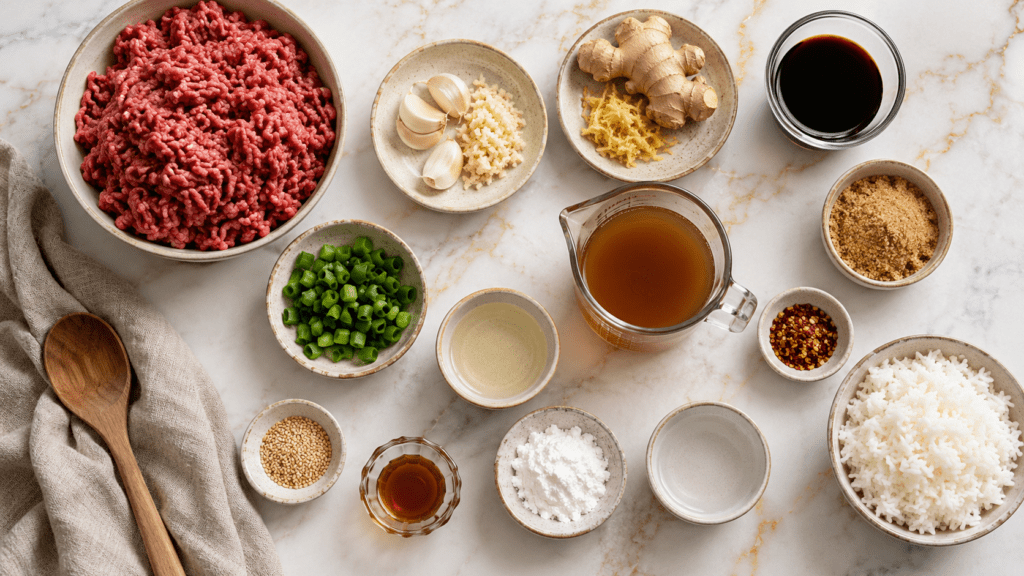
Here’s everything that goes into the pan:
- 1 lb (450g) ground beef (80/20 blend works best)
- 3 cloves garlic, minced
- 1 tablespoon fresh ginger, grated
- 1/3 cup low sodium soy sauce
- 1/3 cup brown sugar (light or dark, doesn’t matter much)
- 1/2 cup beef broth (or water in a pinch)
- 1 tablespoon cornstarch + 2 tablespoons water (this is your slurry)
- 1 tablespoon sesame oil
- 1/2 teaspoon red pepper flakes (optional, but I always add it)
- 4 to 5 green onions, sliced into 1-inch pieces
- 1 tablespoon vegetable oil, for cooking
- Sesame seeds, for garnish (optional)
- Cooked white rice, for serving
That’s the whole list. No oyster sauce, no hoisin, no specialty trip to an Asian grocery store.
One note on the 80/20 beef: the extra fat carries flavor and keeps the meat from drying out, which matters since there’s no marinade soaking in beforehand.
Tools You’ll Need
- A large skillet or wok
- A small bowl for the slurry
- Measuring cups and spoons
- A cutting board and knife
- A wooden spoon or spatula
- A pot or rice cooker for the rice
How to Make Mongolian Ground Beef
Step 1: Start your rice. Get this going first since it usually takes longer than the beef does.
Step 2: Brown the beef. Heat the vegetable oil in your skillet over medium-high heat. Add the ground beef and break it apart with your spatula as it cooks.
Cook until it’s fully browned with no pink left, about 5 to 6 minutes.
Step 3: Drain if needed. If your beef released a lot of grease, tilt the pan and spoon some out. This keeps the final sauce from turning oily later.
Step 4: Add garlic and ginger. Stir them into the beef and cook for about 30 seconds. This is the exact moment your kitchen starts smelling like a restaurant.
Step 5: Pour in the sauce base. Add the soy sauce, brown sugar, beef broth, and red pepper flakes. Stir and let it come to a gentle simmer.
Step 6: Thicken it up. Whisk your cornstarch and water together until smooth. Pour it into the pan slowly while stirring constantly.
Keep stirring for about a minute. You’ll watch the sauce go from watery to glossy right in front of you.
Step 7: Finish strong. Stir in the sesame oil and green onions. Cook for one more minute, just until the onions soften slightly but still have some bite.
Step 8: Serve immediately. Spoon it over rice and sprinkle on sesame seeds. Dinner is done, and it took less time than driving to a restaurant and back.
Pro Tips
- Don’t skip draining the fat. A greasy pan leads to a greasy sauce, and that’s what makes this taste like a cheap takeout box instead of something you made yourself.
- Use fresh ginger, not the jarred kind. It makes a bigger difference here than you’d think. Powdered ginger just can’t keep up with it.
- Add the slurry slowly while stirring. Dumping it all in at once tends to cause clumps that never fully smooth out.
- Taste before you thicken. Once the cornstarch goes in, it’s harder to adjust the sweet-to-salty balance.
- Let it simmer an extra minute for a stickier glaze. If you like your sauce thick enough to coat every grain of rice, give it 60 more seconds on the heat.
Common Mistakes to Avoid
- Cooking the beef on too low of a heat. Medium-high gets you that browned, slightly caramelized edge instead of pale, boiled-looking meat.
- Burning the garlic. It turns bitter fast once it browns too much, so 30 seconds really is enough.
- Walking away during the thickening step. This part moves fast, so stay at the stove for that one minute.
Substitutions and Variations
This recipe is forgiving, which is exactly why it’s become a weeknight regular in my house.
| Swap This | For This | Why |
|---|---|---|
| Ground beef | Ground turkey or chicken | Lighter, still soaks up sauce well |
| Brown sugar | Coconut sugar or honey | Less refined, similar sweetness |
| Soy sauce | Tamari or coconut aminos | Gluten-free friendly |
| Cornstarch | Arrowroot powder | Same thickening power |
| Plain version | Add broccoli or snap peas | Extra veggies, extra color |
Want it spicier? Double the red pepper flakes or stir in a teaspoon of chili garlic sauce.
Want a Korean-inspired twist? Add a teaspoon of gochujang along with a small drizzle of rice vinegar for a tangier finish.
Make Ahead Tips
You can mix the sauce ingredients up to 3 days ahead and keep them in the fridge in a sealed jar.
You can also brown the beef in advance and store it separately, then reheat both together with your slurry when you’re ready to eat. This turns dinner into a genuine 10 minute job.
A Few Extra Details
Nutrition (Approximate, Per Serving)
This recipe makes about 4 servings, beef and sauce only, not including rice.
| Nutrient | Approximate Amount |
|---|---|
| Calories | 320 |
| Protein | 22g |
| Fat | 19g |
| Carbs | 14g |
| Sodium | 680mg |
These numbers shift depending on your beef’s fat content and how much soy sauce you use, so treat this as a rough guide rather than an exact science.
Diet Swaps
For lower carb, skip the brown sugar for a sugar-free substitute and serve over cauliflower rice instead.
For lower sodium, use a reduced sodium soy sauce and cut the beef broth down by half.
For gluten-free, this recipe already qualifies as long as your soy sauce swap is certified gluten-free.
What to Serve It With
Steamed bok choy or sautéed green beans balance out the richness without competing with the sauce.
A quick cucumber salad with rice vinegar works well too, especially in warmer months when you want something cold and crisp next to something warm and saucy.
Time Saving Tip
Buy pre-minced garlic and pre-grated ginger paste if chopping isn’t your favorite part of cooking. It shaves a few minutes off prep without changing the flavor much at all.
Leftovers and Storage
Store leftovers in an airtight container in the fridge for up to 4 days, or freeze for about 3 months.
The sauce thickens further as it sits, so add a splash of water or broth when reheating to bring back that glossy texture.
Reheat in a skillet over medium heat, or in the microwave with a stir halfway through so it heats evenly.
FAQ
Is Mongolian beef actually a Mongolian dish? No, it’s not. It’s widely believed to have started in Taiwanese-American restaurants and later spread through American Chinese food chains, despite the name having no real ties to Mongolian cuisine.
Can I use a different protein? Ground turkey, ground chicken, or even thinly sliced flank steak all work in this same sauce without changing the method.
Why is my sauce too thin? You likely need a bit more cornstarch slurry, or it didn’t simmer long enough after going in. Give it another minute on the heat.
Why is my sauce too thick? Add a splash of broth or water to loosen it back up while it’s still warm.
Is this kid friendly? Very much so. Leave out the red pepper flakes and it’s mild enough for picky eaters while still tasting rich and savory.
Can I double the recipe? Yes, just use a bigger pan so the beef browns evenly instead of steaming in its own juices.
Why does my beef taste bland even with the sauce? This usually means it wasn’t browned long enough beforehand. A deeper brown builds flavor the sauce alone can’t add back later.
Wrapping Up
This is one of those recipes that earns a permanent spot in your weekly rotation the first time you make it.
It’s quick, it uses ingredients you probably already have, and it tastes like something you’d pay $18 for at a restaurant down the street.
Give it a try this week, and when you do, come back and leave a comment letting me know how it turned out. If you ran into any questions along the way, drop those too. I read every single one.