Silas has a habit.
The second I pull cookies out of the oven, he “just happens” to walk through the kitchen.
He’ll grab one off the rack, burn his fingers, and act shocked every single time. Every. Single. Time.
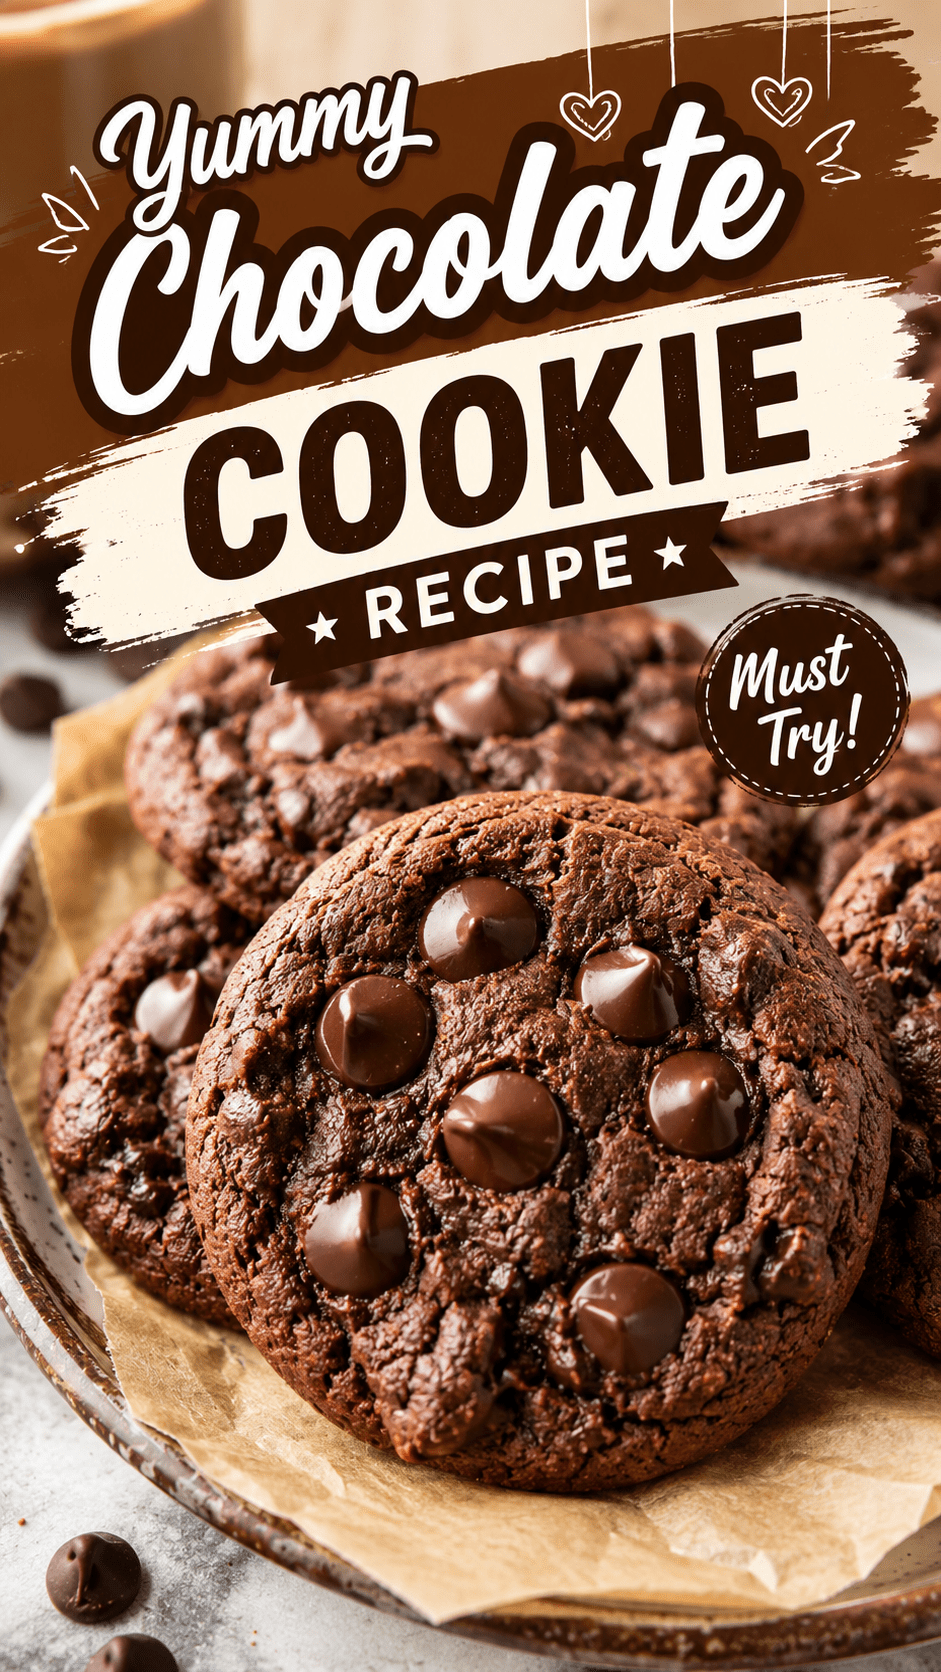
This chocolate cookie recipe is the one that gets him every time. It’s rich, it’s fudgy in the middle, and the edges have that perfect little crackle.
I’ve made a lot of chocolate cookies over the years. This one’s the keeper. 🍫
It’s simple enough for a Tuesday night and good enough that people will ask you for the recipe. Let’s get into it.
What You’ll Need
Here’s everything you’ll need to pull this off.
| Ingredient | Amount |
|---|---|
| All-purpose flour | 1 ¼ cups |
| Unsweetened cocoa powder | ¾ cup |
| Baking soda | 1 tsp |
| Salt | ½ tsp |
| Unsalted butter, softened | ¾ cup (1 ½ sticks) |
| Granulated sugar | ¾ cup |
| Brown sugar, packed | ½ cup |
| Large eggs | 2 |
| Vanilla extract | 2 tsp |
| Semi-sweet chocolate chips | 1 ½ cups |
| Flaky sea salt (optional, for topping) | A pinch per cookie |
That’s it. No weird ingredients, no last minute grocery run.
Tools You’ll Need
- Mixing bowls (one medium, one large)
- Hand mixer or stand mixer
- Measuring cups and spoons
- Rubber spatula
- Cookie scoop (or a regular spoon works fine too)
- Baking sheets
- Parchment paper
- Wire cooling rack
Pro Tips
I’ve made enough batches of these to know where people usually mess up. Here’s how to avoid it.
- Don’t skip the chill time. Even 30 minutes in the fridge keeps the cookies from spreading into thin, sad puddles.
- Slightly underbake them. Pull them out when the centers still look a little soft. They keep cooking on the hot pan for a couple minutes after.
- Use room temperature eggs. Cold eggs make the butter seize up, and that messes with the texture.
- Measure your flour correctly. Scoop it into the measuring cup with a spoon, then level it off. Scooping straight from the bag packs in too much flour and dries out the cookie.
- Add a pinch of flaky salt on top before baking. It’s a small move that makes a big difference.
How to Make These Chocolate Cookies
- Whisk your dry ingredients. In a medium bowl, whisk together the flour, cocoa powder, baking soda, and salt. Set it aside.
- Cream the butter and sugars. In a large bowl, beat the softened butter with both sugars until it’s light and fluffy. This takes about 2 to 3 minutes.
- Add the eggs and vanilla. Beat in the eggs one at a time, then mix in the vanilla extract.
- Combine wet and dry. Slowly add the dry ingredients into the wet mixture. Mix just until combined. Overmixing makes tough cookies, so stop as soon as you don’t see flour streaks.
- Fold in the chocolate chips. Use a spatula for this part so you don’t overwork the dough.
- Chill the dough. Cover the bowl and refrigerate for at least 30 minutes. An hour is even better if you have the time.
- Preheat your oven. Set it to 350°F (175°C) and line your baking sheets with parchment paper.
- Scoop and bake. Scoop the dough into balls (about 2 tablespoons each) and space them 2 inches apart. Bake for 9 to 11 minutes.
- Cool on the pan first. Let them sit on the baking sheet for 5 minutes before moving them to a wire rack. This is where the magic happens. They finish setting up here.
Substitutions and Variations
| Original | Swap | Notes |
|---|---|---|
| Semi-sweet chocolate chips | Dark chocolate chunks | Richer, less sweet flavor |
| All-purpose flour | 1:1 gluten-free flour blend | Texture stays close to the original |
| Butter | Vegan butter | Works well for a dairy-free version |
| Eggs | Flax eggs (1 tbsp flax + 3 tbsp water per egg) | Slightly denser texture |
| Chocolate chips | Chopped walnuts or pecans | Adds crunch, cuts the sweetness a bit |
| Vanilla extract | Espresso powder (½ tsp) | Deepens the chocolate flavor without tasting like coffee |
Make Ahead Tips
The dough freezes really well, which makes this an easy one to have on hand.
- Freeze the scooped dough balls on a baking sheet until firm, then transfer them to a freezer bag. They’ll keep for up to 3 months.
- Bake straight from frozen. Just add 1 to 2 extra minutes to the bake time. No need to thaw.
- Fridge storage works too. The raw dough keeps in the fridge for up to 3 days if you want to bake a few at a time.
Estimated Nutrition (Per Cookie)
These numbers are estimates based on a standard batch of 24 cookies. They’re not lab tested, so treat them as a general guide rather than an exact figure.
| Nutrient | Amount |
|---|---|
| Calories | ~150 |
| Fat | 7g |
| Carbohydrates | 20g |
| Sugar | 13g |
| Protein | 2g |
What to Serve These With
These cookies are pretty flexible when it comes to pairing.
- A cold glass of milk (the classic for a reason)
- Vanilla bean ice cream sandwiched between two cookies
- A cup of coffee if you’re having them as an afternoon treat
- Fresh berries on the side to balance out the richness
Storage and Leftovers
- Room temperature: Store in an airtight container for up to 5 days.
- Freezer: Baked cookies freeze well for up to 3 months. Just thaw at room temp for about 20 minutes.
- Reheating: Pop one in the microwave for 8 to 10 seconds to bring back that fresh-baked, gooey center.
FAQ
Why are my cookies flat? Your butter was probably too warm, or the dough didn’t get chilled long enough. Both cause spreading.
Can I double this recipe? Yes. Just double every ingredient and bake in batches so your oven doesn’t get overcrowded.
Why did my cookies turn out dry? This usually comes down to overbaking or packing too much flour into the measuring cup. Pull them out when the centers still look slightly underdone.
Can I use cocoa powder instead of melted chocolate? Yes, and that’s actually what this recipe uses. It gives a deeper, more intense chocolate flavor without the extra fat from melted chocolate.
Do I have to chill the dough? It’s not optional if you want thick cookies. Skipping this step is the number one reason cookies spread too thin.
Wrapping Up
This is one of those recipes that earns a permanent spot in your rotation.
It’s quick enough for a weeknight, but good enough to bring to a party and have people ask what your secret is.
Silas still tries to steal one before they’ve cooled. He still burns his fingers. He’d never admit it, but I think that’s half the fun for him.
Give this one a try and let me know how it goes in the comments below. I’d love to hear what mix-ins you tried or any questions you have along the way.