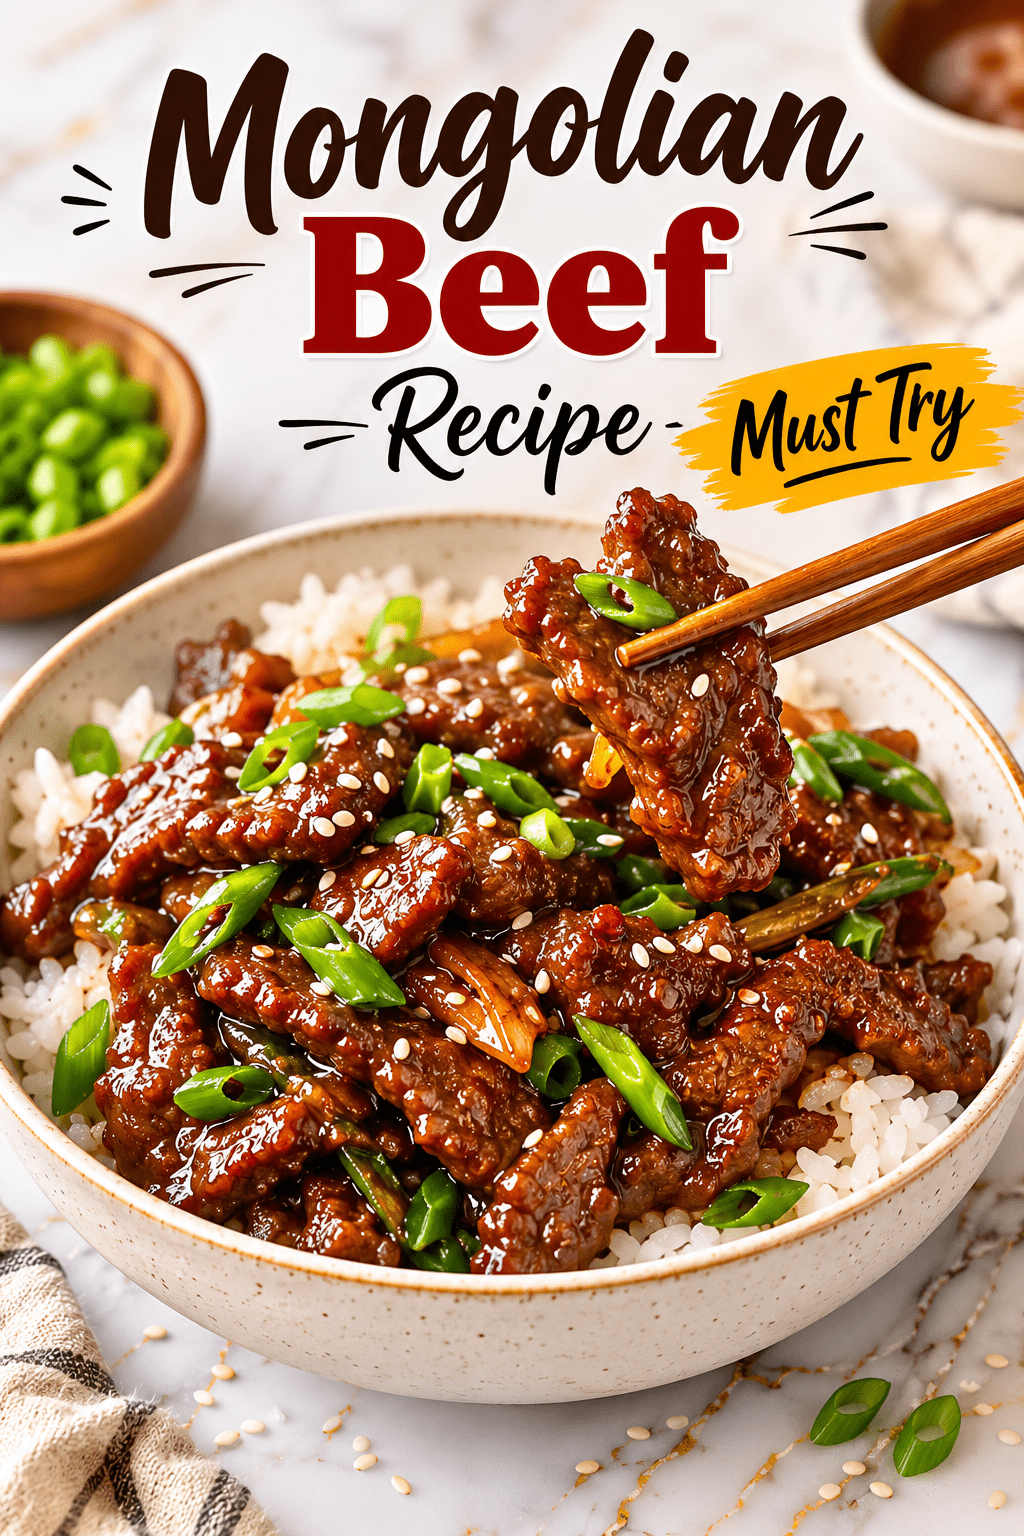
I used to think Mongolian beef was one of those dishes you just had to order from a restaurant. The sauce is so glossy, the beef is so tender, and there’s something about that savory-sweet combo that just hits differently.
Then I made it at home. And honestly? I don’t think I’ll order it again.
It’s faster than delivery, uses ingredients you probably already have, and the flavor is genuinely restaurant-level. Once you see how simple the sauce is, you’ll wonder why you ever paid $18 for it.
What Is Mongolian Beef, Actually?
Quick fun fact: Mongolian beef has almost nothing to do with Mongolia. 😄
It’s actually a dish that originated in Taiwanese restaurants in the U.S. and was inspired by Mongolian BBQ-style cooking. The name stuck, the dish became iconic, and now it’s one of the most ordered items at Chinese-American takeout spots worldwide.
The real star is the sauce. Soy sauce, brown sugar, garlic, ginger, and a little cornstarch create this deeply savory, slightly sweet glaze that coats every single strip of beef. It’s addictive in the best way.
What You’ll Need
For the Beef:
- 1 lb flank steak, thinly sliced against the grain
- ¼ cup cornstarch
- 3 tablespoons vegetable oil (for frying)
For the Sauce:
- ⅓ cup low-sodium soy sauce
- ½ cup water
- ⅓ cup packed brown sugar
- 1 tablespoon sesame oil
- 4 cloves garlic, minced
- 1 teaspoon fresh ginger, grated (or ½ tsp ground ginger)
- 1 tablespoon cornstarch (to thicken the sauce)
- 2 tablespoons water (to mix with cornstarch)
To Serve:
- 3 green onions, sliced into 1-inch pieces
- Cooked white rice or jasmine rice
- Sesame seeds (optional garnish)
Tools You’ll Need
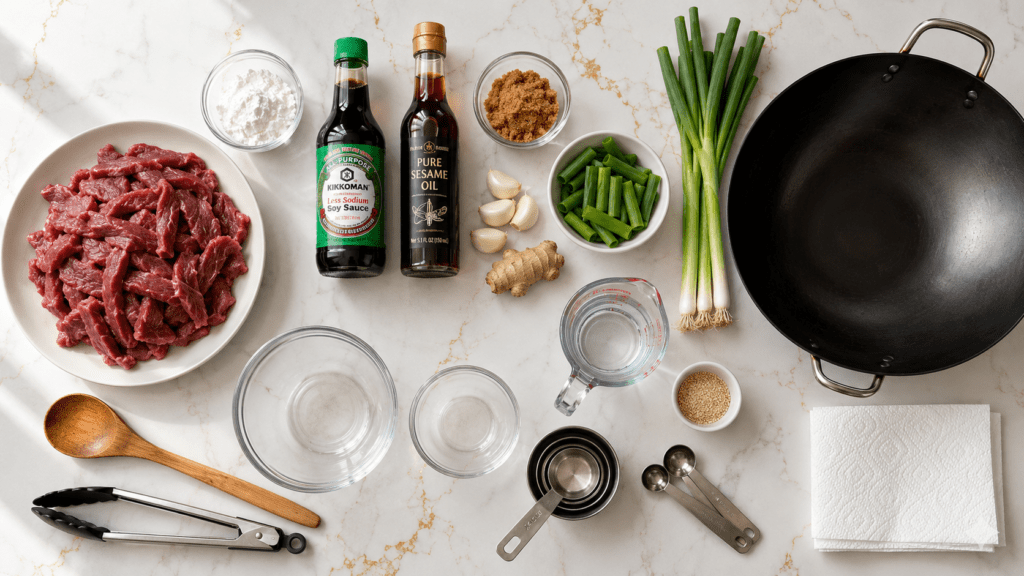
- Large skillet or wok
- Cutting board + sharp knife
- Mixing bowls (2 small)
- Tongs or a wooden spoon
- Measuring cups and spoons
- Paper towels (for patting the beef dry)
Pro Tips
These are the things that actually make a difference. Skip them and the dish still works, but follow them and it’ll be chef’s kiss.
1. Freeze the beef for 20 minutes before slicing. Cold meat is so much easier to cut thin. You want strips that are about ¼ inch thick, and slightly frozen beef makes that nearly effortless.
2. Pat the beef completely dry before coating it in cornstarch. Moisture is the enemy of a good sear. Wet beef steams instead of getting that golden, slightly crispy crust. Paper towels are your best friend here.
3. Don’t overcrowd the pan. This is the most common mistake. If you pile all the beef in at once, it’ll steam and turn gray instead of browning. Cook in two batches if you need to.
4. The sauce thickens fast. Once you add the cornstarch slurry, the sauce will go from runny to thick in about 60 seconds. Have everything ready to go so you’re not scrambling.
5. Slice against the grain. Look at the flank steak and find which direction the muscle fibers run. Cut perpendicular to those lines. It shortens the fibers and makes the beef noticeably more tender.
How to Make Mongolian Beef
Step 1: Slice and Coat the Beef
Pat the flank steak dry with paper towels. Slice it thinly against the grain into strips, roughly ¼ inch thick.
Toss the beef strips in ¼ cup of cornstarch until every piece is lightly coated. Set aside.
Step 2: Make the Sauce
In a small bowl, whisk together:
- Soy sauce
- Water (½ cup)
- Brown sugar
- Sesame oil
- Garlic
- Ginger
In a separate tiny bowl, mix 1 tablespoon cornstarch with 2 tablespoons of water to make your slurry. Set both aside.
Step 3: Cook the Beef
Heat vegetable oil in a large skillet or wok over medium-high heat until shimmering.
Add the beef in a single layer (cook in batches if needed). Let it sear for 1-2 minutes per side without touching it too much. You want a nice golden crust.
Remove the beef from the pan and set aside on a plate.
Step 4: Build the Sauce
In the same pan, pour in the sauce mixture. Bring it to a light simmer over medium heat.
Stir in the cornstarch slurry and watch it thicken up in about 1 minute.
Step 5: Bring It All Together
Add the beef back into the pan and toss to coat. Add the green onions and give everything one final stir.
Serve immediately over rice, topped with sesame seeds if you’re using them.
Total time: about 30 minutes. Yes, really.
Substitutions and Variations
Don’t have exactly what the recipe calls for? No stress.
| Ingredient | Swap |
|---|---|
| Flank steak | Sirloin, skirt steak, or even thinly sliced chicken thighs |
| Low-sodium soy sauce | Regular soy sauce (use less) or tamari for gluten-free |
| Brown sugar | Coconut sugar or honey (slightly different flavor) |
| Fresh ginger | Ground ginger (use half the amount) |
| Vegetable oil | Avocado oil or canola oil |
| Green onions | Add broccoli, bell peppers, or snap peas for a veggie boost |
Want it spicy? Add 1-2 teaspoons of chili flakes or a drizzle of chili oil when serving.
Want it saucier? Double the sauce ingredients. Honestly, no judgment. The sauce is that good.
Make-Ahead Tips
This recipe is great for meal prep. Here’s what you can do ahead of time:
- Slice the beef up to 24 hours in advance. Store in an airtight container in the fridge.
- Make the sauce (without the cornstarch slurry) up to 3 days ahead. Keep it sealed in the fridge.
- Cook the rice ahead and reheat it when you’re ready to eat.
The one thing I’d hold off on: don’t coat the beef in cornstarch until you’re ready to cook. If it sits too long, the coating gets gummy.
Nutritional Breakdown (Per Serving, Serves 4)
| Nutrient | Amount |
|---|---|
| Calories | ~380 kcal |
| Protein | 28g |
| Carbohydrates | 28g |
| Fat | 16g |
| Sodium | ~720mg |
| Sugar | 18g |
Note: These are estimates and will vary based on exact ingredients and rice portion size.
Dietary swaps:
- Gluten-free: Use tamari instead of soy sauce and check your cornstarch brand
- Lower sugar: Cut the brown sugar to 3 tablespoons
- Lower sodium: Use coconut aminos instead of soy sauce
What to Serve With Mongolian Beef
It’s perfect over steamed rice, but if you want to round out the meal:
- Steamed broccoli or bok choy alongside it
- Egg fried rice instead of plain rice for something heartier
- Cucumber salad for a fresh, cool contrast
- Spring rolls or potstickers if you’re feeding a crowd and want a full spread
Leftovers and Storage
Good news: this keeps really well.
- Fridge: Store in an airtight container for up to 4 days.
- Freezer: Freeze for up to 2 months. Thaw overnight in the fridge before reheating.
- Reheating: A skillet over medium heat works best to bring back that slightly crispy texture. Add a splash of water or soy sauce if the sauce seems too thick.
Microwave works in a pinch, but the beef won’t be as good.
FAQ
Can I use a different cut of beef?
Flank steak is ideal because it’s lean and gets tender quickly when sliced thin. Sirloin and skirt steak work well too. Avoid thick cuts like ribeye here as they won’t cook the same way.
My sauce isn’t thickening. What went wrong?
Two possible reasons: the heat is too low, or the cornstarch slurry wasn’t mixed well. Make sure you’re simmering the sauce (not just warming it), and give the slurry a good stir right before adding it to the pan.
Can I make this without a wok?
Completely fine. A large skillet or even a wide cast iron pan works great. The key is high heat and enough space so the beef can brown instead of steam.
Is this actually spicy?
Not at all in this version. It’s savory and sweet. If you want heat, add chili flakes or a spoonful of chili garlic sauce.
Can I double the recipe?
Yes, but cook the beef in even smaller batches. Overcrowding is the main thing to watch for when scaling up.
What does “slicing against the grain” mean?
Look at the surface of the flank steak and you’ll see lines running in one direction. Those are muscle fibers. Slice perpendicular to those lines (crossing them), not parallel. It makes the beef dramatically more tender.
Wrapping Up
Mongolian beef is one of those recipes that feels impressive but takes almost no effort once you know the steps.
The glossy sauce, the tender beef, the green onions, the rice… it’s a complete meal that you can pull off on a weeknight without breaking a sweat. And once you make it at home, the takeout version will honestly start to feel unnecessary.
Give it a try this week and let me know how it goes in the comments below! I’d love to hear if you made any swaps or additions, and if you have questions about any of the steps, drop them down there too.