I found out I was out of baking powder at 7:45 on a Saturday morning, mid-pancake-batter, with a hungry husband sitting at the counter already holding a fork.
Silas does not do well with delayed breakfast. It’s a whole personality shift.
So I did what any slightly panicked food blogger does. I stared into the pantry and started problem solving.
Turns out you don’t need baking powder for fluffy pancakes at all. You need science, a little vinegar, and about six extra minutes.
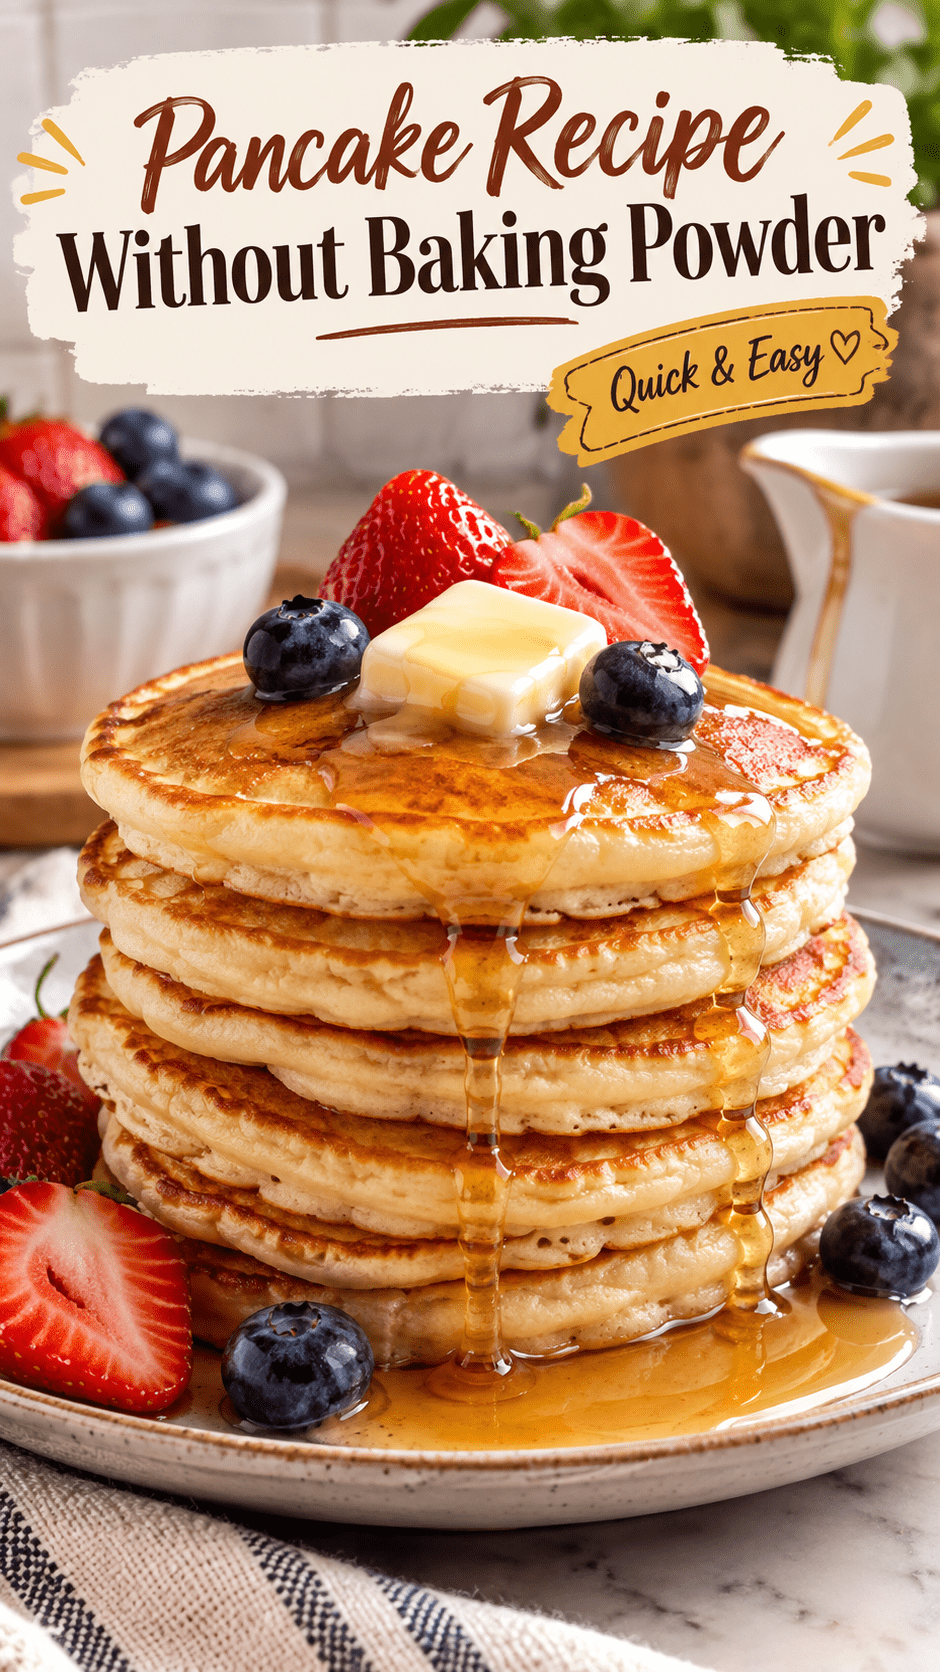
These pancakes came out taller and fluffier than my usual recipe. Silas ate five and asked why I don’t make them like this every time. 😅
I’m not saying it was a happy accident. I’m saying I’ll take the win.
Here’s the thing about baking powder. It’s really just baking soda mixed with a powdered acid, pre-measured for convenience.
So when you run out, you haven’t actually run out of the ability to make pancakes rise. You just need to bring your own acid to the party.
Once I realized that, the panic turned into an actual plan. And the plan turned into the best pancakes I’ve made in months.
Why This Recipe Works
Baking powder gets a lot of credit for pancake fluff, but it’s not the only way to get lift.
Baking soda plus an acid does the same job. When they meet, they create carbon dioxide bubbles, and those bubbles are what puff up your pancakes in the pan.
For the acid, we’re using buttermilk (or a quick DIY version with milk and vinegar). It also adds a slight tang that makes these taste more like a diner pancake than a boxed mix.
The second trick: whipped egg whites folded in at the end. This adds a second layer of air into the batter, so even if your baking soda reaction isn’t perfect, you’ve still got lift backing it up.
Two systems working together beats one system working alone. That’s really the whole secret here.
What You’ll Need
| Ingredient | Amount |
|---|---|
| All-purpose flour | 1 ½ cups |
| Baking soda | 1 teaspoon |
| Salt | ½ teaspoon |
| Sugar | 2 tablespoons |
| Buttermilk (or 1 ½ cups milk + 1 ½ tablespoons vinegar) | 1 ½ cups |
| Eggs, separated | 2 large |
| Unsalted butter, melted and cooled | 3 tablespoons |
| Vanilla extract | 1 teaspoon |
| Butter or oil for the pan | As needed |
Quick note: if you don’t have buttermilk, don’t run to the store. Stir 1 ½ tablespoons of white vinegar or lemon juice into 1 ½ cups of regular milk. Let it sit for 5 minutes. It’ll look slightly curdled. That’s exactly what you want.
Tools You’ll Need
- Two mixing bowls (one large, one medium)
- Whisk
- Hand mixer or a lot of patience for whipping egg whites
- Rubber spatula
- Non-stick skillet or griddle
- Measuring cups and spoons
- Ladle or ¼ cup measuring cup for portioning batter
Pro Tips
- Don’t overmix the batter. Lumpy batter makes fluffy pancakes. Smooth batter makes flat, sad ones. Stir until the flour just disappears and stop.
- Let the batter rest for 5-10 minutes before cooking. This gives the baking soda time to start reacting and lets the flour relax, which means a softer pancake.
- Fold the egg whites in gently. You spent all that time whipping air into them. Don’t beat it back out with an aggressive stir.
- Medium-low heat, not medium-high. Pancakes need time to cook through before the outside burns. If your first pancake browns too fast, turn the heat down.
- Wait for the bubbles. Flip when bubbles form across the surface and the edges look set, not shiny. That’s the visual cue that it’s ready, not a timer.
How to Make Pancakes Without Baking Powder
Step 1: Mix the Dry Ingredients
In a large bowl, whisk together the flour, baking soda, salt, and sugar. Set aside.
Step 2: Separate the Eggs
Crack the eggs and separate the whites from the yolks into two different bowls. Set the whites aside for now.
Step 3: Mix the Wet Ingredients
In the bowl with the egg yolks, whisk in the buttermilk, melted butter, and vanilla.
Step 4: Combine Wet and Dry
Pour the wet mixture into the dry mixture. Stir with a spatula just until combined. A few lumps are fine. Set the bowl aside to rest for 5-10 minutes.
Step 5: Whip the Egg Whites
While the batter rests, whip the egg whites with a hand mixer until soft peaks form. This takes about 2-3 minutes. You’ll know they’re ready when they hold a floppy peak on the whisk.
Step 6: Fold Everything Together
Gently fold the whipped egg whites into the batter using a rubber spatula. Use a scooping, turning motion instead of stirring. Stop as soon as no white streaks remain.
Step 7: Heat the Pan
Warm a non-stick skillet or griddle over medium-low heat. Add a small pat of butter and let it melt without browning.
Step 8: Cook the Pancakes
Pour about ¼ cup of batter per pancake onto the skillet. Cook for 2-3 minutes, until bubbles form across the top and the edges look matte.
Step 9: Flip and Finish
Flip and cook for another 1-2 minutes, until golden brown on both sides and cooked through in the center.
Step 10: Repeat and Serve
Repeat with the remaining batter, adding more butter to the pan as needed. Serve warm.
Substitutions and Variations
| Original | Swap | Notes |
|---|---|---|
| All-purpose flour | Whole wheat flour | Use half whole wheat for a heartier pancake without losing all the fluff |
| Buttermilk | Plain yogurt thinned with milk | Same acidity, slightly thicker batter |
| Sugar | Honey or maple syrup | Reduce buttermilk by 1 tablespoon to balance the extra liquid |
| Butter | Coconut oil | Adds a mild coconut flavor, works great with tropical toppings |
| Vanilla extract | Almond extract | Use half the amount, it’s stronger |
| Regular milk | Oat milk or almond milk | Still works for the vinegar trick, just check the label for added sugar |
Make-Ahead Tips
You can mix the dry ingredients up to a week ahead and store them in an airtight container on the counter. That saves you a few minutes on busy mornings.
The wet ingredients and egg whites should be handled fresh, right before cooking. Whipped egg whites lose their air fast, so don’t whip them the night before.
If you want fully cooked pancakes ready to go, see the freezing instructions below.
Estimated Nutrition (Per Pancake, Makes About 10)
| Nutrient | Amount |
|---|---|
| Calories | 140 |
| Protein | 4g |
| Carbohydrates | 17g |
| Fat | 6g |
| Sugar | 4g |
| Sodium | 190mg |
These numbers are estimates. Please verify using a tool like Cronometer with the actual brands you use before relying on them for dietary needs.
What to Serve With These Pancakes
- Warm maple syrup and a pat of butter, obviously
- Fresh berries and a dusting of powdered sugar
- A dollop of Greek yogurt for extra protein
- Crispy bacon on the side, because Silas insists
- A drizzle of peanut butter warmed until pourable
Storage and Reheating
Fridge: Store cooled pancakes in an airtight container for up to 4 days.
Freezer: Lay pancakes flat on a baking sheet until frozen solid, then transfer to a freezer bag. They’ll keep for up to 2 months.
Reheating: Pop them in the toaster straight from the fridge or freezer for the crispiest edges. A microwave works too, about 20-30 seconds per pancake, but you’ll lose some of that crisp edge.
FAQ
Can I use lemon juice instead of vinegar? Yes. It works the same way and adds a very faint citrus note that most people won’t even notice.
Why are my pancakes flat even with baking soda? Old baking soda loses its power over time. If yours has been open for more than six months, it might not be strong enough to give you real lift.
Can I skip whipping the egg whites? You can, but the pancakes will be noticeably less fluffy. If you’re short on time, whisk the whole eggs in with the wet ingredients instead of separating them.
Do I have to use buttermilk? No. The milk and vinegar trick works just as well and takes 5 minutes to make at home.
Can I make these dairy-free? Yes. Use a plant-based milk with the vinegar trick and swap the butter for a dairy-free alternative or coconut oil.
Why did my batter turn out too thick or too thin? Flour measurements vary a lot depending on how you scoop it. If your batter feels too thick, add a splash more milk. Too thin, add a tablespoon of flour at a time.
Can I make the batter the night before? It’s not ideal. The baking soda starts reacting as soon as it hits the buttermilk, so most of the lift will fizzle out overnight. Mix the dry ingredients ahead, but save the wet ingredients for morning.
Wrapping Up
Running out of baking powder used to feel like a full breakfast emergency in my house. Now it’s just an excuse to make this version instead.
Give it a try this weekend and let me know in the comments how it turned out. I want to know if your household has a Silas too, the kind who requires food within minutes of waking up.
And if you tweak the recipe with your own twist, tell me about that as well. I’m always up for stealing a good idea.