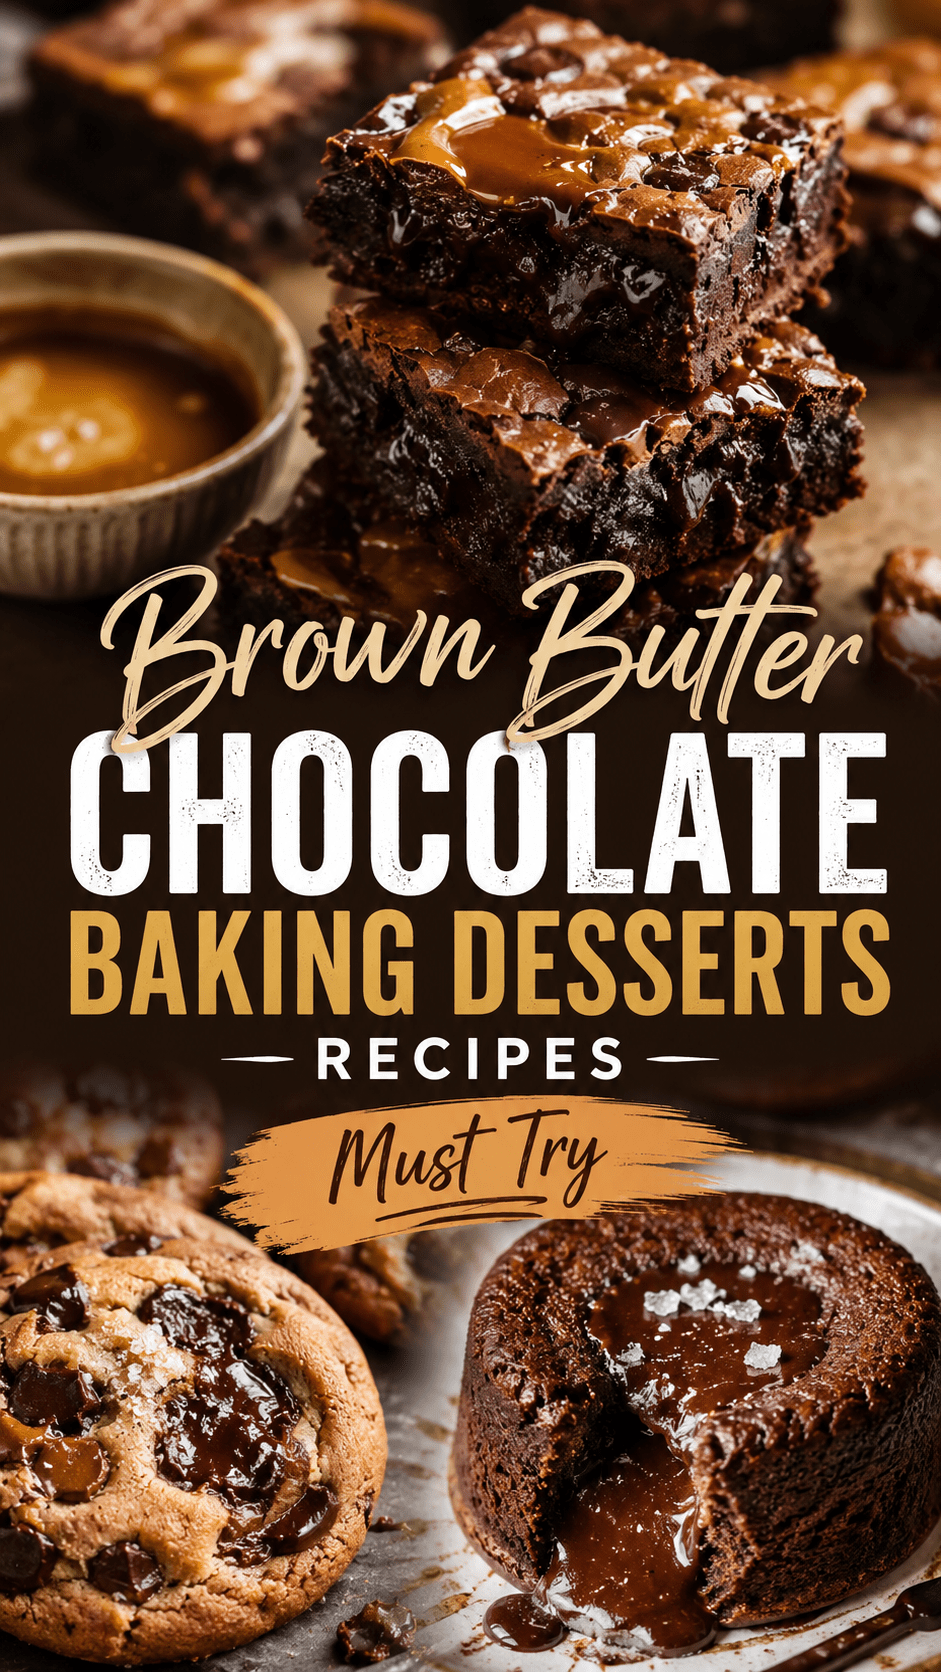
Brown Butter Chocolate Baking Desserts Recipes
You’re going to make these once and then wonder why you ever settled for the standard recipe.
Brown butter chocolate chip cookies sound fancy, but they’re just a slightly more intentional version of something you already know. The difference? Nutty, caramel-like depth from browning the butter that takes a 10-minute cookie into something that people genuinely ask you for the recipe.
And here’s the part that surprises most people: the technique is barely harder than melting butter on the stove.
So grab your pan and let’s get into it.
What You’ll Need
Dry Ingredients
- 2 ¼ cups (280g) all-purpose flour
- 1 teaspoon baking soda
- 1 teaspoon fine sea salt
- 1 tablespoon cornstarch
Wet Ingredients
- 1 cup (2 sticks / 227g) unsalted butter
- 1 cup (200g) light brown sugar, packed
- ½ cup (100g) granulated white sugar
- 2 large eggs + 1 egg yolk (room temperature)
- 2 teaspoons pure vanilla extract
Mix-Ins
- 1 ½ cups (255g) semi-sweet chocolate chips or chopped chocolate
- Flaky sea salt for topping (like Maldon)
Tools Required
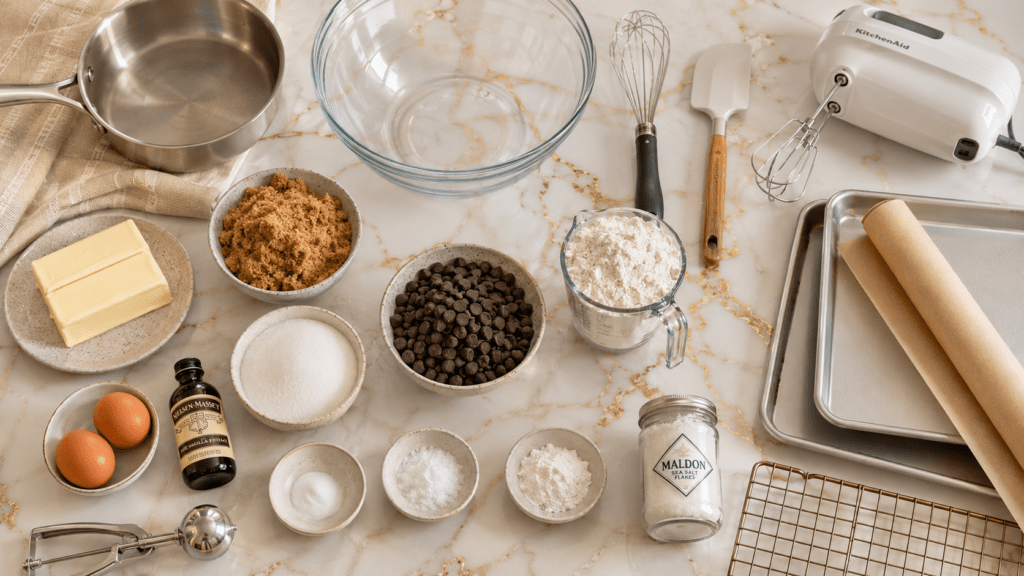
- Medium light-colored saucepan (light = easier to see when butter browns)
- Large mixing bowl
- Whisk
- Rubber spatula
- Electric hand mixer or stand mixer
- Cookie scoop or tablespoon
- Two baking sheets
- Parchment paper
- Wire cooling rack
- Plastic wrap (for chilling the dough)
Pro Tips
These are the things no one tells you the first time that make all the difference:
- Use a light-colored pan for browning butter. Dark pans make it nearly impossible to see when the butter shifts from golden to burnt. A stainless steel or enameled pan gives you visibility and control.
- Don’t skip the chill time. 30 minutes minimum, 24 to 72 hours for deeper flavor. Cold dough = thicker cookies that don’t spread into sad, flat discs. This is the single step most people skip and then wonder why their cookies look different from the photos.
- Brown your butter more than you think. A lot of recipes stop at “lightly golden.” Go further. Wait for those brown bits at the bottom and the nutty, almost popcorn-like smell. That’s where the flavor lives.
- Underbake by 2 minutes. Pull them out when the edges are set but the centers still look a little underdone. They’ll continue cooking on the hot pan for a few minutes after you take them out of the oven, and the result is a perfectly gooey center every time.
- Tap the pan. Right when they come out of the oven, lift the pan a few inches and drop it on the counter. This creates those crinkled, bakery-style tops. It’s a small move that makes a big visual difference.
Substitutions and Variations
No brown sugar on hand? Mix 1 cup white sugar with 1 tablespoon molasses and call it a day.
Salted butter instead of unsalted? Use it, but skip the added salt in the recipe. You’ll be fine.
Egg-free? Substitute the 2 eggs and 1 yolk with 3 tablespoons of aquafaba (the liquid from a can of chickpeas) plus 1 tablespoon cornstarch. The texture won’t be identical but it gets very close.
Want to mix up the chocolate? Go half semi-sweet, half dark chocolate for a more complex flavor. Or use roughly chopped chocolate bars instead of chips — the uneven pieces melt differently and create little pockets of chocolate throughout the cookie.
Add-in ideas:
- Toasted walnuts or pecans (½ cup)
- A teaspoon of espresso powder to intensify the chocolate flavor
- A handful of toffee bits for extra caramel depth
Make-Ahead Tips
This dough is actually better made in advance.
- Refrigerate up to 72 hours. The longer the dough chills, the more the flavors develop. You’ll notice a real difference between a 30-minute chill and a 48-hour chill.
- Freeze the dough balls. Scoop and portion the dough, place on a parchment-lined tray, freeze until solid (about 2 hours), then transfer to a zip-top bag. Bake straight from frozen — just add 2 to 3 minutes to the bake time.
- Freeze baked cookies too. Let them cool completely, then freeze in a single layer before storing. They reheat well in a 300°F oven for about 5 minutes.
Nutritional Breakdown (Per Cookie, based on 24 cookies)
| Nutrient | Amount |
|---|---|
| Calories | ~220 kcal |
| Total Fat | 11g |
| Saturated Fat | 7g |
| Carbohydrates | 29g |
| Sugar | 18g |
| Protein | 3g |
| Sodium | 130mg |
Note: These numbers will vary based on the size of your cookies and specific brands used.
Meal Pairing Suggestions
These cookies work with way more than just milk (though milk is still the right call most of the time).
- Vanilla bean ice cream sandwiched between two cookies
- A scoop of coffee or caramel ice cream on the side
- Hot chocolate on a winter evening
- A glass of cold brew if you’re more of a coffee person
How to Make Brown Butter Chocolate Chip Cookies
Step 1: Brown the Butter
Add the butter to a light-colored saucepan over medium heat. Stir frequently with a rubber spatula.
The butter will foam, then settle, then foam again. Keep going. After about 5 to 7 minutes, you’ll see golden brown bits forming at the bottom of the pan and it’ll start to smell nutty and toasty.
Pull it off the heat immediately and pour it into a large mixing bowl. Don’t leave it in the hot pan — it’ll keep cooking and can burn fast.
Let it cool for 10 to 15 minutes before moving on.
Step 2: Mix the Wet Ingredients
Add both sugars to the browned butter and whisk until combined and slightly glossy.
Add the eggs, egg yolk, and vanilla extract. Whisk vigorously for about 60 seconds until the mixture looks lighter in color and slightly thickened. This step builds structure into your cookie.
Step 3: Add the Dry Ingredients
Sift or whisk together the flour, baking soda, salt, and cornstarch in a separate bowl.
Fold the dry ingredients into the wet mixture using a rubber spatula. Mix until just combined — stop as soon as you don’t see any dry flour streaks.
Fold in the chocolate chips.
Step 4: Chill the Dough
Cover the bowl with plastic wrap and refrigerate for at least 30 minutes. An overnight chill (up to 72 hours) gives you the absolute best results.
Step 5: Preheat and Scoop
When ready to bake, preheat your oven to 375°F (190°C). Line two baking sheets with parchment paper.
Scoop dough into balls, roughly 2 tablespoons each. Place them about 2 inches apart on the prepared baking sheets.
Sprinkle a small pinch of flaky sea salt on top of each one.
Step 6: Bake
Bake for 10 to 12 minutes, until the edges are set and golden but the centers still look soft and slightly underdone.
Remove from the oven, lift the pan a few inches, and drop it flat onto the counter once or twice for those crinkled tops.
Let cookies cool on the pan for 5 minutes before transferring to a wire rack.
Leftovers and Storage
- Room temperature: Store in an airtight container for up to 5 days. A slice of bread in the container keeps them soft (the cookies absorb moisture from the bread).
- Refrigerator: Up to 10 days, though the texture is best at room temperature.
- Freezer (baked): Up to 3 months in a freezer-safe bag. Reheat at 300°F for 5 minutes.
- Freezer (dough): Up to 3 months. Bake straight from frozen, adding 2 to 3 minutes to bake time.
FAQ
Why do my cookies spread too much?
Almost always one of three things: butter was too warm when you mixed the dough, you didn’t chill the dough long enough, or your baking soda is old. (Old baking soda is a sneaky one — if yours has been open for more than 6 months, grab a new one.)
Can I use bread flour instead of all-purpose?
You can. Bread flour has more protein which creates a chewier texture. It’s a subtle difference but a good one if you like a slightly denser cookie.
Do I have to use the extra egg yolk?
You don’t have to, but the yolk adds fat and richness that makes the cookies noticeably softer. It’s worth the extra step.
My butter burned. What do I do?
Start over. Burnt butter has a bitter, acrid taste that doesn’t bake out. It’s a 10-minute process — it’s worth getting it right.
Can I make these gluten-free?
A 1:1 gluten-free flour blend works decently here. Bob’s Red Mill 1-to-1 is a reliable option. The texture will be slightly different but still very good.
Why cornstarch?
It softens the texture of the cookie. Think of it as an insurance policy for a tender crumb. It’s a small amount but it does a lot.
Wrapping Up
Once you make these, plain chocolate chip cookies are going to feel like a downgrade. 😄
The browned butter is the move. It adds this warmth and depth that you can’t get any other way, and once you know the technique, you’ll start putting it in everything.
These are the cookies people request for birthdays. The ones you bring to a gathering and leave with an empty container. The ones your family texts you about a week later.
Now it’s your turn. Make a batch, chill the dough overnight if you can, and see what you think.
Drop a comment below and tell me how they turned out. And if you tweaked anything, made a substitution that worked really well, or have a burning question, I want to hear it. 👇