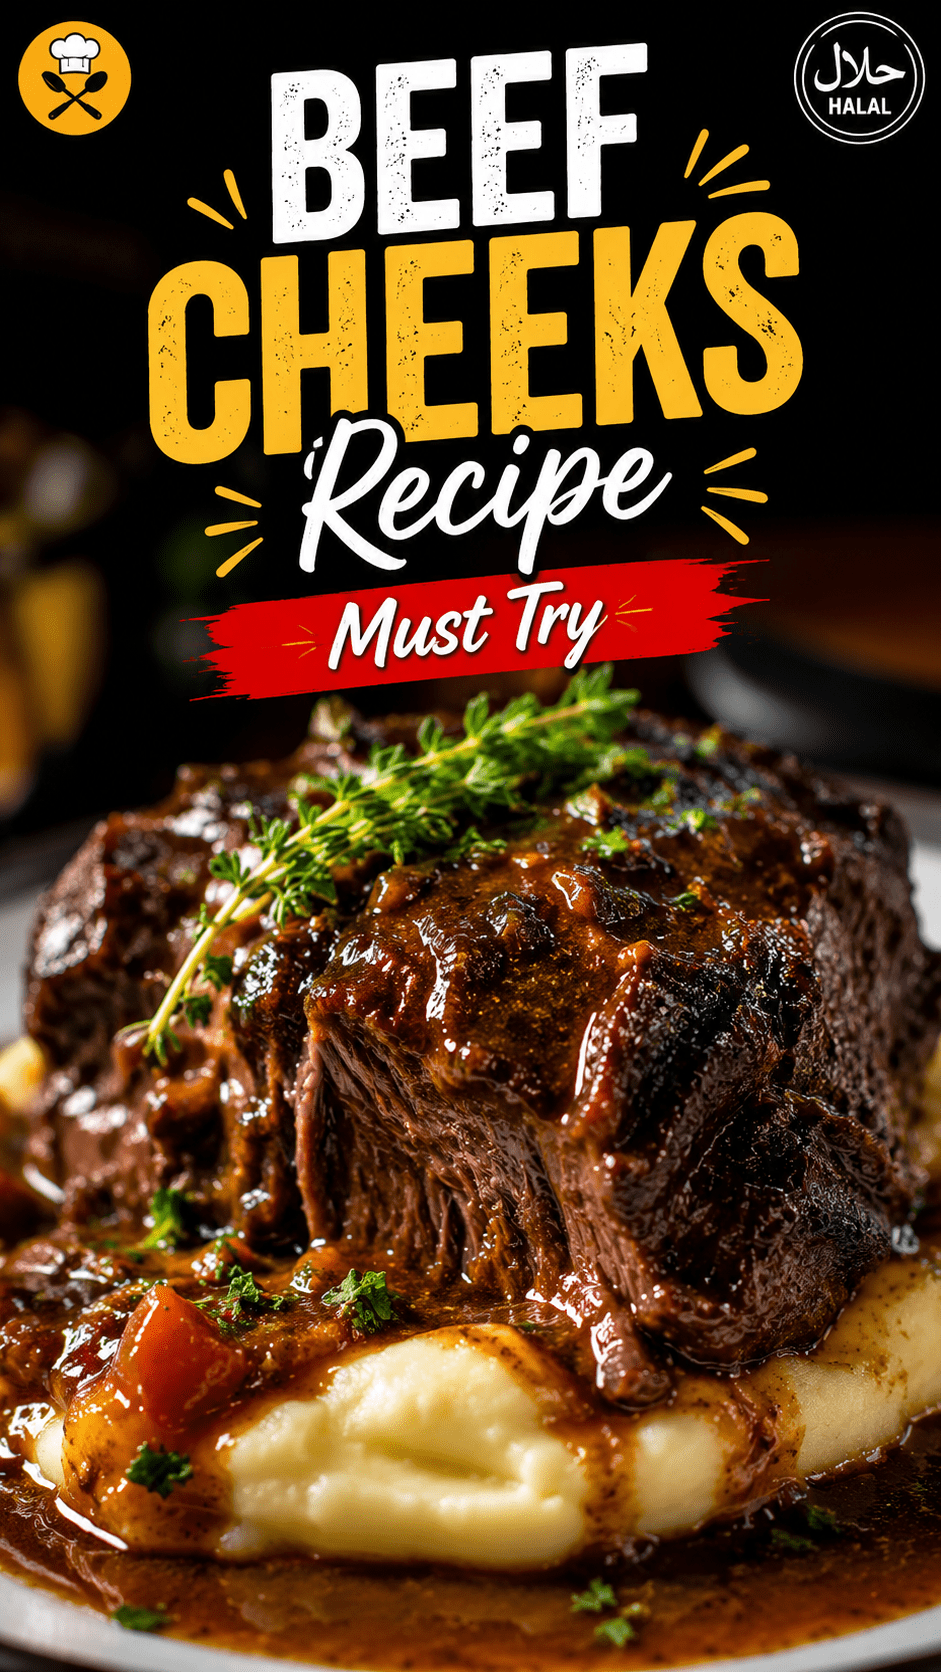
The Beef Cheeks Recipe That Made My Husband Ask for Thirds
You’ve probably walked past beef cheeks at the butcher a dozen times without giving them a second glance.
That’s actually a mistake.
Because once you slow-cook them low and slow in red wine and aromatics, they turn into something so tender, so ridiculously rich, that you’ll be wondering why you ever settled for a regular pot roast.
This is the kind of meal that makes your whole house smell incredible for hours. The kind that has people hovering around the kitchen asking, “Is it ready yet?” every 20 minutes.
And the kicker? It requires almost zero effort. 🙌
What Makes Beef Cheeks So Special?
Here’s something that surprises most people: beef cheeks are one of the hardest working muscles on the animal.
Because cows spend all day chewing, those cheek muscles get a serious workout. That means they’re packed with collagen — and when you apply long, low heat, all of that collagen melts down into gelatin.
The result is meat so soft you can cut it with a spoon. Seriously.
And that gelatin? It’s what makes the braising liquid turn into a naturally thick, glossy sauce without any cornstarch tricks.
The flavor is deeply beefy — richer than a brisket, more complex than a chuck roast. Once you’ve had it, regular beef just feels a little underwhelming.
What You’ll Need
For the Beef Cheeks
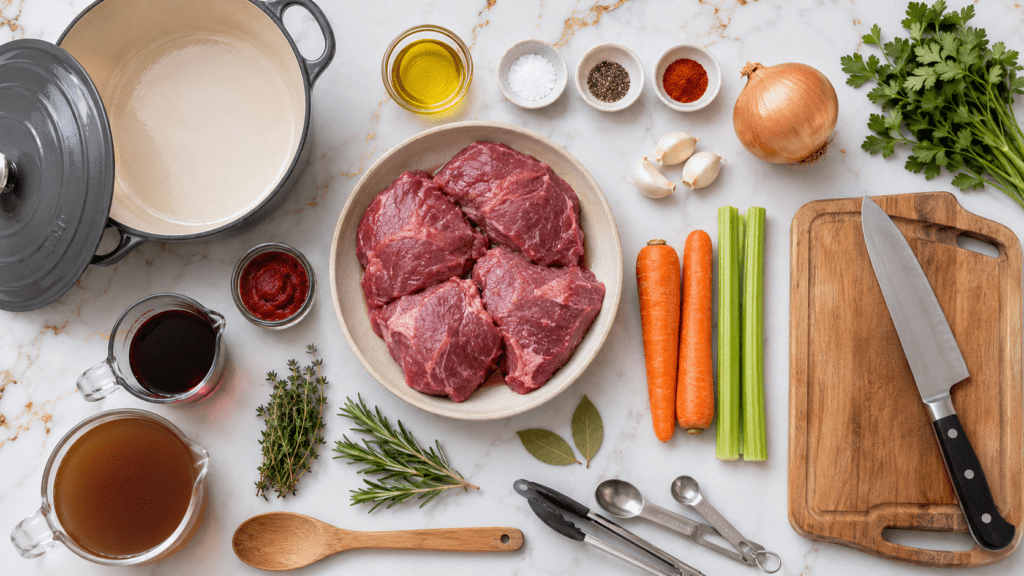
- 2 lbs (900g) beef cheeks, trimmed of excess fat
- 2 tbsp olive oil
- 1 tsp salt
- 1 tsp black pepper
- 1 tsp smoked paprika
For the Braise
- 1 large onion, roughly chopped
- 3 cloves garlic, smashed
- 2 medium carrots, cut into chunks
- 2 stalks celery, cut into chunks
- 2 tbsp tomato paste
- 1 cup (240ml) dry red wine (Cabernet Sauvignon or Shiraz work great)
- 2 cups (480ml) beef stock
- 2 sprigs fresh thyme
- 2 sprigs fresh rosemary
- 2 bay leaves
For Serving
- Creamy mashed potatoes or soft polenta
- Fresh parsley, chopped
- Crusty bread (optional but highly recommended)
Tools You’ll Need
- Dutch oven or heavy-bottomed oven-safe pot (at least 5-quart capacity)
- Sharp chef’s knife
- Cutting board
- Wooden spoon or silicone spatula
- Measuring cups and spoons
- Tongs
- Oven mitts
Pro Tips
These are the things that actually make a difference — and nobody tells you until after your first attempt.
- Trim but don’t over-trim. Beef cheeks have a layer of silver skin and fat. Remove the thick, tough silver skin, but leave some fat — it adds flavor and keeps the meat moist during the long braise.
- Sear properly or don’t bother. A deep, dark crust on the outside is not just for looks. It builds serious flavor in the braising liquid. Pat the meat completely dry before searing and don’t crowd the pan.
- Low and slow wins every time. The sweet spot is 300°F (150°C) for 3 to 3.5 hours. Cranking the heat to speed things up will give you tough, dry meat. Patience is genuinely the secret ingredient here.
- Let the sauce reduce. Once the meat is done, remove it and let the braising liquid simmer on the stovetop for 10-15 minutes. It goes from thin to glossy and restaurant-quality without any extra thickeners.
- Make it a day ahead if you can. Beef cheeks taste even better the next day. The flavors meld overnight in the fridge and the texture gets even silkier when gently reheated.
Substitutions and Variations
Not every ingredient is non-negotiable. Here’s what you can swap:
| Original | Substitution |
|---|---|
| Red wine | Extra beef stock + 1 tbsp balsamic vinegar |
| Fresh thyme + rosemary | 1 tsp dried thyme + ½ tsp dried rosemary |
| Beef cheeks | Short ribs, oxtail, or chuck roast |
| Olive oil | Vegetable oil or avocado oil |
| Beef stock | Chicken stock (lighter flavor) |
Want a different flavor profile?
- Add a cinnamon stick and star anise for a subtle warmth.
- Throw in a few dried porcini mushrooms for a deeper, earthier sauce.
- Use dark beer instead of red wine for a slightly bitter, malty braise.
Make-Ahead Tips
Beef cheeks are genuinely better made ahead, which makes them a perfect dinner party dish.
- 1 day ahead: Braise completely, let cool, refrigerate in the braising liquid. Reheat gently in the oven at 300°F covered for 30-40 minutes.
- 2-3 days ahead: The flavor only improves. Keep the meat submerged in the sauce while storing.
- Freezer: Freeze fully cooked beef cheeks in the braising liquid for up to 3 months. Thaw overnight in the fridge.
Nutritional Information (Per Serving)
Approximate values based on 4 servings, meat and sauce only.
| Nutrient | Amount |
|---|---|
| Calories | ~420 kcal |
| Protein | 38g |
| Fat | 24g |
| Carbohydrates | 6g |
| Collagen/Gelatin | High (great for joints and skin) |
| Iron | ~30% of daily value |
For specific diets:
- Gluten-free: This recipe is naturally gluten-free. Just double-check your beef stock label.
- Dairy-free: The braise itself contains no dairy. Just swap butter in the mashed potatoes for olive oil or a dairy-free alternative.
- Low-carb/Keto: Skip the potatoes and serve over cauliflower mash or steamed greens.
Pairs well with:
- Creamy mashed potatoes (the classic)
- Soft polenta with parmesan
- Buttered egg noodles
- A simple rocket (arugula) salad to cut through the richness
- A glass of the same red wine you cooked with
How to Make Beef Cheeks
Step 1: Prep the Meat
Pat the beef cheeks completely dry with paper towels.
Mix the salt, pepper, and smoked paprika together, then rub all over the meat.
This step matters. Dry meat sears. Wet meat steams. And you want that sear.
Step 2: Sear the Beef Cheeks
Preheat your oven to 300°F (150°C).
Heat 2 tbsp olive oil in your Dutch oven over medium-high heat until shimmering.
Add the beef cheeks and sear for 3-4 minutes per side without moving them. You’re looking for a deep, mahogany-brown crust on every surface.
Remove and set aside. Don’t clean the pot — those brown bits on the bottom are flavor gold.
Step 3: Build the Aromatics
Lower the heat to medium.
Add the onion, carrots, and celery to the same pot. Cook for 5-6 minutes, stirring occasionally, until they soften slightly and pick up some color.
Add the garlic and cook for another minute.
Stir in the tomato paste and cook for 2 minutes — this caramelizes it slightly and removes the raw edge.
Step 4: Deglaze with Wine
Pour in the red wine.
Using your wooden spoon, scrape up all those browned bits from the bottom of the pot. That’s the flavor you want in your sauce.
Let the wine bubble and reduce for 3-4 minutes.
Step 5: Braise Low and Slow
Add the beef stock, thyme, rosemary, and bay leaves.
Nestle the beef cheeks back into the pot. The liquid should come about halfway up the meat — not fully submerged.
Bring to a gentle simmer, then cover tightly and transfer to the oven.
Cook for 3 to 3.5 hours, turning the meat once halfway through, until the beef cheeks are fork-tender and almost falling apart.
Step 6: Finish the Sauce
Remove the beef cheeks and set aside, covered loosely with foil.
Discard the herb sprigs and bay leaves.
Place the Dutch oven on the stovetop over medium heat and simmer the braising liquid for 10-15 minutes until it reduces to a glossy, sauce-like consistency.
Taste and adjust seasoning.
Step 7: Serve
Plate the beef cheeks over your mashed potatoes or polenta.
Spoon the sauce generously over the top.
Finish with a scatter of fresh parsley and get ready for people to ask you for the recipe.
Leftovers and Storage
The leftovers might genuinely be better than the original meal.
- Refrigerator: Store in an airtight container submerged in the braising liquid for up to 4 days.
- Reheating: Warm gently in a covered pot over low heat. Add a splash of beef stock if the sauce looks too thick.
- Freezer: Freeze in the sauce for up to 3 months. Thaw in the fridge overnight.
- Leftover ideas: Shred the beef and use it in tacos, on crusty sandwiches, over pasta, or in a pie filling.
FAQ
Can I make this in a slow cooker?
Yes. After searing the meat and building the aromatics on the stovetop, transfer everything to your slow cooker. Cook on LOW for 8-9 hours or HIGH for 5-6 hours. Reduce the sauce separately on the stovetop after.
Can I use beef cheeks from frozen?
You can, but thaw them fully in the fridge first. Cooking from frozen will affect the sear and the final texture.
My sauce is too thin — what do I do?
Just keep simmering it on the stovetop with the lid off. It will reduce and thicken naturally. If you’re in a hurry, mix 1 tsp cornstarch with 2 tsp cold water and stir it into the simmering sauce.
Can I make this without wine?
Absolutely. Replace the wine with an equal amount of beef stock plus 1 tbsp balsamic vinegar. The flavor will be slightly lighter but still delicious.
How do I know when the beef cheeks are done?
When a fork slides in with zero resistance and the meat feels like it wants to fall apart. If you hit any resistance, it needs more time. There’s no shortcut here — undercooked is worse than overcooked.
What’s the best cut to use if I can’t find beef cheeks?
Beef short ribs are the closest substitute. They have similar collagen content and respond beautifully to the same braising method. Chuck roast also works but will be slightly less rich.
Wrapping Up
If you’ve never made beef cheeks before, this is the recipe that’s going to change that.
It’s low effort, high reward, and the kind of dish that makes a regular Tuesday feel like a dinner party.
The long braise does all the heavy lifting while you do basically nothing — and then you get to serve something that looks and tastes like it took serious skill.
Give this a go and then come back and tell me how it turned out in the comments below. I’d love to know if you made any substitutions, what you served it with, or whether your family hovered around the kitchen the whole time asking if it was ready yet. 😄
Drop any questions down there too — I’m always happy to help troubleshoot.