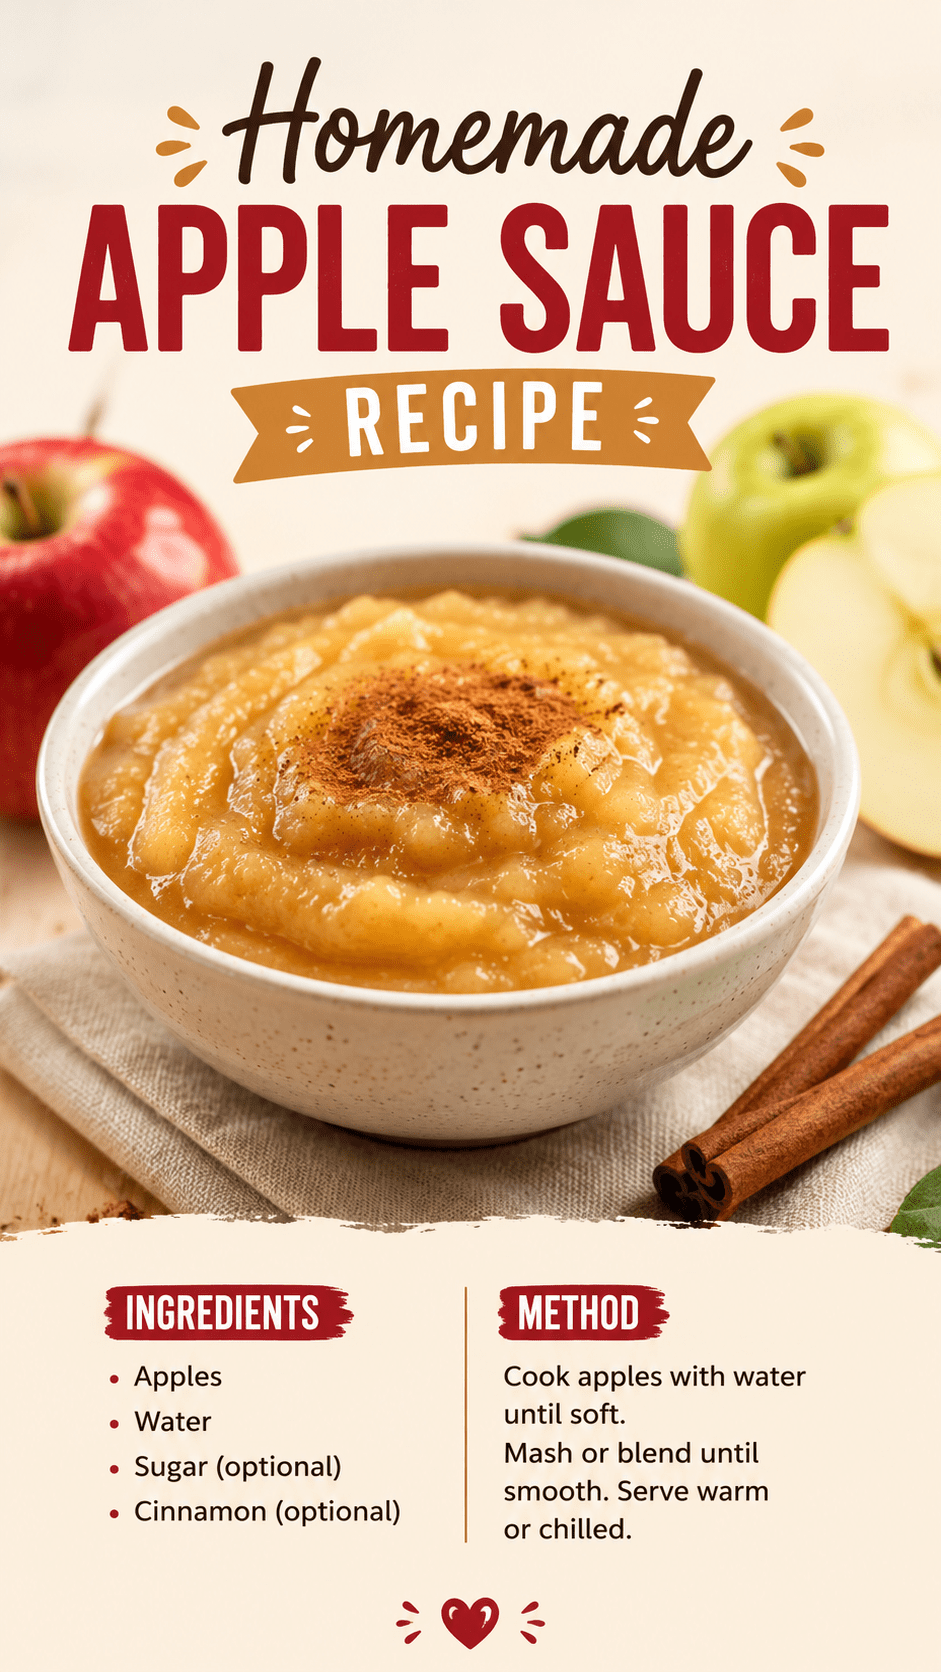
You’ve had applesauce before. The kind that comes in a little plastic cup and tastes vaguely of apples and sugar.
This is not that.
Homemade applesauce is the kind of thing that smells so good while it’s cooking, your whole kitchen turns into a fall candle. And once you taste it? You’ll wonder why you ever bought the store-bought stuff in the first place.
It takes about 30 minutes, uses less than 10 ingredients, and you can make a huge batch and use it all week. On oatmeal, on pancakes, as a snack, or honestly just eaten warm straight from the pot with a spoon. No judgment.
Here’s everything you need to know to make it perfectly the first time.
What You’ll Need
For the Applesauce:
- 6 medium apples (about 2.5 lbs) — a mix of sweet and tart works best (try Honeycrisp + Granny Smith)
- 1/4 cup water
- 2 tablespoons lemon juice (freshly squeezed)
- 2 tablespoons brown sugar (adjust to taste)
- 1 teaspoon ground cinnamon
- 1/4 teaspoon ground nutmeg
- Pinch of salt
- 1/2 teaspoon pure vanilla extract (optional but really good)
Tools You’ll Need
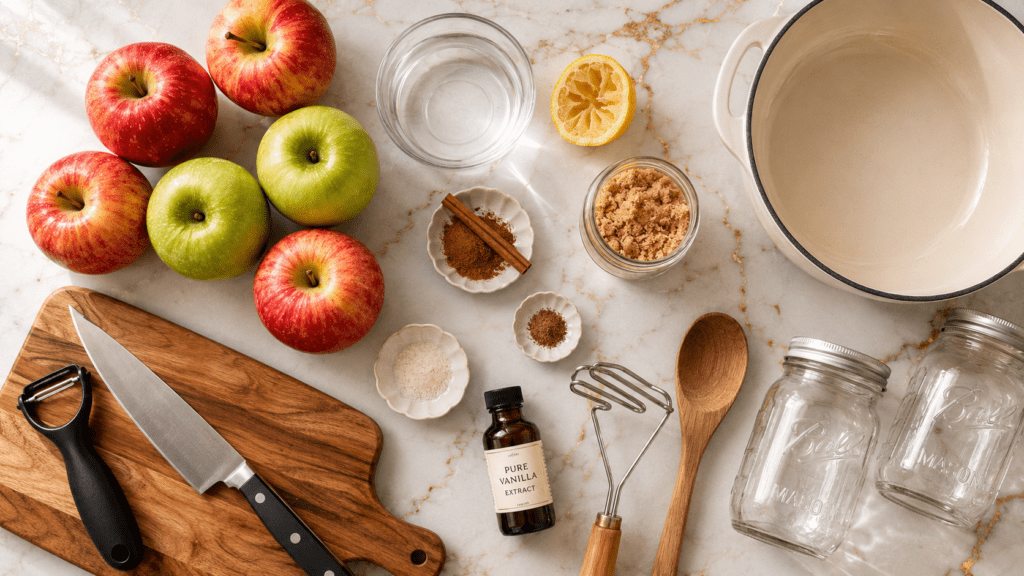
- Large heavy-bottomed pot or Dutch oven
- Vegetable peeler
- Cutting board and sharp knife
- Potato masher OR immersion blender (depending on how smooth you want it)
- Wooden spoon or silicone spatula
- Measuring cups and spoons
- Airtight glass jars or containers for storage
Pro Tips
These are the things I wish someone had told me before I made my first batch:
- Mix your apple varieties. Using one type of apple gives you a flat, one-note flavor. A sweet apple (like Honeycrisp or Fuji) + a tart apple (like Granny Smith or Braeburn) gives you that layered, complex taste that makes people ask “wait, what’s in this?”
- Go easy on the water. Apples release a lot of liquid as they cook. Start with just 1/4 cup. You can always add more, but you can’t take it out, and watery applesauce is sad applesauce.
- Taste and adjust at the end. Don’t add all the sugar at the start. Cook the apples first, taste the natural sweetness, then add sugar little by little. Some apple varieties barely need any.
- Don’t over-blend. If you want a rustic, chunky texture, use a potato masher. If you want smooth, use an immersion blender in short pulses. The moment it starts looking like baby food, stop.
- Salt is not optional. Just a pinch. It sounds weird in a sweet recipe but it makes every other flavor pop. Trust the process.
Substitutions and Variations
Apple swaps:
- Don’t have Honeycrisp? Try Gala, Fuji, or Golden Delicious for sweetness
- Braeburn or Pink Lady work well as the tart component
Sugar swaps:
- Maple syrup instead of brown sugar for a deeper, more caramel-like flavor
- Coconut sugar if you want a lower-glycemic option
- Skip it entirely if your apples are sweet enough (Fuji especially)
Spice it up:
- Add a pinch of cardamom for something a little unexpected
- Swap cinnamon for apple pie spice if you have it on hand
- Add fresh ginger (about 1/2 teaspoon grated) for a warm, slightly spicy kick
Make it chunky: Skip the blender entirely and just mash roughly with a fork
Make it smooth: Use a regular blender or food processor after cooking (let it cool slightly first)
Make Ahead Tips
This is one of those recipes that genuinely gets better after a day in the fridge. The flavors deepen and the texture settles.
- Make a double or triple batch on Sunday and you’re set for the whole week
- It keeps in the fridge for up to 10 days in an airtight container
- Freeze it in small portions (ice cube trays work great) for up to 3 months — perfect for pulling out single servings
How to Make It
Step 1: Prep the Apples
Peel, core, and chop your apples into rough 1-inch chunks. They don’t have to be perfect — they’re all going to break down anyway.
Step 2: Get the Pot Going
Add the chopped apples, water, lemon juice, and a pinch of salt to your pot. Set the heat to medium and cover with a lid.
Step 3: Cook Until Soft
Let everything cook for 15 to 20 minutes, stirring occasionally. You’ll know it’s ready when the apples are completely soft and starting to fall apart on their own.
The smell at this point is honestly incredible. 🍂
Step 4: Add the Flavors
Once the apples are soft, take the pot off the heat. Add the brown sugar, cinnamon, nutmeg, and vanilla extract if using.
Stir everything together and let it sit for 2 minutes so the sugar dissolves.
Step 5: Mash or Blend
Here’s where you decide your texture:
- Chunky: Use a potato masher and mash to your liking
- Smooth: Use an immersion blender right in the pot, or transfer to a regular blender
Step 6: Taste and Adjust
Give it a taste. Need more sweetness? Add a little more sugar. More spice? Add another pinch of cinnamon. More brightness? A tiny squeeze of lemon juice.
This step matters. Get it exactly where you want it.
Step 7: Serve or Store
Serve warm immediately, or let it cool and transfer to jars for the fridge.
Nutritional Breakdown
(Per 1/2 cup serving, approximate)
| Nutrient | Amount |
|---|---|
| Calories | ~85 kcal |
| Carbohydrates | ~22g |
| Sugar | ~16g (mostly natural from apples) |
| Fiber | ~2.5g |
| Fat | 0g |
| Sodium | ~15mg |
| Vitamin C | ~8% Daily Value |
Diet-friendly notes:
- Naturally vegan and gluten-free
- Paleo-friendly if you skip the added sugar
- Works great as an oil or egg substitute in baking (1/4 cup = 1 egg, or replaces equal parts of oil)
Meal Pairing Suggestions
A few of my favorite ways to use a batch of this:
- On oatmeal in the morning with a drizzle of peanut butter
- Stirred into plain Greek yogurt with granola
- On top of fluffy pancakes instead of syrup (honestly better)
- As a side with pork chops — it’s a classic pairing for a reason
- With sharp cheddar and crackers — sweet and salty and very good
- Swirled into overnight oats — prep Sunday, eat Monday through Friday
- As a baking substitute — swap it for butter or oil in muffins for a lower-fat version
Leftovers and Storage
| Storage Method | How Long It Lasts |
|---|---|
| Fridge (airtight jar) | Up to 10 days |
| Freezer (portioned) | Up to 3 months |
| Room temperature | 2 hours max |
Tips for freezing:
- Pour into silicone ice cube trays, freeze solid, then pop into a zip-lock bag
- Each cube = roughly 2 tablespoons, so you can grab exactly what you need
- Thaw overnight in the fridge or for a few minutes in the microwave
FAQ
What are the best apples for homemade applesauce?
A mix. Seriously, don’t use just one variety. Honeycrisp or Fuji for sweetness, Granny Smith or Braeburn for tartness. The combination gives you a much more interesting flavor than any single apple can on its own.
Do I need to peel the apples?
Technically, no. The skins will soften and mostly break down. But if you’re blending the applesauce smooth, you’ll want to peel — the skins can leave a slightly rough texture. If you’re keeping it chunky, leaving the skins on is completely fine and adds a little extra fiber.
Can I make this without any sugar?
Yes. If your apples are naturally sweet (Fuji, Honeycrisp, Gala), you may not need to add any sugar at all. Taste the cooked apples first. You might be surprised.
Why does my applesauce taste flat?
Probably missing salt or lemon juice. Salt enhances sweetness and brings out the apple flavor. Lemon juice adds brightness and keeps the color from going brown. Both matter more than you’d think.
Can I can this for long-term storage?
Yes, applesauce is one of the easiest things to water-bath can. You’ll need sterilized jars and proper canning technique. When processed correctly, it’s shelf-stable for up to a year. The USDA has safe, tested guidelines for canning applesauce if you want to go that route.
Can I use this in baking?
Absolutely. Unsweetened homemade applesauce works as a 1:1 substitute for oil in most muffin and quick bread recipes. It also works as an egg substitute (1/4 cup per egg). It adds moisture, a little sweetness, and cuts the fat significantly.
My applesauce is too watery — how do I fix it?
Put the pot back on low heat, leave the lid off, and let it simmer for another 10 to 15 minutes. The excess liquid will evaporate and it’ll thicken right up.
Wrapping Up
Here’s the thing: this recipe is one of those simple, quiet wins that feels really good every single time you make it.
It’s not complicated. It’s not fancy. But it’s the kind of thing you’ll make once and then find yourself making on repeat because it’s just that useful to have around.
Warm on a cold morning. Swirled into yogurt. Spooned alongside something savory. Eaten straight from the jar at midnight. (It happens.)
Make a batch this week and see where it ends up. Then come back and drop a comment below — I’d love to know which apple combo you used and what you ended up eating it with. And if you have any questions at all, ask away down there too.