My husband once told me my apple pie was “almost as good” as his mom’s.
Almost.
That word sent me into a two week baking spiral that ended with 11 pies, a kitchen that smelled like a candle store, and this exact recipe.
So yes, this one’s personal. 🥧
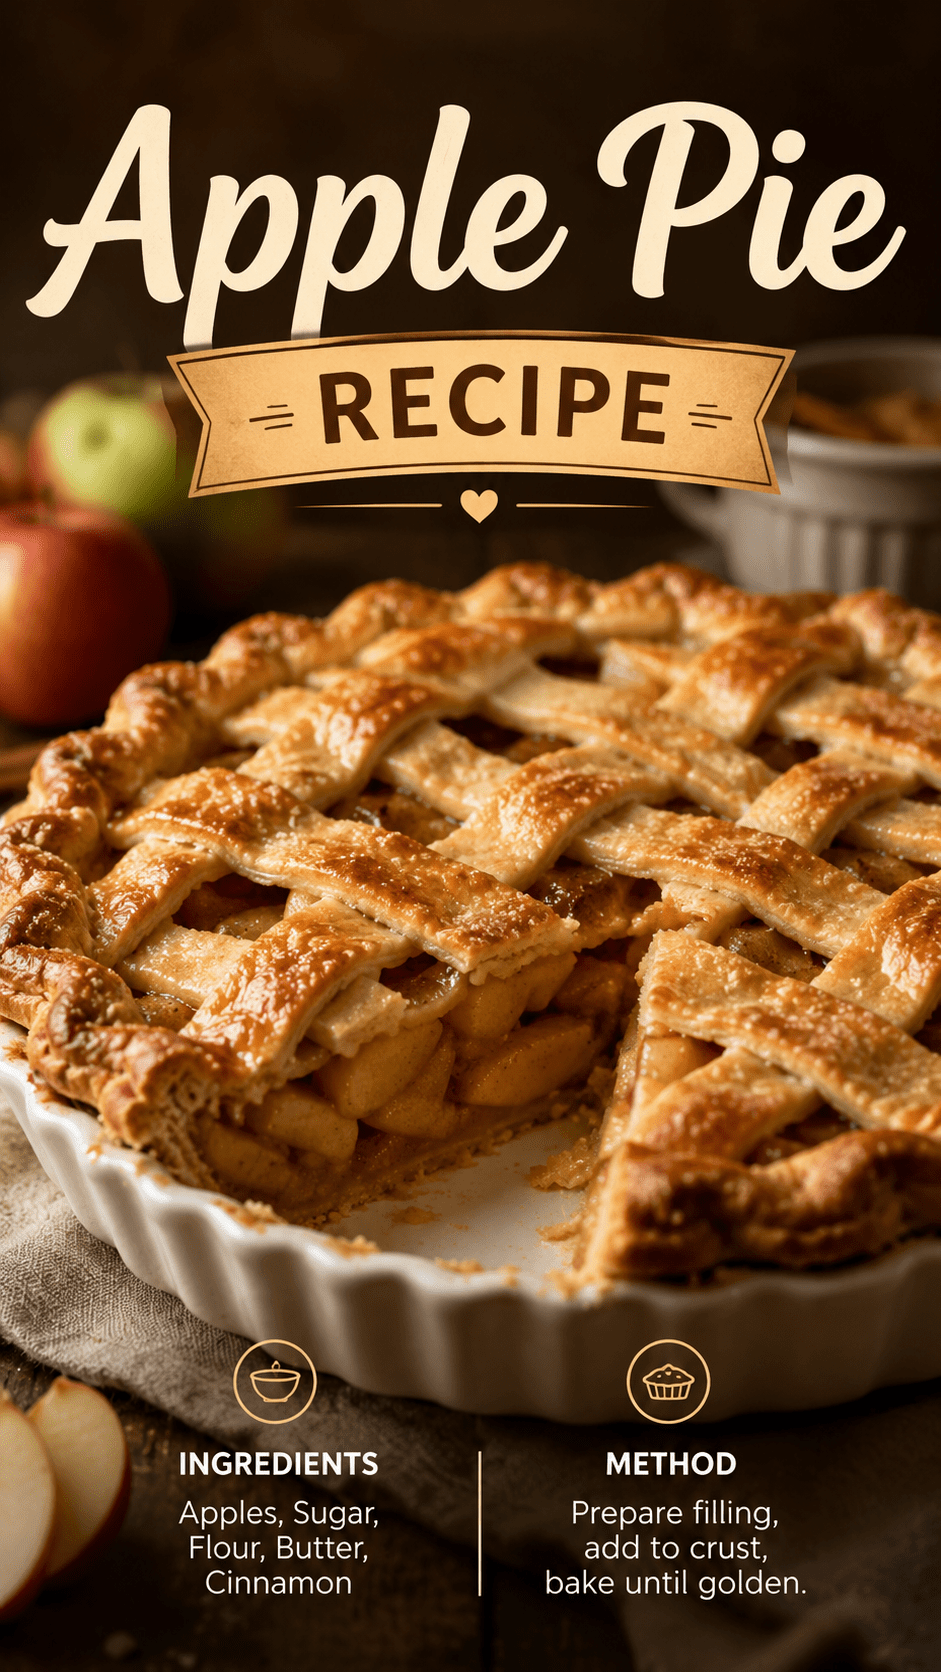
This apple pie has a flaky, buttery crust, a filling that’s sweet but not sickly, and just enough cinnamon to make your whole house smell like fall even in July.
It’s not fussy. It’s not fancy. It’s just really, really good.
Let’s get into it.
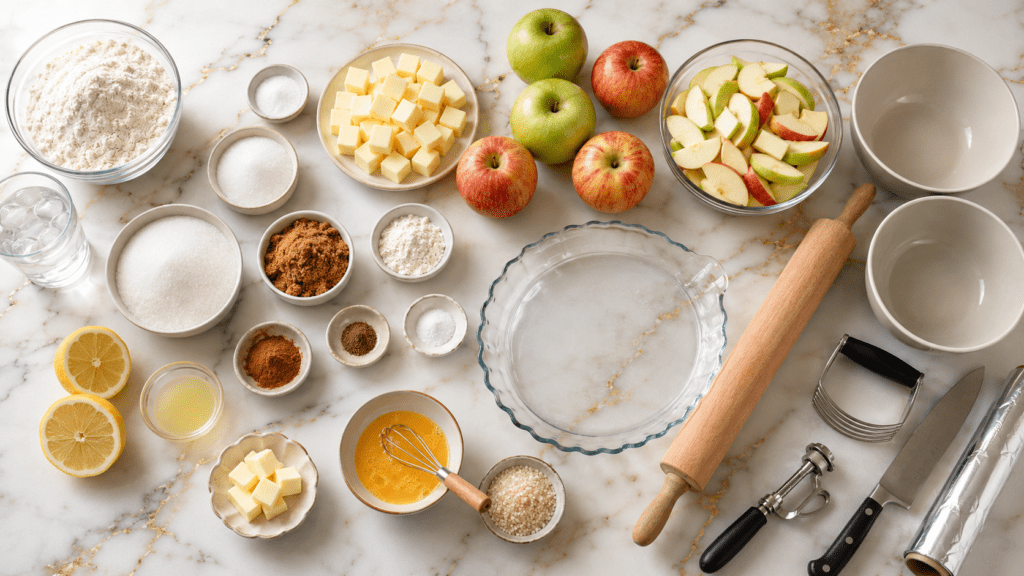
What You’ll Need
For the crust:
- 2 1/2 cups all-purpose flour
- 1 tsp salt
- 1 tbsp granulated sugar
- 1 cup unsalted butter, cold and cubed
- 6-8 tbsp ice water
For the filling:
- 6-7 medium apples (I use a mix of Granny Smith and Honeycrisp), peeled and sliced
- 3/4 cup granulated sugar
- 1/4 cup packed brown sugar
- 2 tbsp all-purpose flour
- 1 tsp ground cinnamon
- 1/4 tsp ground nutmeg
- 1/4 tsp salt
- 1 tbsp lemon juice
- 2 tbsp unsalted butter, cubed
For the finish:
- 1 egg, beaten (for the egg wash)
- 1 tbsp coarse sugar, optional but pretty
Tools You’ll Need
- Rolling pin
- 9-inch pie dish
- Two mixing bowls
- Pastry cutter or food processor
- Sharp knife or apple peeler
- Pastry brush
- Aluminum foil or a pie shield
- Cooling rack
Pro Tips
1. Your butter needs to be cold. Like, really cold. Warm butter equals a sad, dense crust. I actually pop mine in the freezer for 10 minutes before I start.
2. Mix your apple varieties. One soft apple (Honeycrisp, Fuji) and one firm, tart apple (Granny Smith) gives you the best texture. All soft apples turn to mush.
3. Don’t skip the resting time for your dough. I know you’re excited. I know the pie is calling your name. But dough that hasn’t rested will shrink and crack on you.
4. Let the filling sit for 15 minutes before it goes in the crust. This pulls some of the juice out of the apples so your pie doesn’t turn into apple soup.
5. A glass or metal pie dish browns the bottom crust way better than ceramic. Learned this one the hard way after a soggy bottom disaster in 2019.
How to Make It
Step 1: Make the crust
In a large bowl, whisk together the flour, salt, and sugar.
Add the cold, cubed butter. Use a pastry cutter (or your food processor) to cut it into the flour until it looks like coarse crumbs with pea-sized butter chunks.
Add ice water, one tablespoon at a time, until the dough just comes together. You shouldn’t need more than 8 tablespoons.
Divide the dough into two discs. Wrap each in plastic and chill for at least 1 hour.
Step 2: Make the filling
While your dough chills, peel and slice your apples into thin, even pieces.
In a large bowl, toss the apples with both sugars, flour, cinnamon, nutmeg, salt, and lemon juice.
Let this sit for 15 minutes. It’ll release some juice, and that’s exactly what you want.
Step 3: Roll out the dough
On a floured surface, roll one dough disc into a 12-inch circle.
Transfer it into your pie dish, letting the extra dough hang over the edges.
Step 4: Fill the pie
Pour your apple filling into the crust. Pile it high because apples shrink as they bake.
Dot the top with the cubed butter.
Step 5: Add the top crust
Roll out your second dough disc. You can lay it flat with a few slits cut in the top, or go for a lattice if you’re feeling ambitious.
Trim the excess dough and crimp the edges together.
Step 6: Egg wash and bake
Brush the top crust with your beaten egg. Sprinkle with coarse sugar if using.
Cover the edges with foil or a pie shield so they don’t burn.
Bake at 425°F for 20 minutes. Then lower the temperature to 375°F and bake for another 35-40 minutes, removing the foil for the last 15 minutes so the top gets golden.
The pie is done when you see thick, bubbling juices coming through the slits.
Step 7: Cool completely
This is the hardest step. Let the pie cool for at least 3 hours before slicing.
I know. But this is what lets the filling set instead of sliding out in a puddle.
Substitutions and Variations
- Gluten-free: Swap the all-purpose flour in the crust for a 1:1 gluten-free baking blend.
- Vegan: Use a plant-based butter and swap the egg wash for melted plant milk with a touch of maple syrup.
- Less sugar: Cut the granulated sugar in the filling down to 1/2 cup if your apples are already sweet.
- Add-ins: A handful of dried cranberries or a sprinkle of chopped pecans in the filling adds a nice twist.
- Crumble top instead of a top crust: Mix 1/2 cup flour, 1/2 cup brown sugar, 1/3 cup cold butter, and a pinch of cinnamon for a streusel topping instead.
Make Ahead Tips
You can make the pie dough up to 3 days ahead and keep it wrapped in the fridge.
You can also freeze the dough discs for up to 3 months. Just thaw overnight in the fridge before rolling.
The whole assembled, unbaked pie can be frozen too. Bake it straight from frozen, just add an extra 20-25 minutes to the bake time.
A Few Extra Details
Nutrition (per slice, based on 8 slices):
| Nutrient | Amount |
|---|---|
| Calories | ~380 |
| Fat | 16g |
| Carbs | 56g |
| Sugar | 30g |
| Protein | 3g |
Pairing suggestions:
- A scoop of vanilla ice cream (obviously)
- A sharp cheddar slice on the side, which is a classic New England move
- A cup of coffee or spiced chai
Time efficiency tip: Peel and slice your apples the night before and store them in water with a splash of lemon juice in the fridge. This alone saves you a solid 15 minutes on baking day.
Leftovers and Storage
Leftover pie keeps on the counter, covered, for 2 days.
For longer storage, keep it in the fridge for up to 5 days.
To freeze a baked pie, wrap it tightly in plastic then foil, and freeze for up to 3 months. Thaw overnight in the fridge and warm slices in a 300°F oven for 10 minutes to bring back that fresh-baked texture.
FAQ
Why is my pie filling watery? This usually happens when the apples release too much juice and the flour can’t thicken it fast enough. Letting the pie cool fully before slicing fixes most of this.
Can I use store bought pie crust? You can, and it’ll still taste good. But homemade really does make a noticeable difference here.
My crust shrank in the oven. What happened? This is almost always from skipping the chill time or stretching the dough too much when placing it in the dish.
Do I need to peel the apples? Yes, for this recipe. The peels get tough and chewy once baked, which isn’t a great texture in a pie.
Can I make this without a food processor? Yes. A pastry cutter or even two forks work fine for cutting the butter into the flour.
Wrapping Up
This apple pie has become one of those recipes I make without even glancing at the card anymore.
It’s the kind of pie that makes your kitchen smell incredible and gets asked about at every holiday dinner.
Give it a try this weekend. Then come back and tell me how it turned out in the comments below.
And if you run into any questions along the way, drop them there too. I read every single one. 🍎