Silas doesn’t ask for dessert twice. That’s just not a thing that happens in our house.
But the night I made this dark chocolate mousse cake, he finished his slice, sat there quiet for a second, and then slid his plate back across the counter toward me.
“Is there more.”
Not even a question. Just a statement with a fork attached.
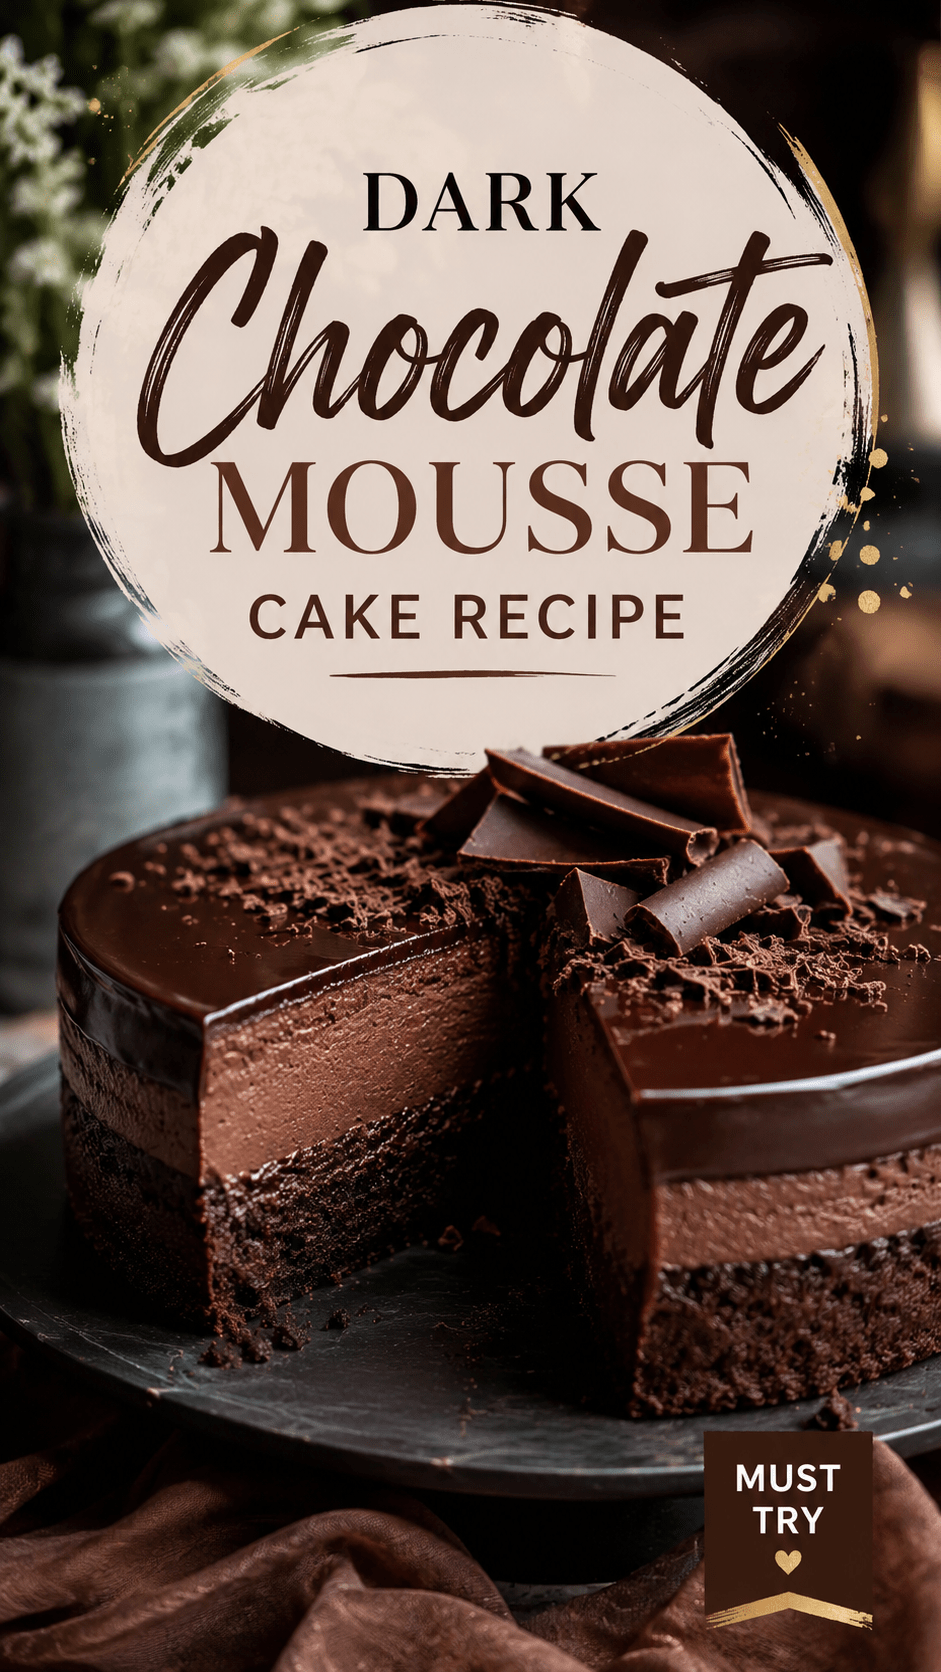
That’s when I knew this recipe was staying in the rotation for good. It’s rich, it’s dark, it’s got that soft pillowy mousse layer sitting on top of a fudgy cake base, and somehow it still feels light enough to finish the whole slice without regret.
I’ve made a lot of chocolate desserts over the years. This one’s different. It’s the kind of cake that looks like it came from a fancy bakery, but it’s genuinely doable in your own kitchen, no pastry degree required.
Let’s get into it. 🍫
What You’ll Need
For the cake base:
| Ingredient | Amount |
|---|---|
| Dark chocolate (60-70% cacao), chopped | 6 oz |
| Unsalted butter | 1/2 cup |
| Granulated sugar | 3/4 cup |
| Eggs | 3 large |
| All-purpose flour | 1/3 cup |
| Cocoa powder | 2 tbsp |
| Salt | 1/4 tsp |
For the mousse layer:
| Ingredient | Amount |
|---|---|
| Dark chocolate, chopped | 8 oz |
| Heavy whipping cream | 1 1/2 cups, divided |
| Unsalted butter | 2 tbsp |
| Powdered sugar | 2 tbsp |
| Vanilla extract | 1 tsp |
| Gelatin powder | 1 tsp |
| Cold water | 1 tbsp |
Optional topping:
- Chocolate shavings
- Fresh raspberries
- A light dusting of cocoa powder
Tools You’ll Need
- 9-inch springform pan
- Double boiler (or a heatproof bowl set over a pot of simmering water)
- Hand mixer or stand mixer
- Rubber spatula
- Parchment paper
Pro Tips
1. Use real dark chocolate, not chocolate chips. Chips have stabilizers in them that keep them from melting smooth. You want that glossy, pourable melt you only get from a proper baking bar.
2. Don’t skip the gelatin bloom. Sprinkling the gelatin over cold water first and letting it sit for 5 minutes is what gives the mousse its structure. Skip this step and you’ll end up with chocolate pudding instead of mousse. Still tasty, just not what we’re going for.
3. Let the cake base cool completely before adding mousse. I learned this one the hard way. Warm cake plus mousse equals a melted, sad mess. Give it a solid 30 minutes on the counter.
4. Whip your cream to soft peaks, not stiff. Overwhipped cream makes the mousse grainy instead of silky. You want it to hold a gentle curl when you lift the beater out.
5. Chill the whole cake for at least 4 hours before slicing. I know it’s hard to wait. But a properly set mousse layer is worth every minute.
How to Make It
Step 1: Make the cake base
Preheat your oven to 350°F and line the bottom of your springform pan with parchment paper.
Melt the chopped dark chocolate and butter together in a double boiler, stirring until smooth. Remove from heat and whisk in the sugar.
Add the eggs one at a time, whisking well after each addition. Fold in the flour, cocoa powder, and salt until just combined.
Pour the batter into your prepared pan and bake for 18-20 minutes, until the edges are set but the center still has a slight jiggle. Let it cool completely in the pan.
Step 2: Bloom your gelatin
While the cake cools, sprinkle the gelatin over the cold water in a small bowl. Let it sit for 5 minutes until it looks like applesauce. Set aside.
Step 3: Make the mousse
Melt the 8 oz of chocolate with 1/2 cup of the heavy cream and the butter in your double boiler, stirring until smooth.
Microwave your bloomed gelatin for about 10 seconds, just until it turns liquid again. Stir it into the warm chocolate mixture.
Let this mixture cool to room temperature. This part matters. If it’s too warm when you fold in the whipped cream, it’ll deflate everything.
Step 4: Whip the cream
In a separate bowl, whip the remaining 1 cup of heavy cream with the powdered sugar and vanilla until soft peaks form.
Gently fold the whipped cream into the cooled chocolate mixture in three additions. Fold, don’t stir. You’re trying to keep the air in there.
Step 5: Assemble
Pour the mousse over your cooled cake base, still in the springform pan. Smooth the top with a spatula.
Cover and refrigerate for at least 4 hours, though overnight is even better.
Step 6: Release and decorate
Run a thin knife around the edge of the pan before releasing the springform. Top with chocolate shavings, raspberries, or a dusting of cocoa powder.
Slice with a warm, dry knife for the cleanest cuts, wiping it between slices.
Substitutions and Variations
| Original | Swap | Notes |
|---|---|---|
| Dark chocolate | Semi-sweet chocolate | Sweeter, less intense flavor |
| Gelatin | Agar agar (1 tsp) | Good vegetarian option, dissolve in boiling water instead |
| Heavy cream | Coconut cream | Makes it dairy-free, chill the can overnight first |
| Raspberries | Fresh strawberries or cherries | Any tart fruit balances the richness |
| All-purpose flour | 1:1 gluten-free flour blend | Texture stays close to the original |
Make-Ahead Tips
This cake is actually better made a day ahead. The flavors settle and the mousse sets up firmer, which makes for cleaner slices.
You can also make the cake base up to 2 days in advance. Wrap it tightly and keep it at room temperature until you’re ready to add the mousse layer.
Estimated Nutrition (Per Slice, Based on 10 Slices)
| Nutrient | Amount |
|---|---|
| Calories | ~380 |
| Fat | 28g |
| Carbohydrates | 26g |
| Sugar | 19g |
| Protein | 5g |
Note: these numbers are estimates only, not lab-tested. Actual values will vary depending on the exact brands and amounts you use.
What to Serve With It
A cup of strong black coffee or espresso cuts through the richness nicely. If you want something colder, a scoop of vanilla bean ice cream on the side never hurts anybody.
For a dinner party, I like serving thin slices alongside fresh berries and a small glass of port wine. Feels fancy, took me twenty minutes of actual effort.
Storage and Leftovers
Keep the cake covered in the fridge for up to 4 days. The mousse layer holds up well as long as it’s airtight.
You can also freeze individual slices, wrapped tightly in plastic wrap and foil, for up to 2 months. Thaw overnight in the fridge before eating.
I wouldn’t recommend microwaving leftovers. The mousse layer doesn’t reheat well and you’ll lose that light, airy texture.
FAQ
Can I make this without a springform pan?
You technically can, but releasing the cake cleanly gets a lot trickier. A springform pan really is worth the $15 investment if you plan on making layered desserts again.
Why did my mousse turn out runny?
Most likely the gelatin didn’t bloom properly, or the chocolate mixture was still warm when you folded in the whipped cream. Both of those steps matter more than they seem like they would.
Can I use milk chocolate instead of dark?
You can, but the cake will turn out much sweeter and lose some of that rich depth. If you go this route, I’d cut the sugar in the cake base by a couple tablespoons.
How far in advance can I make this for a party?
Up to 2 days ahead works great. Just keep it covered in the fridge and add any fresh fruit toppings right before serving.
Is this recipe very sweet?
Not really, no. Using dark chocolate keeps it more rich than sugary, which is honestly my favorite kind of dessert.
Wrapping Up
Silas doesn’t hand his plate back for seconds very often, so when he does, I pay attention.
This cake earned its spot in our regular rotation, and I think it’ll earn one in yours too. It looks impressive, tastes even better, and none of the steps require anything you can’t handle in a normal kitchen on a normal afternoon.
Give it a try and let me know how it goes in the comments below. I’d love to hear if your house has a plate-sliding moment of its own.