I did not mean to become the brownie person.
It just kind of happened. One batch for a birthday, one batch because it was raining, one batch because Silas said the word “brownies” out loud and I panicked and made some.
Now it’s a whole thing. He’ll casually mention he’s “just craving something chocolate” and I know exactly what that means. It means he wants brownies and he’s too polite to just ask.
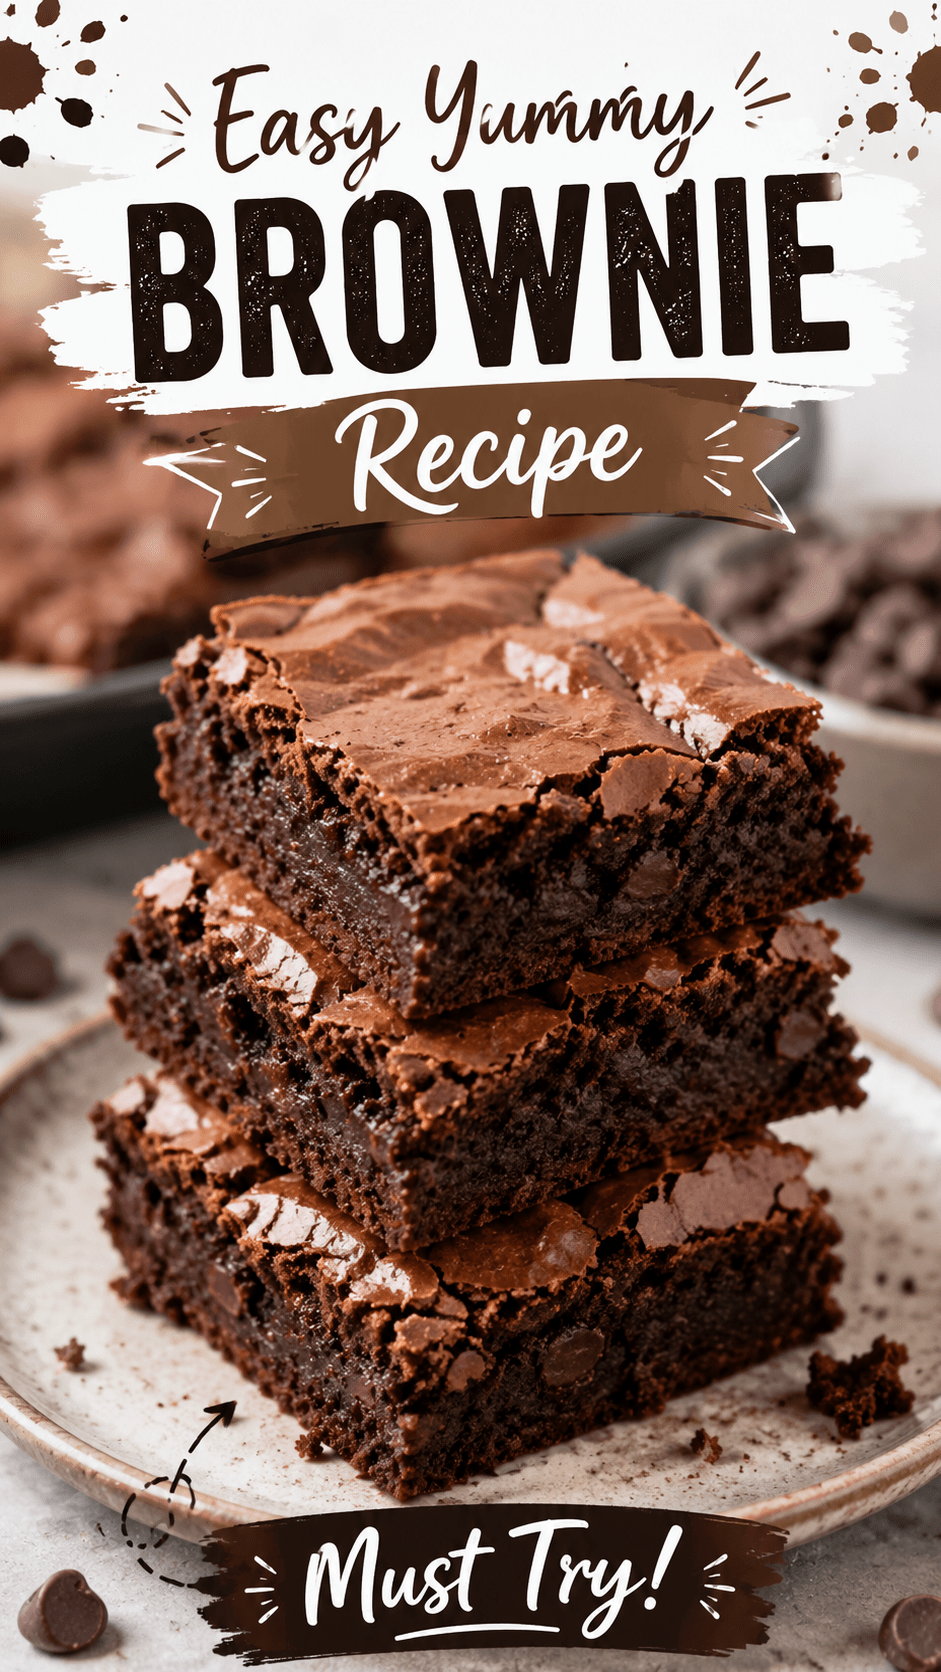
So here we are. This is the recipe. It’s fudgy in the middle, has that crackly top everyone’s obsessed with, and takes about ten minutes of actual effort. The rest is just waiting, which is the hardest part of any dessert if we’re being honest.
Let’s get into it.
Why This One Actually Works
I’ve tried a lot of brownie recipes over the years. Some come out dry. Some taste more like chocolate cake than an actual brownie. A few were so sweet I could feel it in my teeth.
This one lands right in the middle. It’s rich without being sickly, dense without being heavy, and it has that crackly top that makes people think you did something fancy when really you just whisked a little longer than usual.
It also comes together in one bowl. No stand mixer, no separate dry and wet bowl situation, no dishes piling up in the sink while you bake. That alone makes it my go-to when I want something chocolate but don’t want to turn the kitchen into a disaster zone.
What You’ll Need
Nothing fancy here. You probably have most of this already.
| Ingredient | Amount |
|---|---|
| Unsalted butter | 1 cup (2 sticks), melted |
| Granulated sugar | 2 cups |
| Eggs | 4 large |
| Vanilla extract | 2 tsp |
| Unsweetened cocoa powder | 1 cup |
| All-purpose flour | 1 cup |
| Salt | 1/2 tsp |
| Baking powder | 1/2 tsp |
| Semi-sweet chocolate chips | 1 cup |
That’s it. Nine ingredients and most of them are already in your pantry.
A quick note on cocoa powder: use the good stuff if you have it. Dutch-process cocoa gives you a deeper, almost bakery-style flavor. Regular unsweetened works fine too. I’ve made this recipe with both more times than I can count.
Pro Tips (Learned the Hard Way)
I’ve made enough batches of these to know exactly where people mess up. Save yourself the trouble.
- Melt your butter, don’t microwave it into oblivion. If it separates or gets too hot, let it cool for a few minutes before adding the eggs. Otherwise you get scrambled egg bits in your batter, and nobody wants that.
- Whisk the sugar into the warm butter first, then let it cool slightly before eggs go in. This step is what gives you that shiny, crackly top. Skip it and you’ll still get good brownies, just not magazine cover brownies.
- Don’t overmix once the flour goes in. Stir until you just stop seeing flour streaks. Overmixing brownies is how you end up with something closer to chocolate bread.
- Pull them out slightly early. Brownies keep cooking in the pan after they leave the oven. If you wait for a totally clean toothpick, you’ve already overbaked them.
- Let them cool completely before cutting. I know. I know it’s hard. But warm brownies fall apart when you slice them, and the texture actually sets as they cool. Ten more minutes of patience is worth it.
Tools You’ll Need
- 9×9 inch baking pan
- Parchment paper
- Large mixing bowl
- Whisk
- Rubber spatula
- Measuring cups and spoons
Nothing here requires a trip to the store. If you bake even occasionally, you’re already set.
How to Make Them
Step 1: Prep your pan and oven
Preheat your oven to 350°F. Line your 9×9 pan with parchment paper, leaving a little overhang on the sides. This makes lifting the brownies out later so much easier.
Step 2: Melt and mix
Melt your butter, then whisk in the sugar until it’s fully combined and glossy.
Step 3: Add the eggs and vanilla
Whisk in the eggs one at a time, then add the vanilla. Whisk for about a minute here. This is where that shiny top starts to form.
Step 4: Fold in the dry ingredients
Add the cocoa powder, flour, salt, and baking powder. Fold gently with a spatula until just combined. Stop as soon as the flour disappears.
Step 5: Add the chocolate chips
Fold in the chocolate chips. Save a small handful to sprinkle on top before baking if you want that bakery look.
Step 6: Bake
Pour the batter into your prepared pan and smooth the top. Bake for 28 to 32 minutes. You’re looking for a toothpick that comes out with a few moist crumbs, not wet batter.
Step 7: Cool, then cut
Let the brownies cool in the pan for at least 20 minutes, then lift them out using the parchment overhang. Let them cool the rest of the way on a wire rack before slicing.
Substitutions and Variations
| Original | Swap | Notes |
|---|---|---|
| Semi-sweet chips | Dark chocolate chunks | Deeper, less sweet flavor |
| All-purpose flour | 1:1 gluten-free blend | Texture stays nearly identical |
| Butter | Coconut oil | Slight coconut hint, still fudgy |
| Vanilla extract | Almond extract | Use half the amount, it’s strong |
| Plain brownies | Add 1/2 cup walnuts or pecans | Adds crunch and a nutty flavor |
Silas is a “no nuts, ever” person, so I usually skip that swap. But I’ve made the walnut version for parties and it disappears just as fast.
Make Ahead Tips
You can mix the dry ingredients (cocoa, flour, salt, baking powder) up to a week ahead and store them in an airtight container. When you’re ready to bake, just whisk them into your wet ingredients.
The full baked batch also freezes well. Cut into squares, wrap individually, and freeze for up to three months. Thaw at room temperature for about an hour, or microwave for 15 seconds if you’re impatient like Silas.
Estimated Nutrition
(Per brownie, based on a 16-piece batch)
| Nutrient | Amount |
|---|---|
| Calories | ~245 |
| Total Fat | 13g |
| Carbohydrates | 30g |
| Sugar | 22g |
| Protein | 3g |
These numbers are estimates. If you’re tracking macros closely or have dietary restrictions, plug your exact ingredient brands into Cronometer before you rely on these.
Pairing Suggestions
- A scoop of vanilla bean ice cream, still slightly melty on top of a warm brownie
- Cold milk, obviously
- A shot of espresso if you’re serving these after dinner for adults
- Fresh raspberries on the side for a little tartness against all that chocolate
Storage and Reheating
Store brownies in an airtight container at room temperature for up to 4 days. If your kitchen runs warm, pop them in the fridge instead and they’ll keep for about a week.
To reheat, microwave a single brownie for 10 to 15 seconds. It brings back that just-baked, gooey center without drying anything out.
I’ll be honest, they rarely make it past day two in our house. Silas has a habit of “just checking if they’re still good” every time he walks past the counter.
FAQ
Why are my brownies cakey instead of fudgy?
You probably added too much flour or overmixed the batter. Measure your flour by spooning it into the cup and leveling it off, not scooping directly from the bag. Scooping packs in extra flour without you realizing it.
Can I double this recipe?
Yes, just use a 9×13 pan instead and add about 8 to 10 minutes to the bake time.
Why did my brownies sink in the middle?
This usually means they came out of the oven too early, or the oven door got opened too many times during baking, which drops the temperature. Try to resist peeking until at least the 25 minute mark.
Do I need to use parchment paper?
You don’t have to, but it makes removing the brownies so much easier and helps prevent overbaking around the edges. If you skip it, grease the pan well.
Can I use cocoa powder that’s a little old?
If it’s more than a year old, it’s probably lost some of its flavor punch. It won’t ruin the recipe, but the chocolate flavor will be milder than expected.
Can I add mix-ins besides chocolate chips?
Definitely. Crushed pretzels, mini marshmallows, peanut butter chips, or even a swirl of caramel sauce all work well. Just fold them in at the same point you’d add the chocolate chips, and don’t go overboard, a cup total of mix-ins is about the limit before the batter can’t hold everything together.
Wrapping Up
That’s the whole recipe. No weird ingredients, no complicated steps, just a really good brownie you can make on a random Tuesday for absolutely no reason at all.
If you end up making these, I’d love to know how they turned out. Drop a comment below and let me know what you paired them with, or if you tried one of the swaps.
And if you run into any trouble along the way, ask me in the comments. I’ve probably already made that exact mistake myself.