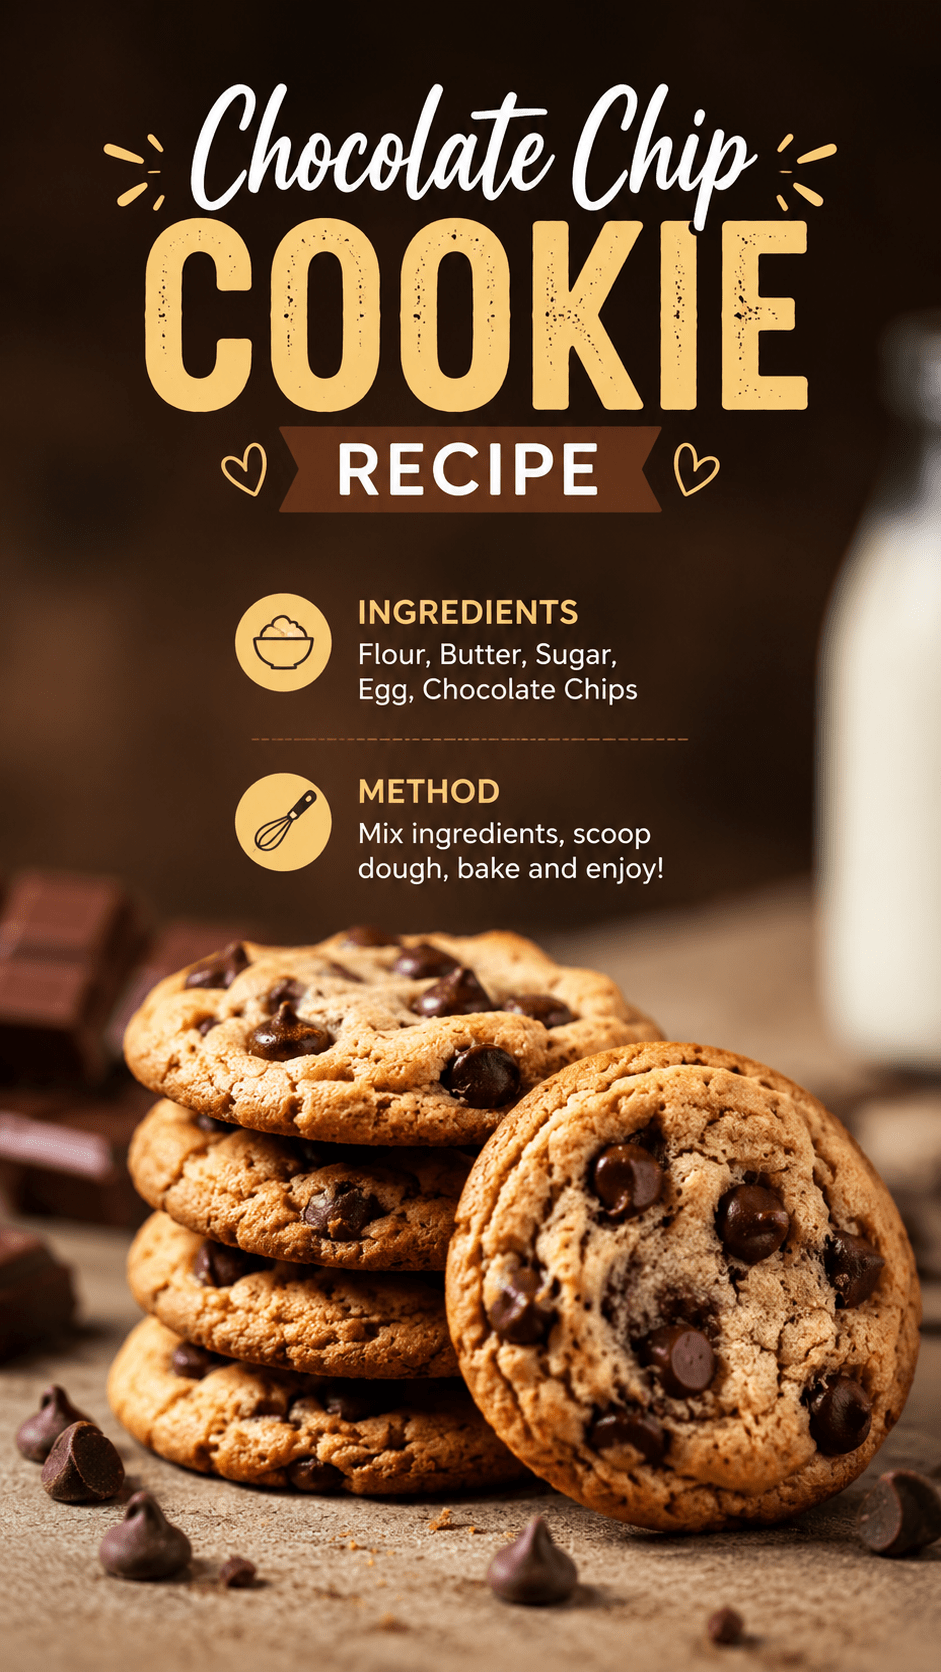
I’ve made a lot of chocolate chip cookies in my life. Some were sad and flat. Some were rock hard by hour two. This one isn’t either of those.
This is the recipe I keep coming back to when I want something warm, gooey in the middle, and just a little crispy on the edges.
It’s not fussy. You don’t need a stand mixer or a fancy ingredient list. Just a bowl, a spoon, and about 20 minutes of patience while the dough chills.
Let’s get into it. 🍪
What You’ll Need
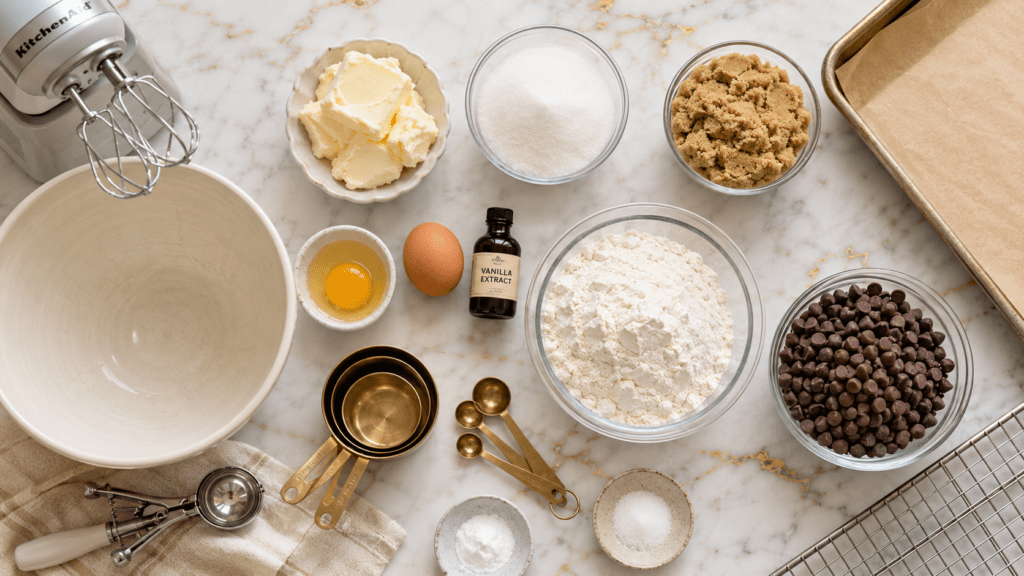
Here’s everything going into this batch:
- 1 cup unsalted butter, softened
- 3/4 cup granulated sugar
- 3/4 cup brown sugar, packed
- 2 large eggs
- 2 tsp vanilla extract
- 2 1/4 cups all-purpose flour
- 1 tsp baking soda
- 1 tsp salt
- 2 cups chocolate chips (I use a mix of semi-sweet and dark)
That’s it. Nine ingredients, most of which you probably already have in your pantry right now.
Tools You’ll Need
- Mixing bowls (one large, one medium)
- Hand mixer or stand mixer
- Measuring cups and spoons
- Baking sheet
- Parchment paper
- Cookie scoop (or just a regular spoon works fine)
- Wire cooling rack
How to Make Them
Step 1: Cream the butter and sugars. Beat the softened butter, granulated sugar, and brown sugar together until it’s light and fluffy. This takes about 2 to 3 minutes. Don’t rush it.
Step 2: Add the eggs and vanilla. Mix in the eggs one at a time, then add the vanilla. Beat until everything is smooth and combined.
Step 3: Mix the dry ingredients separately. In a different bowl, whisk together the flour, baking soda, and salt.
Step 4: Combine. Slowly add the dry mix into the wet mix. Stir just until combined. Overmixing here is how you end up with tough cookies, so stop as soon as you don’t see flour streaks anymore.
Step 5: Fold in the chocolate chips. Use a spatula for this part. Fold, don’t stir aggressively.
Step 6: Chill the dough. Cover the bowl and pop it in the fridge for at least 30 minutes. I know waiting is the worst part, but this step matters more than people think.
Step 7: Scoop and bake. Preheat your oven to 350°F. Scoop the dough into balls (about 2 tablespoons each) and place them a couple inches apart on a parchment-lined baking sheet.
Step 8: Bake for 9 to 11 minutes. You want the edges golden and the centers still looking slightly underdone. They’ll firm up as they cool.
Step 9: Let them rest. Leave the cookies on the baking sheet for 5 minutes before moving them to a wire rack. This keeps them from falling apart.
Pro Tips
A few things I’ve learned from making way too many batches of these:
- Chilling the dough isn’t optional. It stops the cookies from spreading into thin, greasy puddles. Skip this step and you’ll regret it.
- Pull them out slightly underbaked. The centers should look a little soft when you take them out. They keep cooking on the hot pan after you remove them from the oven.
- Use room temperature eggs. Cold eggs straight from the fridge mess with how the butter mixes in. Let them sit on the counter for 20 minutes first.
- Weigh your flour if you can. Scooping flour with a measuring cup packs it down and you end up with more flour than the recipe needs. A kitchen scale fixes this instantly.
- Don’t crowd the pan. These cookies spread more than you’d expect. Give them room.
Substitutions and Variations
- Butter: Swap in a plant-based butter stick for a dairy-free version. The texture stays nearly identical.
- Eggs: A flax egg (1 tbsp ground flax + 3 tbsp water) works in a pinch, though the cookies will be slightly denser.
- Flour: A 1:1 gluten-free flour blend works well here. I’ve tested it twice with no issues.
- Chocolate chips: Try chopped chocolate bars instead of chips for those big melty pools of chocolate. Or mix in white chocolate, peanut butter chips, or chopped walnuts.
- Brown butter version: Brown the butter first and let it cool before creaming it with the sugars. It adds a nutty, caramel depth that’s honestly worth the extra step.
- Sea salt finish: A small pinch of flaky sea salt on top right before baking takes these from good to genuinely addictive.
Make Ahead Tips
You can make the dough up to 3 days in advance. Just keep it covered in the fridge.
Want to go further out? Roll the dough into balls and freeze them on a tray. Once they’re solid, transfer them to a freezer bag. They’ll keep for up to 3 months.
When you’re ready to bake from frozen, no need to thaw. Just add an extra 1 to 2 minutes to the bake time.
Leftovers and Storage
These cookies keep well at room temperature in an airtight container for about 5 days.
If you want to keep them soft longer, toss a slice of bread into the container. It sounds strange, but it actually works.
For longer storage, freeze the baked cookies in a sealed bag for up to 3 months. Let them sit at room temp for 15 minutes before eating, or microwave for 10 seconds if you want that fresh-from-the-oven feel again.
Nutritional Snapshot
Here’s roughly what you’re looking at per cookie (based on a batch of 24):
| Nutrient | Amount |
|---|---|
| Calories | ~180 |
| Fat | 9g |
| Carbs | 23g |
| Sugar | 14g |
| Protein | 2g |
These numbers will shift depending on the size of your scoop and which chocolate chips you use.
Pairing Suggestions
A glass of cold milk is the obvious one, and honestly still the best.
If you want something a little more grown up, try them with a scoop of vanilla bean ice cream sandwiched in between, or alongside a cup of coffee for an afternoon pick-me-up.
FAQ
Why did my cookies spread too thin? Your butter was probably too warm, or you skipped the chilling step. Both lead to the same flat, greasy result.
Can I double this recipe? Yes, this recipe doubles easily. Just make sure you have enough bowl space to mix everything properly.
Why are my cookies cakey instead of chewy? This usually means too much flour got packed into your measuring cup, or the dough was overmixed. Try weighing your flour next time.
Can I use salted butter instead of unsalted? You can, just reduce the added salt in the recipe by about half a teaspoon.
How do I know when they’re actually done? The edges should look set and lightly golden, but the centers will still look a touch underdone. Trust the process here. They firm up as they cool.
Wrapping Up
This is the cookie recipe I go back to over and over, and I think once you try it, you’ll understand why.
Bake a batch this week. Let the dough chill, resist the urge to overbake them, and see how they turn out.
Drop a comment below and let me know how yours came out, or if you tried any of the variations above. I genuinely love hearing what people do with this one.