I burned a cheesecake once. Like, set off the smoke alarm, opened every window in the house, burned it.
That was the day I gave up on baked cheesecake forever and never looked back.
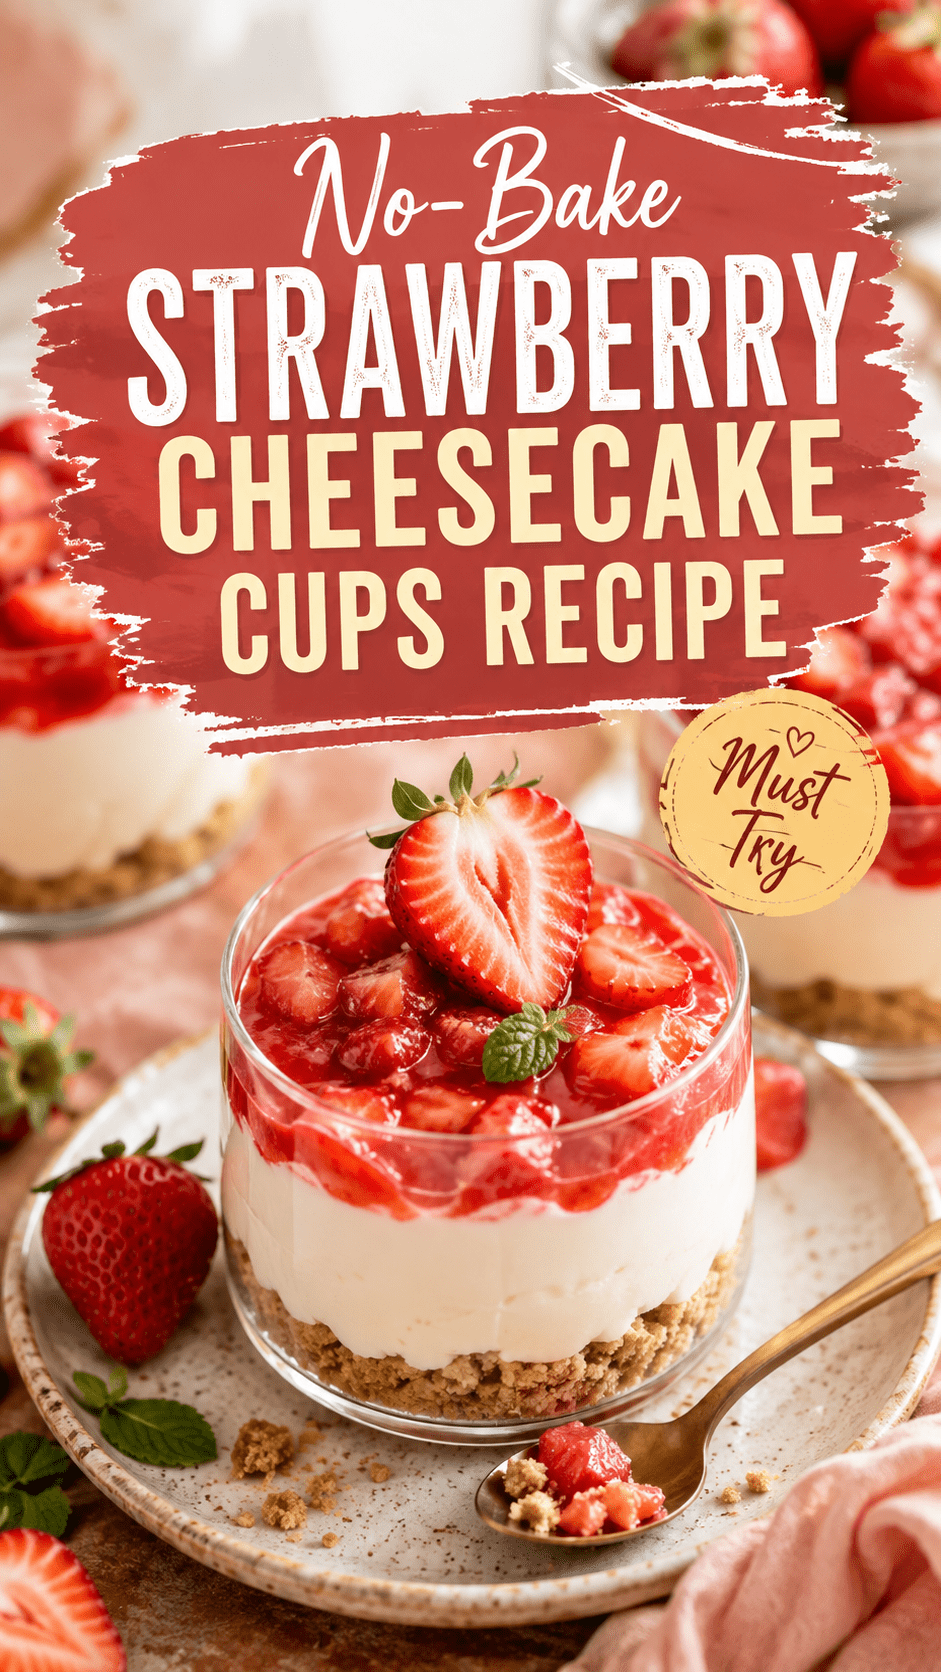
These strawberry cheesecake cups are everything I loved about cheesecake minus the water bath, the cracking top, and the hour of nervously staring through the oven door. You layer a few simple things in a cup, chill it, and you’re done.
My husband Silas ate three of these in one sitting and then asked why I “don’t make this every week.” Fair question, honestly.
Let’s get into it.
What You’ll Need
Here’s everything going into these little cups of joy:
For the graham cracker crust:
- 1 ½ cups graham cracker crumbs (about 10 full sheets, crushed)
- ⅓ cup butter, melted
- 2 tablespoons granulated sugar
For the cheesecake filling:
- 16 oz cream cheese, softened
- 1 cup powdered sugar
- 1 teaspoon vanilla extract
- 1 cup heavy whipping cream, cold
For the strawberry layer:
- 2 cups fresh strawberries, diced
- ¼ cup strawberry jam
- 1 tablespoon lemon juice
- 1 tablespoon sugar (optional, if your strawberries are tart)
That’s it. Nothing weird, nothing you have to hunt down at a specialty store.
Tools You’ll Need
- Mixing bowls (2-3)
- Hand mixer or stand mixer
- Small jars or clear cups (6-8, depending on size)
- Rubber spatula
- Measuring cups and spoons
- Small saucepan (optional, for the strawberry sauce)
Pro Tips Before You Start
I’ve made these more times than I can count, so here’s what actually matters:
- Room temp cream cheese is non-negotiable. Cold cream cheese means lumpy filling, and nobody wants lumpy filling. Let it sit out for a solid 30-45 minutes.
- Whip your cream separately first. Fold it in gently at the end instead of dumping everything in together. This is what gives you that light, mousse-like texture instead of something dense and heavy.
- Macerate your strawberries. Toss the diced strawberries with sugar and let them sit for 10 minutes before assembling. They’ll release their juice and taste ten times more flavorful.
- Use clear cups if you have them. These layers are gorgeous, and honestly, half the appeal here is watching people’s faces light up when they see the layers through the glass.
- Don’t overmix the crust. You want it to hold together when pressed, not turn into paste. A light hand goes a long way.
How to Make No-Bake Strawberry Cheesecake Cups
Step 1: Make the crust. Mix the graham cracker crumbs, melted butter, and sugar in a bowl until it looks like wet sand. Press about 2 tablespoons into the bottom of each cup.
Step 2: Make the strawberry layer. Combine your diced strawberries, jam, lemon juice, and sugar in a bowl. Let it sit for 10 minutes while you work on the filling.
Step 3: Whip the cream. In a separate bowl, whip the cold heavy cream until stiff peaks form. Set it aside.
Step 4: Make the cheesecake filling. Beat the softened cream cheese, powdered sugar, and vanilla together until completely smooth. No lumps allowed.
Step 5: Fold it together. Gently fold the whipped cream into the cream cheese mixture. Don’t stir hard here, just fold until combined and fluffy.
Step 6: Layer everything. Spoon a layer of the cheesecake filling over the crust in each cup. Add a spoonful of the strawberry mixture. Repeat until you reach the top, finishing with strawberries.
Step 7: Chill. Pop them in the fridge for at least 2 hours. Overnight is even better if you can wait that long (I usually can’t).
Substitutions and Variations
| Original | Swap It For | Why It Works |
|---|---|---|
| Graham crackers | Digestive biscuits or vanilla wafers | Same crumbly base, different flavor note |
| Strawberries | Raspberries, blueberries, or mango | Any soft fruit works with this layering method |
| Heavy cream | Cool Whip (thawed) | Faster, slightly less rich, still fluffy |
| Cream cheese | Mascarpone | Softer, slightly sweeter filling |
| Graham cracker crust | Crushed Oreos + butter | Turns this into a chocolate-strawberry combo |
| Sugar | Honey or maple syrup | Use about ¾ the amount, adjust to taste |
If you’re going gluten-free, swap in gluten-free graham crackers and everything else stays exactly the same.
Make-Ahead Tips
These are honestly one of the best make-ahead desserts I know.
- Make them up to 2 days in advance and store covered in the fridge.
- Add the fresh strawberry topping right before serving if you want that just-made look, since the fruit can release liquid over time.
- The crust can be pressed into cups and stored (unfilled) for a day if you’re prepping components separately.
Storage and Leftovers
Store any leftover cups covered in the fridge for up to 4 days. The crust softens slightly over time, but honestly, it still tastes great.
I wouldn’t recommend freezing these. The whipped cream texture doesn’t hold up well once thawed and turns a little watery.
Nutritional Snapshot
Rough estimates per cup, based on 8 servings. These aren’t lab-tested, just a general ballpark.
| Nutrient | Approx. Amount |
|---|---|
| Calories | 320 |
| Fat | 22g |
| Carbs | 27g |
| Sugar | 19g |
| Protein | 4g |
Meal Pairing Suggestions
These cups are rich, so I like pairing them with something light beforehand:
- A citrusy chicken salad for lunch
- Grilled shrimp skewers for dinner
- Iced tea or a light rosé to sip alongside
They also work as a dessert table option next to something less sweet, like a cheese board, to balance things out.
FAQ
Can I make this dairy-free? Yes. Use a dairy-free cream cheese and coconut whipped cream. The texture changes slightly but it still works.
Why is my filling runny? Your cream cheese was probably still too cold when you mixed it, or your whipped cream wasn’t whipped to stiff peaks before folding it in.
Can I use frozen strawberries? You can, just thaw and drain them first. Frozen berries release a lot more liquid, which can make your layers soggy.
How far ahead can I make these for a party? Two days is the sweet spot. Any longer and the crust starts to lose its texture.
Do I need special cups? Nope. Mason jars, wine glasses, or even small mugs all work fine.
Wrapping Up
I make these constantly, mostly because they take almost no effort and somehow still look like I tried really hard.
Give them a shot this week and let me know how they turn out. Drop a comment below with any questions, or tell me what fruit combo you tried if you switch it up.