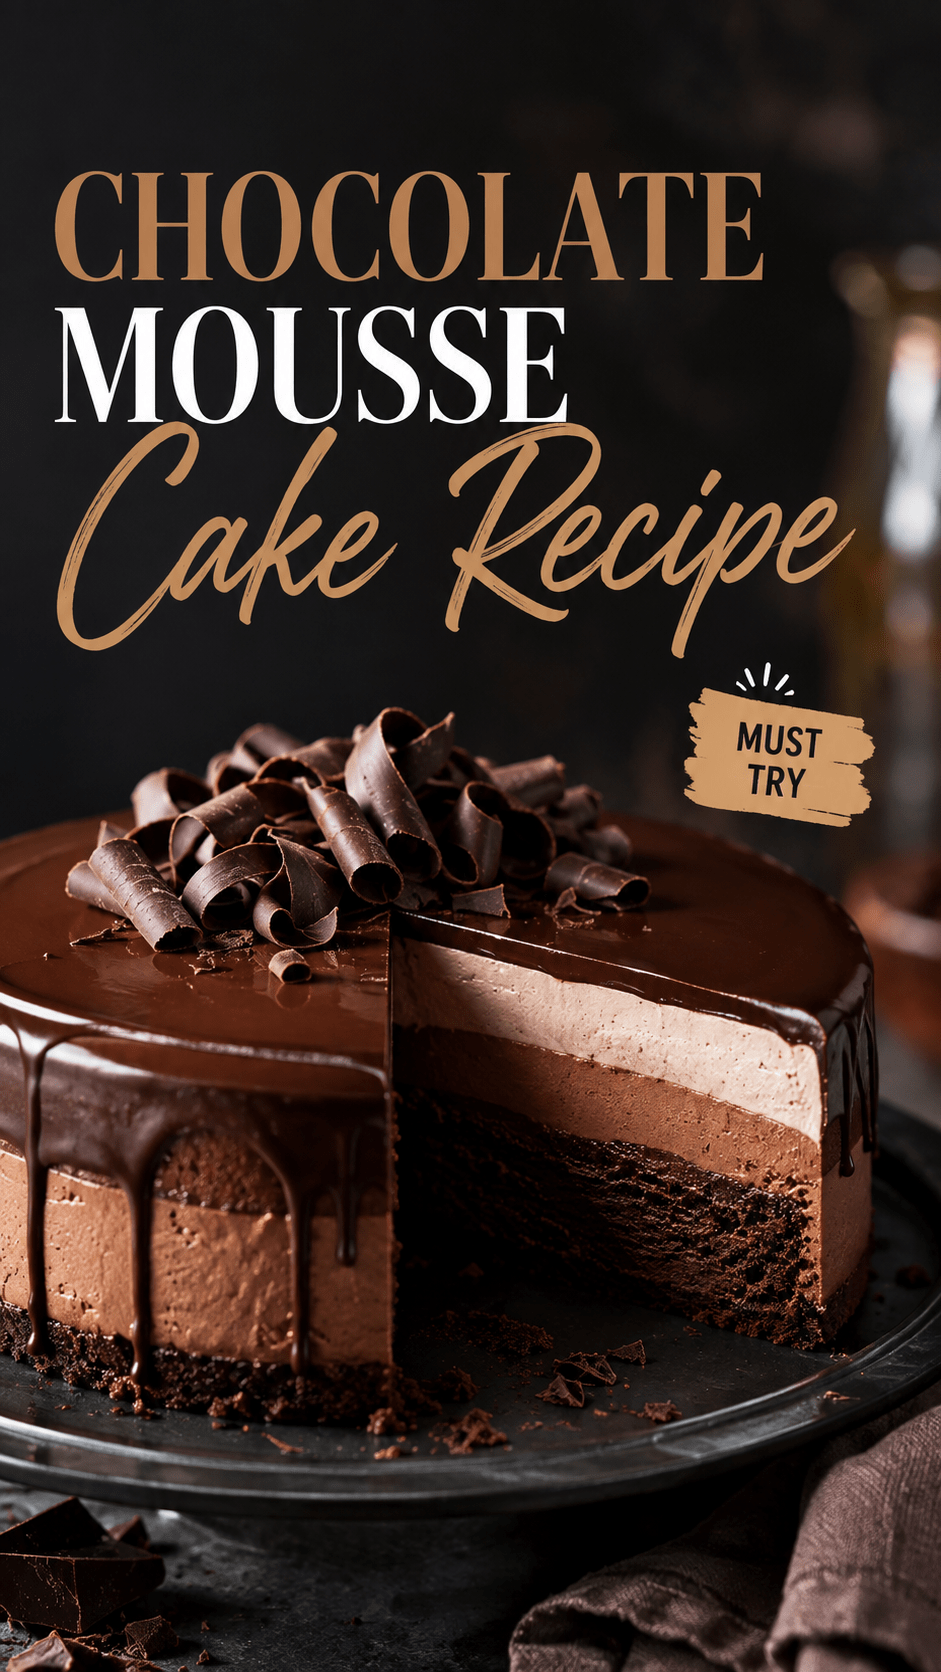
I brought this cake to a dinner party once and the room actually went quiet.
Not the awkward kind of quiet. The good kind. The kind where everyone’s too busy eating to talk.
That’s when I knew this recipe was a keeper.
It’s rich, it’s a little dramatic looking, and it tastes like something you’d order at a fancy restaurant and then quietly judge the price of. But it’s shockingly doable in your own kitchen, no pastry degree required.
Here’s everything you need to make it happen. 🍫
What You’ll Need
For the chocolate cake base:
- 1 ¾ cups all-purpose flour
- 2 cups granulated sugar
- ¾ cup unsweetened cocoa powder
- 1 ½ tsp baking powder
- 1 ½ tsp baking soda
- 1 tsp salt
- 2 large eggs
- 1 cup buttermilk
- ½ cup vegetable oil
- 2 tsp vanilla extract
- 1 cup hot coffee (or hot water, if you’re avoiding caffeine)
For the chocolate mousse layer:
- 12 oz semisweet chocolate, chopped
- 2 cups heavy whipping cream, divided
- 3 large egg yolks
- ¼ cup granulated sugar
- 1 tsp vanilla extract
- Pinch of salt
For the ganache topping:
- 8 oz semisweet chocolate, chopped
- 1 cup heavy cream
- 1 tbsp corn syrup (this is what gives it that glossy, professional-looking shine)
Tools You’ll Need
- Two 9-inch round cake pans
- Stand mixer or hand mixer
- Double boiler (or a heatproof bowl set over a pot of simmering water)
- Springform pan or cake ring, 9-inch
- Offset spatula
- Rubber spatula
- Fine mesh sieve
Pro Tips Before You Start
1. Use the best chocolate you can find. This cake has so few ingredients doing the heavy lifting that cheap chocolate really shows up in the final flavor. Splurge here if you can.
2. Don’t skip the coffee in the cake batter. You won’t taste coffee at all. It just makes the chocolate flavor deeper and richer. It’s a classic baker’s trick for a reason.
3. Chill your mixing bowl before whipping the cream. Cold bowl, cold beaters, cold cream. It whips up faster and holds its shape better, which matters a lot for that mousse layer.
4. Let the cake layers cool completely before adding mousse. I learned this one the hard way. Warm cake plus mousse equals a melty mess that slides right off the plate.
5. Use a cake ring or springform pan for assembly. It keeps everything contained while the mousse sets, and it makes unmolding way less stressful than trying to freehand it.
How to Make Chocolate Mousse Cake
Step 1: Bake the Cake Layers
Preheat your oven to 350°F and grease two 9-inch round pans.
In a large bowl, whisk together the flour, sugar, cocoa powder, baking powder, baking soda, and salt.
Add the eggs, buttermilk, oil, and vanilla. Mix until combined.
Slowly stir in the hot coffee. The batter will look thin. That’s normal.
Divide the batter evenly between your pans and bake for 30 to 35 minutes, until a toothpick comes out clean.
Let the cakes cool in the pans for 10 minutes, then transfer to a wire rack to cool completely. I mean completely. Give it an hour if you can.
Step 2: Make the Chocolate Mousse
Melt the chocolate in a double boiler, stirring until smooth. Set it aside to cool slightly.
In a separate bowl, whisk the egg yolks and sugar together until the mixture turns pale and slightly thickened.
Whisk the melted chocolate into the egg yolk mixture.
In a chilled bowl, whip 2 cups of heavy cream with the vanilla and salt until soft peaks form.
Fold about a third of the whipped cream into the chocolate mixture to lighten it, then gently fold in the rest. Don’t rush this part or you’ll knock the air right out.
Step 3: Assemble the Cake
Place one cake layer in the bottom of your springform pan or cake ring.
Pour half the mousse over the cake layer and spread it out evenly.
Add the second cake layer on top, then pour the remaining mousse over it.
Smooth the top with an offset spatula and refrigerate for at least 4 hours, or overnight if you’re planning ahead.
Step 4: Make the Ganache
Heat the heavy cream until it just starts to simmer, then pour it over the chopped chocolate in a heatproof bowl.
Let it sit for 2 minutes without touching it, then stir until completely smooth.
Stir in the corn syrup for extra shine.
Let the ganache cool for about 10 minutes so it’s pourable but not hot enough to melt the mousse underneath.
Step 5: Finish the Cake
Remove the cake from the springform pan or ring.
Pour the ganache over the top, letting it drip down the sides for that bakery-style finish.
Chill for another 15 to 20 minutes to let the ganache set before slicing.
Substitutions and Variations
Here’s how to make this recipe work for you:
| Original Ingredient | Substitution | Notes |
|---|---|---|
| Buttermilk | 1 cup milk + 1 tbsp lemon juice | Let sit 5 minutes before using |
| Semisweet chocolate | Dark chocolate (70%) | Slightly more intense, less sweet |
| Corn syrup | Honey or maple syrup | Ganache will be slightly less glossy |
| All-purpose flour | 1:1 gluten-free flour blend | Cake texture will be a touch denser |
| Vegetable oil | Melted coconut oil | Adds a very subtle coconut note |
Want to switch things up even more? Try adding a layer of raspberry jam between the cake and mousse for a chocolate-raspberry version. Or swirl a spoonful of espresso powder into the ganache for a mocha twist.
Make Ahead Tips
This cake actually gets better with a little time in the fridge, so it’s an ideal make-ahead dessert.
- 1-2 days ahead: Assemble the full cake, cover loosely, and refrigerate. Add the ganache the day you plan to serve it.
- Up to 1 month ahead: Bake the cake layers, cool completely, wrap tightly in plastic, and freeze. Thaw in the fridge overnight before assembling.
- Ganache: Can be made a day ahead. Rewarm gently in the microwave in 10-second bursts, stirring between each, until pourable again.
A Few Extra Details
A single slice runs around 480 calories, depending on how generously you cut it (no judgment either way).
If you’re baking for someone dairy-free, coconut cream works surprisingly well in place of heavy cream in both the mousse and ganache. Just make sure it’s chilled overnight first.
This cake pairs beautifully with a strong espresso or a glass of port wine. Fresh raspberries on the side add a nice tart contrast to all that richness.
Short on time? Bake the cake layers a day ahead so all you have to do the day of is make the mousse and assemble.
Leftovers and Storage
Store leftover cake covered in the refrigerator for up to 5 days. The mousse layer actually holds up really well and doesn’t dry out.
Want to freeze individual slices? Wrap each one tightly in plastic wrap, then foil, and freeze for up to 2 months. Thaw overnight in the fridge before eating.
I don’t recommend leaving this one out at room temperature for more than an hour. The mousse layer will start to soften and lose its shape.
FAQ
Can I make this cake without a springform pan? You can use a deep cake ring set on a lined baking sheet, or even a well-greased cake pan with tall sides. Just make sure whatever you use is tall enough to hold both cake layers plus the mousse.
Why did my mousse turn out grainy? This usually happens when the melted chocolate is too hot when it’s mixed with the egg yolks. Let the chocolate cool for a few minutes before combining.
Can I use chocolate chips instead of a baking bar? You can, though baking bars melt more smoothly since chocolate chips often have stabilizers added to help them hold their shape. If you use chips, expect a slightly less silky mousse.
Is this cake very sweet? It’s rich rather than overly sweet. The semisweet chocolate keeps things balanced, so it’s a good pick even for people who aren’t big dessert fans.
Can I skip the coffee entirely? Yes. Just swap it for hot water. Your cake will still taste like chocolate, just slightly less deep in flavor.
Wrapping Up
This is one of those recipes that looks like it took way more effort than it actually did, which honestly might be my favorite kind of dessert to make.
Give it a try this weekend and let it sit in your fridge overnight so it’s ready when you need a serious chocolate fix.
Drop a comment below and let me know how yours turned out, or ask away if anything trips you up along the way. I read every single one. 🍰