I burned my first three loaves of this bread.
Not “a little too dark on the bottom” burned. I mean set-off-the-smoke-alarm, Silas-running-in-from-the-yard burned. And I still made a fourth loaf that same week because I could not stop thinking about how good the kitchen smelled right before I ruined it.
That’s the thing about garlic rosemary sourdough. Even when it goes wrong, it smells so right that you keep going back for more.
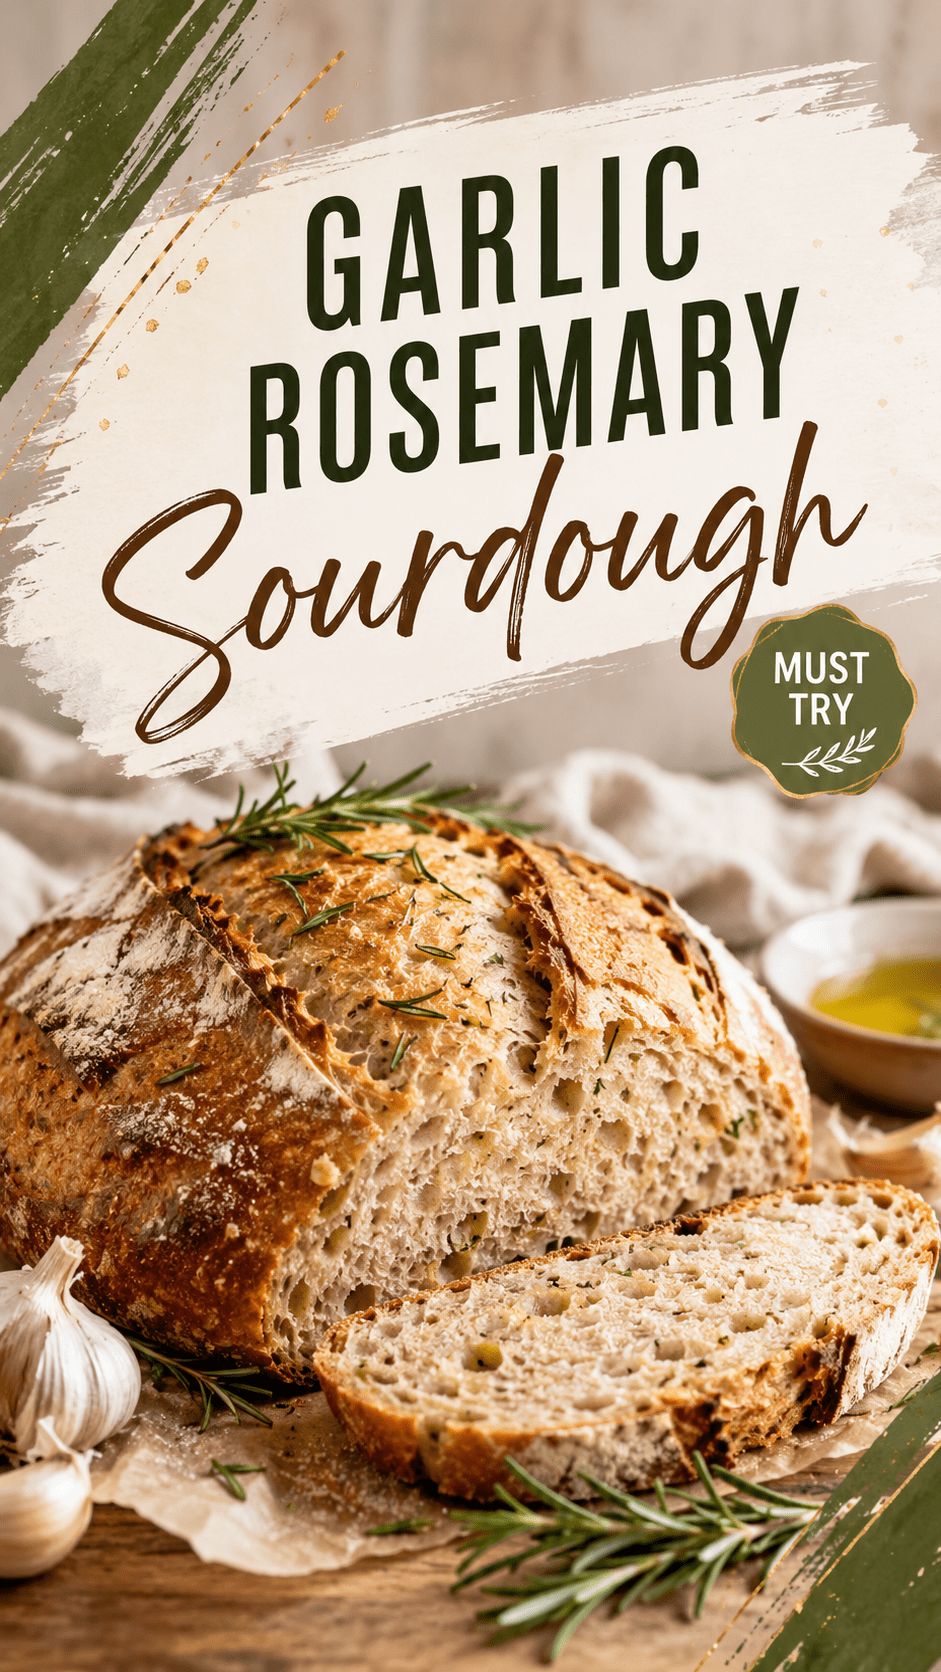
This loaf has a crackly, deep golden crust, a soft chewy inside full of air pockets, and little pockets of roasted garlic and rosemary tucked all through it. It’s the kind of bread you tear into standing over the cutting board before it’s even fully cooled. 🍞
You don’t need to be an experienced bread baker to pull this off either. I’ll walk you through every step, including the mistakes I made so you can skip right past them.
Side Note: If you’re newer to sourdough in general, you might want to check out my beginner sourdough starter guide before diving into this one.
What You’ll Need
Here’s everything that goes into this loaf:
- 1 cup active sourdough starter (fed and bubbly)
- 1 ½ cups warm water
- 4 cups bread flour
- 2 tsp salt
- 3 tbsp olive oil (plus more for the pan and roasting garlic)
- 1 whole head of garlic
- 3 tbsp fresh rosemary, chopped (plus a few sprigs for topping)
- 1 tbsp cornmeal or extra flour, for dusting
Tools You’ll Need
- Large mixing bowl
- Dutch oven with lid
- Bench scraper
- Sharp knife or bread lame for scoring
- Parchment paper
- Kitchen towel or plastic wrap
- Small oven-safe dish (for roasting the garlic)
Pro Tips Before You Start
A few things I learned the hard way so you don’t have to:
- Roast your garlic first, always. Raw garlic in the dough turns sharp and almost bitter after baking. Roasted garlic goes sweet and mellow, which is what makes this bread taste like something from a bakery instead of a garlic bread experiment gone wrong.
- Don’t rush the bulk ferment. I know it’s tempting to speed things along. But sourdough needs time to actually develop flavor, and rushing it just gives you a dense, sad loaf.
- Your starter needs to pass the float test. Drop a spoonful of your starter into water. If it floats, it’s ready. If it sinks, give it a few more hours.
- Score your bread with confidence. One clean, deep slash across the top, about half an inch deep. Hesitant, shallow cuts give you weird, uneven splits instead of that pretty bakery-style bloom.
- Let it cool completely before slicing. I know. I know it’s hard. But the inside is still cooking when it comes out of the oven, and slicing too early gives you a gummy center every single time.
How to Make Garlic Rosemary Sourdough
Step 1: Roast the garlic
Preheat your oven to 400°F.
Slice the top off the garlic head so the cloves are just exposed. Drizzle with olive oil, wrap loosely in foil, and roast for 35-40 minutes until soft and golden.
Let it cool, then squeeze the cloves out of their skins into a small bowl. Mash lightly with a fork.
Step 2: Mix the dough
In your large bowl, combine the sourdough starter and warm water. Stir until the starter dissolves a bit.
Add the bread flour and mix until no dry patches remain. Cover and let it rest for 30 minutes (this is called the autolyse, and it makes a huge difference in texture).
Step 3: Add salt, garlic, and rosemary
Sprinkle the salt over the dough and add the roasted garlic and chopped rosemary.
Mix everything in with your hands, folding and squeezing until it’s fully combined. It’ll look a little messy at this stage. That’s normal.
Step 4: Bulk ferment with stretch and folds
Cover the bowl and let the dough rest at room temperature for 4-6 hours.
Every 30 minutes for the first 2 hours, do a round of stretch and folds: grab one side of the dough, stretch it up, and fold it over the top. Turn the bowl a quarter turn and repeat 4 times.
The dough is ready when it’s puffy, jiggly, and has noticeably grown in size.
Step 5: Shape the loaf
Turn the dough out onto a lightly floured surface. Shape it into a tight ball by pulling the edges under itself repeatedly.
Place it seam-side up in a well-floured bowl or proofing basket.
Step 6: Cold proof overnight
Cover and refrigerate for 12-16 hours. This slow, cold rise is where a lot of the flavor really develops, so don’t skip it even if you’re impatient (I get it).
Step 7: Bake
Preheat your oven to 450°F with the Dutch oven inside for at least 30 minutes.
Turn the dough out onto parchment paper, seam-side down. Score the top with one confident slash and add a couple rosemary sprigs on top for looks.
Carefully lower the dough (with the parchment) into the hot Dutch oven. Cover with the lid and bake for 20 minutes.
Remove the lid and bake for another 20-25 minutes, until the crust is deep golden brown.
Step 8: Cool completely
Transfer to a wire rack and let it cool for at least 1 hour before slicing. Yes, an hour. I’ve timed myself failing at this more than once.
Substitutions and Variations
| Original | Swap | Notes |
|---|---|---|
| Bread flour | All-purpose flour | Slightly less chewy, still works fine |
| Fresh rosemary | Dried rosemary (1 tbsp) | Reduce amount since dried is more concentrated |
| Roasted garlic | Garlic powder (1 tbsp) | Faster, but you lose that sweet roasted flavor |
| Olive oil | Melted butter | Adds a richer flavor |
| Regular salt | Sea salt flakes on top | Nice crunchy finishing touch |
Variation idea: Add ½ cup shredded parmesan into the dough with the garlic for a cheesy version that’s honestly dangerous to have in the house.
Make Ahead Tips
You can prep this in stages if your schedule is tight:
- Roast the garlic up to 3 days ahead and store it in the fridge.
- The cold overnight proof basically builds make-ahead time right into the recipe. Shape the dough at night, bake it fresh the next morning.
- You can also freeze the shaped, unbaked dough for up to 1 month. Thaw in the fridge overnight before baking.
Nutritional Breakdown (Per Slice, Approx. 12 Slices)
| Nutrient | Amount |
|---|---|
| Calories | 165 |
| Carbohydrates | 30g |
| Protein | 5g |
| Fat | 3g |
| Fiber | 1g |
| Sodium | 320mg |
Values are estimates and will vary based on exact ingredients used.
Meal Pairing Suggestions
This bread is honestly good enough to eat on its own with a little butter, but here’s where it really shines:
- Alongside a bowl of tomato soup for dunking
- With a charcuterie board as the star carb
- Toasted and topped with fresh burrata and a drizzle of honey
- Served warm next to a big bowl of pasta
Storage and Leftovers
Store the cooled loaf in a paper bag or wrapped in a kitchen towel at room temperature for up to 3 days. Avoid plastic bags since they trap moisture and make the crust go soft.
For longer storage, slice the loaf and freeze the slices in a freezer bag for up to 3 months. Toast straight from frozen whenever you want a slice.
Stale slices make incredible garlic bread. Just butter them up and pop them under the broiler for a couple minutes.
FAQ
Why is my dough too sticky to shape? Sourdough is naturally a wetter dough. Wet your hands instead of adding more flour, which can make the loaf dense.
Can I make this without a Dutch oven? Yes, though the crust won’t be quite as crackly. Bake on a baking sheet with a pan of water on the oven’s bottom rack for steam.
Why didn’t my bread rise much? Your starter probably wasn’t active enough. Make sure it passes the float test before you start mixing.
Can I add the garlic and rosemary before the autolyse? I’d hold off. Adding them after the autolyse keeps gluten development on track and mixes them in more evenly.
Is this recipe beginner friendly? It’s a great next step after you’ve made a plain sourdough loaf at least once. If this is your very first sourdough attempt ever, I’d start simpler first.
Wrapping Up
This garlic rosemary sourdough is one of those recipes worth the wait, the folding, and yes, even a burnt loaf or two along the way.
Once you pull that golden, crackly loaf out of the oven and the whole kitchen smells like garlic and rosemary, you’ll understand exactly why I kept baking loaf after loaf until I got it right.
Give this one a try and let me know how it turns out in the comments below! I’d love to hear if you added any twists of your own, or if you have questions before you get started. 🧄