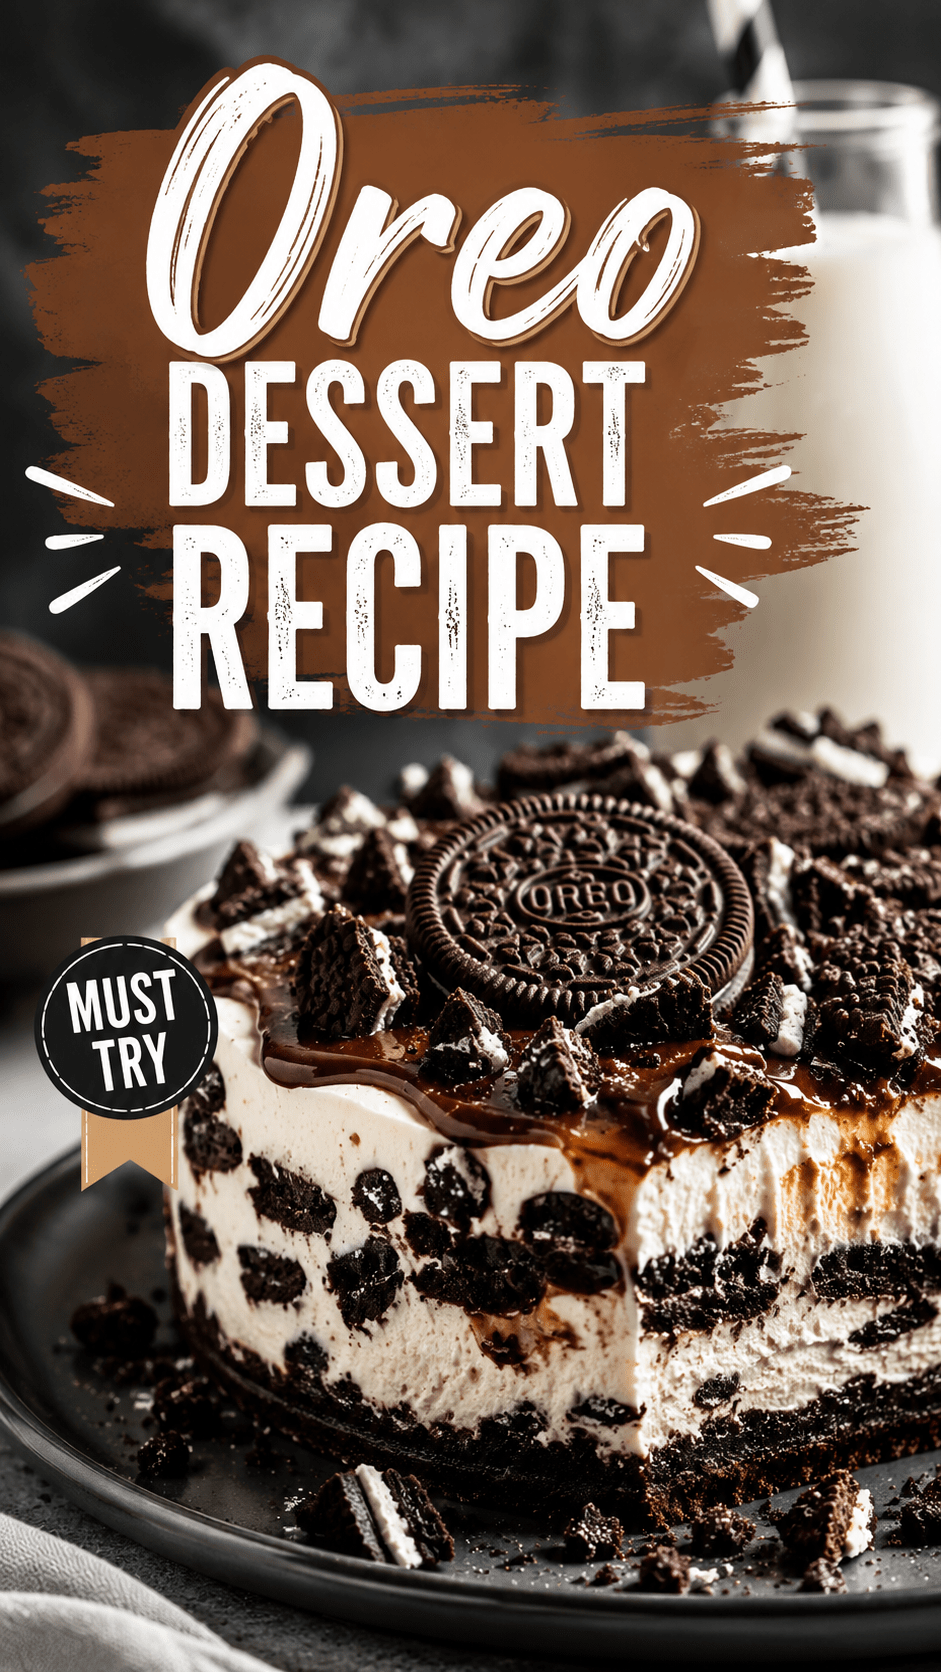
I made this for a family dinner once and my mother-in-law asked for the recipe before dessert was even over. 🍪
That’s when I knew this one was a keeper.
This is the kind of dessert you make when you want something impressive but you absolutely do not want to turn on your oven. Layers of crushed Oreos, a creamy filling, and a whipped topping that ties it all together. No baking. No stress. Just chill time and a fridge.
I’ve made this dozens of times now, for potlucks, birthdays, and one memorable Tuesday when I just needed chocolate in my life. It disappears fast every single time.
Let’s get into it.
What You’ll Need
Here’s everything you’ll need to pull this together.
For the Oreo layer:
- 36 Oreo cookies (regular, not double stuf)
- 4 tablespoons unsalted butter, melted
For the filling:
- 8 oz cream cheese, softened
- 1/3 cup granulated sugar
- 1 teaspoon vanilla extract
- 2 cups cold heavy whipping cream
- 1/2 cup powdered sugar
For the topping:
- 8-10 crushed Oreos
- Chocolate syrup (optional, but recommended)
- Mini chocolate chips (optional)
That’s it. Nine ingredients, most of which you probably already have.
Tools You’ll Need
- 9×13 inch baking dish
- Food processor (or a ziplock bag and a rolling pin, if you want to take your frustrations out on some cookies)
- Electric mixer or stand mixer
- Mixing bowls
- Rubber spatula
Pro Tips
A few things I learned the hard way so you don’t have to.
- Don’t skip the chill time. I know it’s tempting to cut corners, but this dessert needs at least 4 hours in the fridge to set properly. Overnight is even better.
- Use full-fat cream cheese. The low-fat version makes the filling watery, and nobody wants a soupy dessert.
- Whip your cream to stiff peaks, not soft ones. If it’s too soft, your layers will collapse into each other instead of staying distinct.
- Save some crushed Oreos for the top. It’s a small thing, but that extra crunch on top makes a huge difference in every bite.
- Let your cream cheese come to room temperature first. Cold cream cheese equals lumpy filling, and lumpy filling equals sad dessert.
How To Make It
Step 1: Prep the crust.
Add 24 of your Oreos (cream and all) to a food processor. Pulse until they turn into fine crumbs.
Mix the crumbs with the melted butter until it looks like wet sand. Press this into the bottom of your 9×13 dish.
Step 2: Make the filling.
In a large bowl, beat the softened cream cheese with the granulated sugar and vanilla until smooth. No lumps allowed.
In a separate bowl, whip your cold heavy cream with the powdered sugar until stiff peaks form.
Gently fold the whipped cream into the cream cheese mixture. Fold, don’t stir. You want to keep all that air in there.
Step 3: Add the middle layer.
Roughly chop your remaining 12 Oreos and fold them into the filling.
Step 4: Layer it up.
Spread the filling evenly over your Oreo crust. Smooth the top with a spatula.
Step 5: Top it off.
Sprinkle your reserved crushed Oreos over the top. Drizzle with chocolate syrup and add mini chocolate chips if you’re feeling extra.
Step 6: Chill.
Cover and refrigerate for at least 4 hours, though overnight is really where the magic happens.
Step 7: Slice and serve.
Cut into squares and watch them disappear.
Substitutions and Variations
This recipe is pretty forgiving. Here’s how you can switch things up.
| Original | Swap | Why It Works |
|---|---|---|
| Regular Oreos | Golden Oreos | Milder, vanilla-forward flavor |
| Heavy whipping cream | Cool Whip (thawed) | Faster, slightly less rich |
| Chocolate syrup | Caramel sauce | Adds a different sweetness |
| Cream cheese | Mascarpone | Lighter, silkier filling |
| Nothing on top | Crushed peanut butter cups | Because why not |
You can also make this gluten-free by swapping in gluten-free chocolate sandwich cookies. They work just as well.
Make Ahead Tips
This is honestly one of the best make-ahead desserts I know.
You can build the entire thing up to 2 days in advance and just keep it covered in the fridge until you’re ready to serve. If anything, the extra time only helps the layers set and the flavors come together.
Just add your crushed Oreo topping right before serving so it stays crunchy instead of going soft.
A Few Extra Details
Serving size: This recipe makes about 12 generous squares, or 16 smaller ones if you’re serving a crowd.
Meal pairing: This pairs really well with a strong cup of coffee. The bitterness cuts through all that sweetness.
Time-saving tip: Crush all your Oreos at once at the start, then divide them into your crust portion, mix-in portion, and topping portion. It saves you from washing the food processor twice.
For a lighter version: Swap the heavy cream for a light whipped topping and use reduced-fat cream cheese. It won’t be quite as rich, but it’ll still hit the spot.
Leftovers and Storage
Store any leftovers covered in the fridge for up to 5 days. Honestly, I think it tastes even better on day two once everything has had time to meld together.
You can also freeze individual squares for up to 2 months. Just wrap them tightly in plastic wrap first, then place them in a freezer bag. Thaw in the fridge overnight before eating.
I wouldn’t recommend leaving this out at room temperature for more than 2 hours since it has cream cheese and whipped cream in it.
FAQ
Can I use a different pan size?
You can, but it’ll change the thickness of your layers. An 8×8 dish will give you thicker, taller squares. A 9×13 gives you the classic thinner slice.
Why did my filling turn out runny?
This usually happens for one of two reasons: your cream cheese wasn’t fully softened, or your whipped cream wasn’t whipped to stiff peaks. Both matter.
Can I make this ahead for a party?
Yes, and honestly you should. Making it a day or two ahead actually improves the texture and flavor.
Do I have to use a food processor?
No. A ziplock bag and a rolling pin work just fine if you don’t have one. It’s a great way to relieve some stress too.
Can kids help make this?
Definitely. Crushing the Oreos is basically the most fun part, and there’s no oven involved so it’s a safe one to hand off to little helpers.
Wrapping Up
This is one of those desserts that looks like it took way more effort than it actually did. Nine ingredients, no oven, and a fridge that does most of the work for you.
Make it once and I promise it’ll become one of your go-to desserts for potlucks, birthdays, or just a random Tuesday when you need something sweet.
Give it a try and let me know how it turns out in the comments below. I’d love to hear what toppings you added or if you tried any of the substitutions.
And if you have any questions along the way, drop them below too. I read every comment.