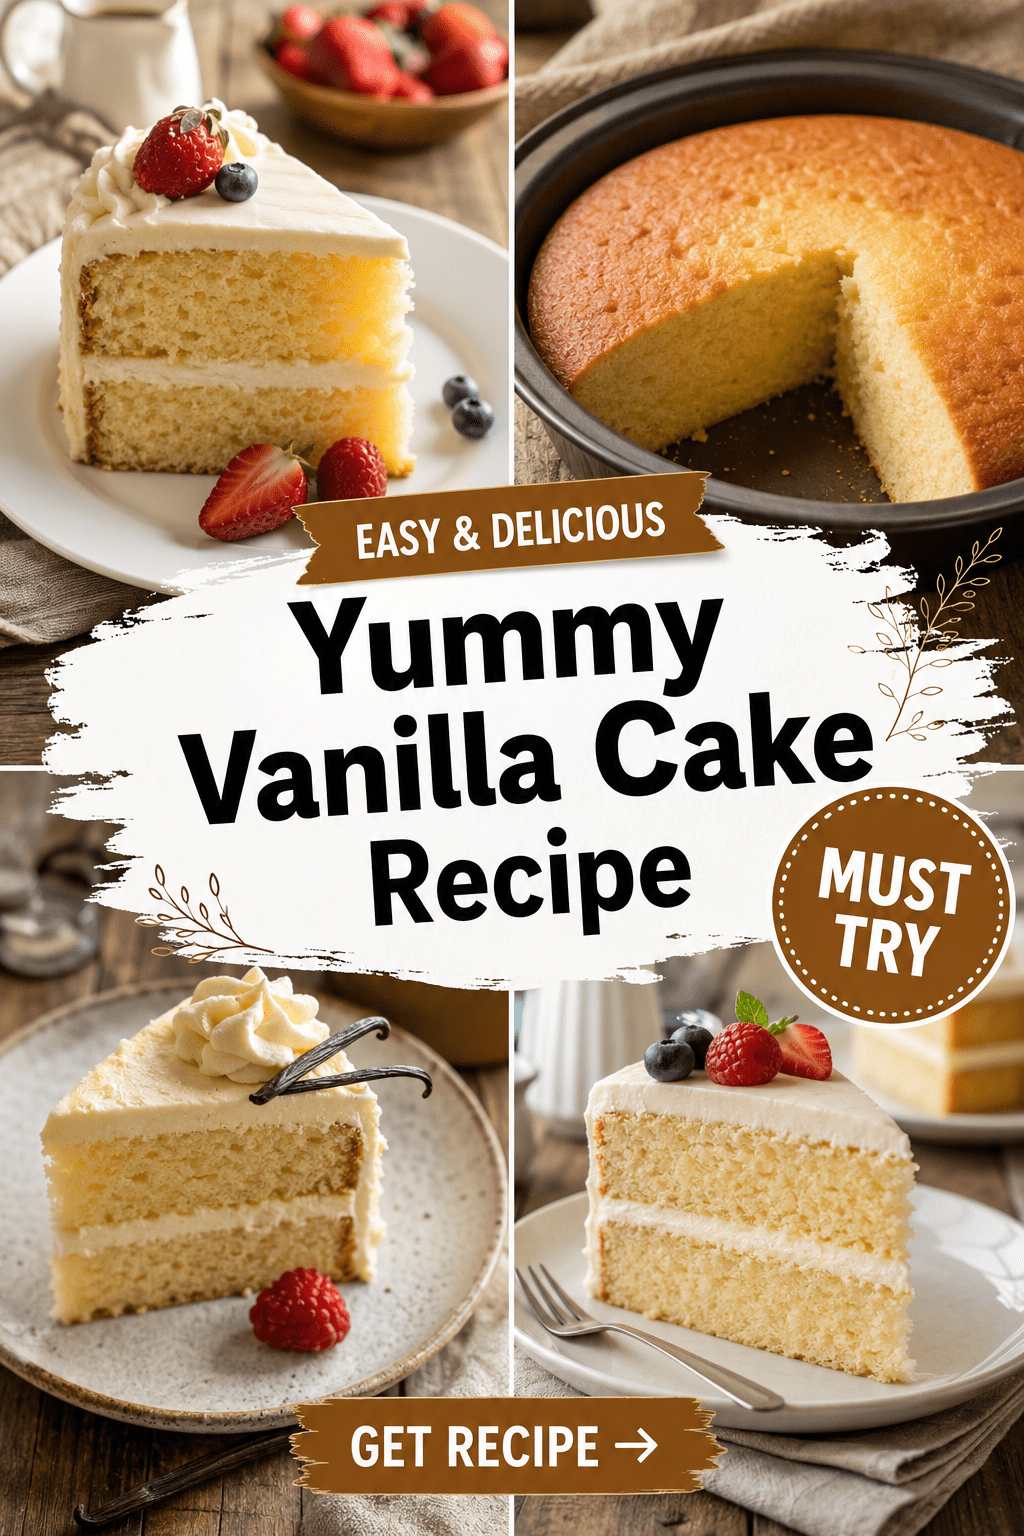
Can a cake with just 8 ingredients actually taste like it came from a bakery?
I asked myself that exact question the first time I made this one. And after three test batches (two of which disappeared before they even cooled), I can say yes. Confidently.
This is the vanilla cake I bring to birthdays, potlucks, and random Tuesdays when I need a win. It’s soft, it’s moist, and it has that bakery-style crumb that most homemade cakes just can’t seem to nail.
I’m going to walk you through exactly how I make it, including a couple of mistakes I made early on so you don’t have to repeat them. 🍰
Let’s get into it.
What You’ll Need
Here’s everything that goes into this cake. Nothing fancy, just good basics used the right way.
- 2 ½ cups all-purpose flour (300g)
- 2 ½ tsp baking powder
- ½ tsp salt
- 1 cup unsalted butter, softened (2 sticks)
- 1 ¾ cups granulated sugar
- 4 large eggs, room temperature
- 1 tbsp pure vanilla extract
- 1 cup whole milk, room temperature
That’s it. Eight ingredients between you and a genuinely great cake.
Tools You’ll Need
- Two 9-inch round cake pans
- Stand mixer or hand mixer
- Mixing bowls (at least 2)
- Rubber spatula
- Cooling rack
- Parchment paper
- Measuring cups and spoons
How to Make It
Step 1: Prep your pans and oven
Preheat your oven to 350°F.
Grease both cake pans, then line the bottoms with parchment paper. This step feels optional. It’s not.
Step 2: Mix your dry ingredients
In a bowl, whisk together the flour, baking powder, and salt.
Set it aside. You’re not touching this again until step 5.
Step 3: Cream your butter and sugar
In your stand mixer, beat the butter and sugar together for a full 3 minutes.
Not 30 seconds. Not 1 minute. Three full minutes.
This is where the fluffy texture comes from, so don’t rush it.
Step 4: Add eggs and vanilla
Add the eggs one at a time, beating well after each one.
Mix in the vanilla extract last.
Step 5: Alternate dry ingredients and milk
Add the flour mixture in three parts, alternating with the milk, starting and ending with the flour.
Mix on low speed. Stop as soon as everything is combined.
Step 6: Divide and bake
Split the batter evenly between your two pans.
Bake for 28 to 32 minutes, until a toothpick comes out clean.
Step 7: Cool completely
Let the cakes sit in their pans for 10 minutes.
Then move them to a cooling rack until they’re fully cool. This part matters more than people think.
Pro Tips
These are the small things that separate a good cake from a great one.
- Room temperature everything. Cold eggs and cold milk mess with how the batter comes together. Set them out an hour before baking.
- Don’t overmix once the flour goes in. Overmixing builds gluten, and gluten makes your cake dense instead of soft.
- Weigh your flour if you can. A kitchen scale removes all the guesswork. Scooping flour with a cup often means you’re using way more than the recipe calls for.
- Rotate your pans halfway through baking. Ovens rarely heat evenly, and this small step prevents lopsided layers.
- Level your cakes before frosting. A serrated knife and a steady hand go a long way here.
Substitutions and Variations
This cake is flexible, which is honestly one of the reasons I keep coming back to it.
- Buttermilk instead of whole milk for a slightly tangier, richer flavor
- Almond extract swapped in for half the vanilla for a subtle twist
- Gluten-free 1:1 flour blend works well if you need it dairy free friendly
- Cake flour instead of all-purpose for an even softer, more delicate crumb
- Add citrus zest like lemon or orange for a brighter flavor profile
Make Ahead Tips
You can bake the cake layers up to 2 days ahead.
Wrap them tightly in plastic wrap and store at room temperature.
You can also freeze the layers for up to 3 months. Just thaw them overnight in the fridge before frosting.
Nutritional Snapshot
Here’s a rough breakdown per slice, based on 12 slices per cake (unfrosted).
| Nutrient | Amount |
|---|---|
| Calories | 310 |
| Total Fat | 15g |
| Carbohydrates | 40g |
| Sugar | 22g |
| Protein | 4g |
Keep in mind this will shift depending on your frosting choice.
Storage and Leftovers
Once frosted, store the cake in an airtight container.
- At room temperature: good for 2 days
- In the fridge: good for up to 5 days
- In the freezer: slice and wrap individually for up to 2 months
Let refrigerated slices sit out for 20 minutes before eating. Cold cake straight from the fridge just isn’t the same.
FAQ
Why did my cake sink in the middle?
This usually means the oven wasn’t hot enough, or the cake was pulled out too early. An oven thermometer solves this more often than people expect.
Can I make this into cupcakes?
Yes. Fill liners two-thirds full and bake for 18 to 20 minutes.
Why is my cake dense instead of fluffy?
Overmixing after adding the flour is almost always the reason. Mix just until combined.
Can I double this recipe for a bigger cake?
Yes, this recipe doubles well for a 3-layer 9-inch cake or a large sheet cake. Just adjust your bake time slightly longer.
What frosting pairs best with this cake?
A classic vanilla buttercream is the easiest match, but cream cheese frosting and chocolate ganache both work beautifully too.
Wrapping Up
This cake has become one of my go-to recipes, and I think it’s about to become one of yours too.
It’s simple enough for a first attempt, but the result tastes like something way more advanced.
Give it a try this week, and when you do, come back and tell me how it turned out. I’d love to hear what frosting you paired it with, or any twist you added to make it your own. 🎂