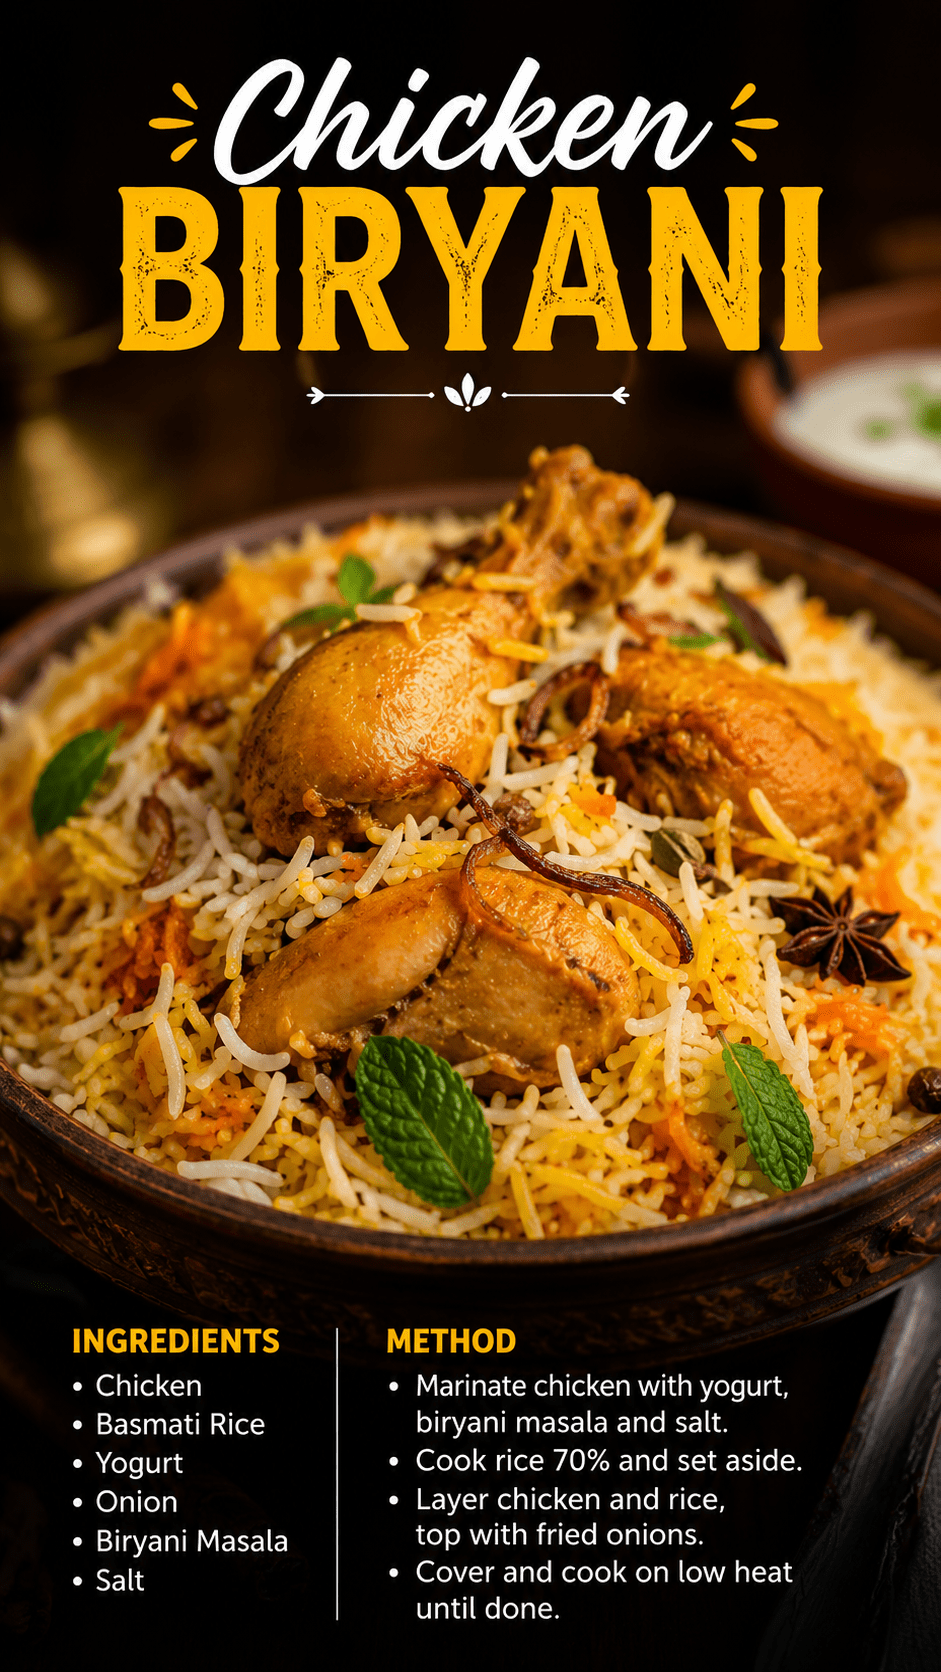
You spend $25 on biryani from your favorite restaurant. It arrives lukewarm, the rice is a little mushy, and somehow it still manages to be gone in under ten minutes.
This recipe fixes all of that.
Homemade chicken biryani is one of those dishes that sounds intimidating until you actually make it. Then you realize it’s just layers. Marinated chicken. Fragrant spiced rice. A handful of pantry staples doing the heavy lifting. The oven does most of the work.
And the flavor? It genuinely doesn’t compare to takeout. 🤌
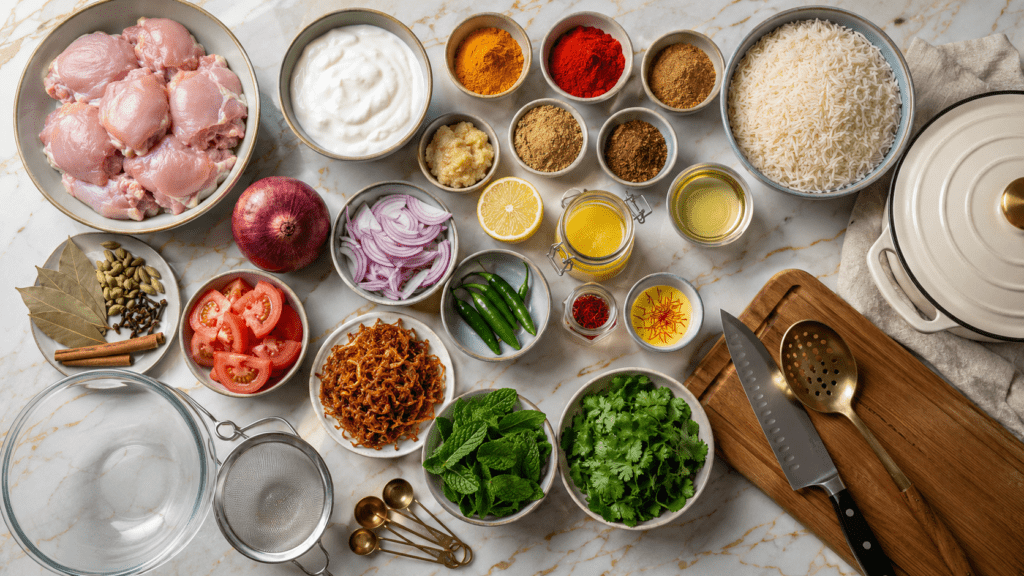
What You’ll Need
For the Chicken Marinade:
- 1.5 lbs (700g) bone-in, skinless chicken thighs (about 4–5 pieces)
- 1 cup plain full-fat yogurt
- 1.5 tsp salt
- 1 tsp turmeric powder
- 1.5 tsp red chili powder (Kashmiri)
- 1.5 tsp cumin powder
- 1 tsp coriander powder
- 1 tsp garam masala
- 1 tbsp ginger-garlic paste (or 1 tsp each minced fresh ginger and garlic)
- 2 tbsp neutral oil (vegetable or canola)
- Juice of half a lemon
For the Rice:
- 2 cups basmati rice (aged basmati if you can find it)
- 4 cups water
- 2 bay leaves
- 4 green cardamom pods
- 4 whole cloves
- 1 cinnamon stick
- 1 tsp salt
For the Base (Gravy Layer):
- 2 large onions, thinly sliced
- 3 tbsp ghee (or butter)
- 2 tbsp oil
- 2 medium tomatoes, finely chopped
- 2 green chilies, slit (optional, skip if heat-sensitive)
- 1 tsp ginger-garlic paste
- ½ tsp turmeric
- 1 tsp red chili powder
- Salt to taste
For Layering:
- Large pinch of saffron soaked in 3 tbsp warm milk
- Handful of fresh mint leaves
- Handful of fresh cilantro (coriander), chopped
- 2 tbsp ghee, for drizzling
- ¼ cup crispy fried onions (store-bought or homemade)
Tools You’ll Need
- Large mixing bowl (for marinade)
- Heavy-bottomed pot or Dutch oven with a tight-fitting lid (5–6 quart)
- Large saucepan (for parboiling rice)
- Fine mesh strainer
- Slotted spoon or tongs
- Aluminum foil (for sealing)
- Measuring cups and spoons
- Sharp knife and cutting board
Pro Tips
These are the things I wish someone had told me the first time I made biryani:
- Use bone-in chicken. The bones release collagen as they cook, which keeps the meat moist and adds serious depth to the whole dish. Boneless works in a pinch, but it’s just not the same.
- Parboil your rice to exactly 70%. This is the most important step people get wrong. The rice should still have a firm bite when you drain it. It’ll finish cooking in the pot during dum (the steam-cooking phase). Fully cooked rice going in = mushy biryani coming out.
- Don’t skip the saffron milk. I know saffron feels extra, but even a small pinch gives the biryani that gorgeous golden color on top and a subtle floral note that you can’t fake. A few threads go a long way.
- Seal the pot tightly. During dum cooking, you want zero steam escaping. Crimp foil over the pot before putting the lid on. This is what creates that signature biryani texture where every grain stays separate and fluffy.
- Let it rest before opening. After dum is done, leave the pot sealed for 10 minutes off the heat. Opening it too soon releases steam and you lose that perfect moisture balance.
Substitutions and Variations
| If You Need | Try This Instead |
|---|---|
| Bone-in thighs | Boneless thighs (reduce dum time by 5 min) |
| Ghee | Unsalted butter or a neutral oil |
| Full-fat yogurt | Greek yogurt thinned with a splash of water |
| Fresh mint | Dried mint (use half the amount) |
| Saffron | A pinch of turmeric in warm milk (color only, no flavor swap) |
| Kashmiri chili powder | Half regular chili powder + half paprika |
Vegetarian version: Swap chicken for 2 cups of mixed vegetables (potatoes, carrots, peas, cauliflower) plus 1 can of drained chickpeas. Reduce base cooking time to 10 minutes.
Slow cooker version: After layering in a slow cooker-safe pot, cook on HIGH for 2 hours. No need for dum.
Make-Ahead Tips
This is one of those recipes that actually gets better the next day (the flavors meld overnight), so making it ahead is a genuinely great idea.
- Marinate the chicken up to 24 hours in advance. Cover and refrigerate. The longer it sits, the deeper the flavor.
- Make the base (gravy) layer a day ahead. Store in an airtight container in the fridge. Reheat before layering.
- Fry your onions ahead. Crispy fried onions keep well in an airtight container at room temp for up to 3 days.
Instructions
Step 1: Marinate the Chicken
Combine yogurt, salt, turmeric, Kashmiri chili, cumin, coriander, garam masala, ginger-garlic paste, oil, and lemon juice in a large bowl.
Add the chicken pieces and coat thoroughly. Cover and marinate for at least 2 hours, or overnight in the fridge.
Step 2: Parboil the Rice
Rinse basmati rice until the water runs clear (this removes excess starch). Soak for 30 minutes, then drain.
Bring 4 cups of water to a boil with bay leaves, cardamom, cloves, cinnamon, and salt. Add the drained rice and cook for 5–6 minutes until it’s about 70% cooked. The rice should still have a firm bite.
Drain immediately through a fine mesh strainer. Set aside.
Step 3: Build the Base
Heat ghee and oil in your heavy-bottomed pot over medium-high heat. Add sliced onions and cook, stirring occasionally, for 15–18 minutes until they’re deep golden brown and caramelized. This step takes patience. Don’t rush it.
Remove half the onions and set aside for layering.
To the remaining onions, add ginger-garlic paste and green chilies. Cook 1 minute until fragrant.
Add tomatoes, turmeric, chili powder, and salt. Cook over medium heat for 8–10 minutes, stirring often, until the tomatoes break down and oil starts to separate from the mixture.
Step 4: Cook the Chicken
Add marinated chicken pieces directly into the base. Stir to coat, then cover and cook over medium heat for 20–22 minutes, turning once, until the chicken is cooked through.
You want a thick, rich gravy at this point. If it’s too watery, cook uncovered for a few more minutes.
Step 5: Layer the Biryani
Spread the chicken and gravy evenly across the bottom of the pot.
Add half the parboiled rice in an even layer. Scatter half the mint, half the cilantro, half the reserved fried onions, and drizzle with half the saffron milk.
Add the remaining rice. Top with the rest of the mint, cilantro, fried onions, saffron milk, and the 2 tablespoons of ghee.
Step 6: Dum Cooking (Steam Cooking)
Cover the pot tightly with aluminum foil first, then place the lid on top. This double-seal traps every bit of steam inside.
Cook on the lowest possible heat for 25 minutes. Do not open the lid during this time.
After 25 minutes, turn off the heat and leave sealed for another 10 minutes.
Step 7: Serve
Open the foil carefully (steam will rush out). Use a large spoon to gently mix the layers from the bottom up, being careful not to break the rice grains too much.
Serve hot with raita, sliced onions, or a wedge of lemon.
Nutritional Breakdown (Per Serving, Serves 5)
| Nutrient | Amount |
|---|---|
| Calories | ~520 kcal |
| Protein | ~32g |
| Carbohydrates | ~52g |
| Fat | ~17g |
| Fiber | ~2g |
| Sodium | ~680mg |
Note: Values are estimates based on standard ingredient amounts.
Meal Pairing Suggestions
Biryani is technically a complete meal on its own, but these sides take it to another level:
- Raita (cucumber yogurt dip) for cooling contrast
- Mirchi ka salan (green chili curry) for heat lovers
- Sliced raw onions with lemon for freshness
- Simple cucumber and tomato salad
- Sheermal or naan if you want the full spread
Leftovers and Storage
- Refrigerator: Store in an airtight container for up to 4 days. The flavor actually deepens overnight.
- Freezer: Freeze portions for up to 2 months. Thaw overnight in the fridge before reheating.
- Reheating: Sprinkle a couple tablespoons of water over the biryani before microwaving, covered, to keep it from drying out. Or reheat in a pan with a splash of water over low heat.
FAQ
Can I use chicken breast instead of thighs?
You can, but it dries out faster. If you go this route, cut the dum cooking time by 5 minutes and keep a close eye on things.
My biryani always turns out mushy. What am I doing wrong?
Almost always the rice. Make sure you’re only parboiling to 70% (firm bite, not fully cooked). Also check that your pot seal is tight so you’re steaming, not boiling.
Do I need a Dutch oven or can I use a regular pot?
A heavy-bottomed pot with a tight lid works great. The heavy bottom prevents scorching during dum. If your pot has a thin base, put a flat griddle (tawa) under it to diffuse the heat.
Can I make this without saffron?
Yes. The flavor difference is subtle, but the color will be lighter. Add a pinch of turmeric to the warm milk to get a similar golden color.
Is this spicy?
Moderately. Kashmiri chili powder is more about color than heat. To reduce spice, cut the chili powder in half. To increase it, add more green chilies or a pinch of cayenne.
What’s the difference between Hyderabadi and Lucknowi biryani?
Hyderabadi biryani (kacchi style) uses raw marinated chicken layered directly with rice and slow-cooked together. Lucknowi (Awadhi) style uses pre-cooked meat. This recipe is closer to the Hyderabadi method with a brief pre-cook for reliability.
Wrapping Up
If you’ve made it this far, you’re about to have one of the best dinners you’ve made in a long time.
Biryani sounds like a project. And okay, it does take a little time. But most of that time is hands-off: the marinating, the dum cooking, the resting. The actual active cooking? Maybe 40 minutes.
And that first forkful of fluffy, saffron-tipped rice with tender, spiced chicken underneath? It makes the whole thing feel so worth it.
Give it a try this weekend, and then drop a comment below. Let me know how it turned out, which variation you tried, or if you have a question. I genuinely read every single one. 👇