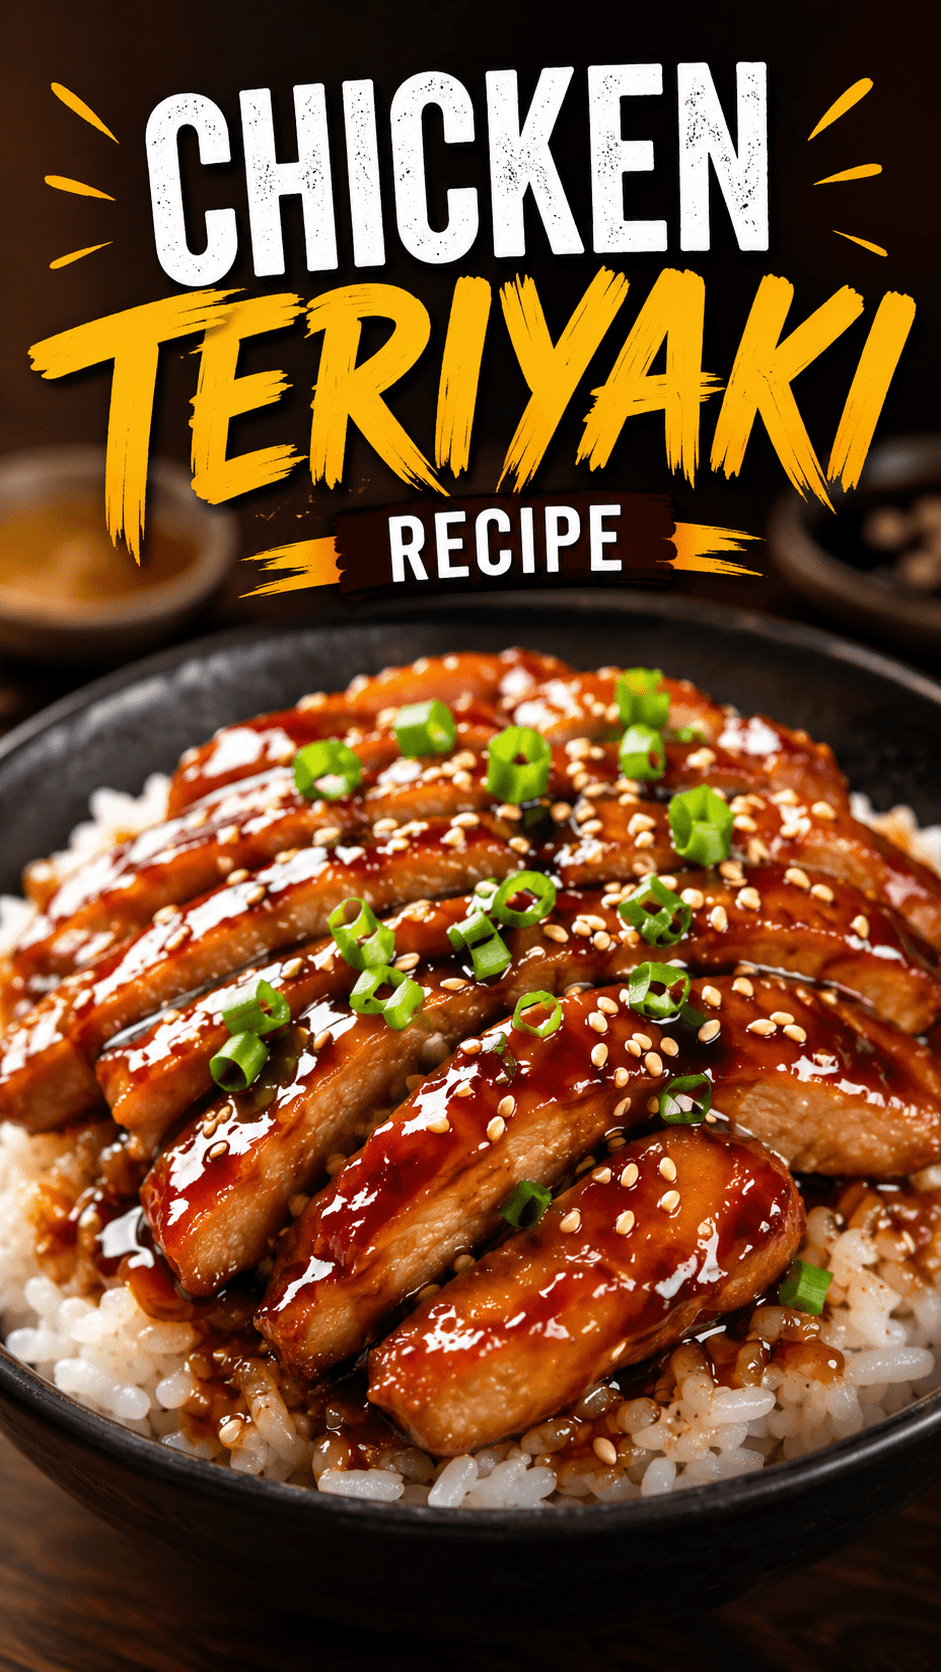
You’re going to make this once and suddenly every teriyaki restaurant is going to feel like a downgrade.
That’s not an exaggeration. Homemade chicken teriyaki is genuinely that good, and it takes about 30 minutes from start to finish.
It’s sticky, glossy, sweet, and savory all at once. The kind of dinner that makes you feel like you actually have your life together.
(And the sauce? You’ll want to put it on everything.)
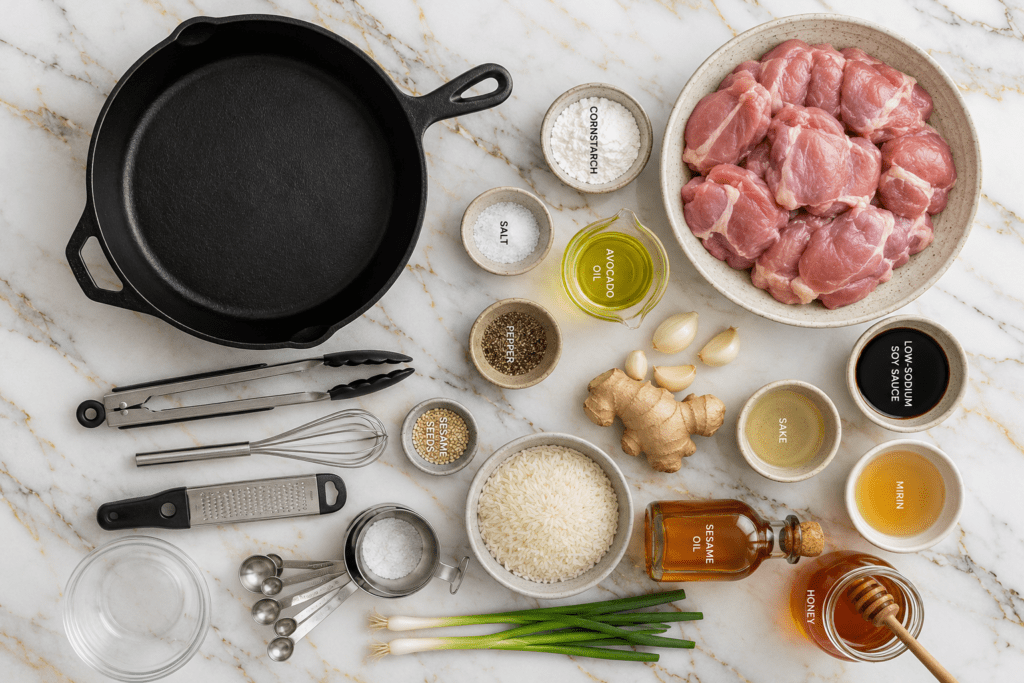
What You’ll Need
For the Chicken
- 1.5 lbs boneless, skinless chicken thighs (about 4-5 thighs)
- 1 tablespoon neutral oil (avocado or vegetable)
- Salt and pepper to taste
For the Teriyaki Sauce
- ½ cup low-sodium soy sauce
- ¼ cup mirin
- 3 tablespoons honey (or brown sugar)
- 2 tablespoons sake (or dry sherry)
- 1 teaspoon sesame oil
- 2 cloves garlic, minced
- 1 teaspoon fresh ginger, grated
- 1 tablespoon cornstarch
- 2 tablespoons cold water (for the cornstarch slurry)
To Serve
- 2 cups cooked white rice
- 1 tablespoon sesame seeds
- 2 green onions, thinly sliced
Tools You’ll Need
- Large skillet or cast iron pan
- Small mixing bowl (for the sauce)
- Whisk
- Knife and cutting board
- Measuring cups and spoons
- Tongs or a spatula
- Grater or microplane (for the ginger)
Pro Tips
These are the things that make the difference between “pretty good” and “I need to make this every week.”
1. Use chicken thighs, not breasts. Thighs stay juicy even if you cook them a bit longer. Chicken breasts are more forgiving in a lot of recipes, but not here. The fat in the thighs is what gives you that rich, caramelized exterior.
2. Pat your chicken completely dry before cooking. This is the step most people skip. Dry chicken = better sear = more flavor. Wet chicken just steams in the pan and you miss out on that golden crust.
3. Don’t rush the sauce reduction. Let it bubble and thicken at medium heat. If you crank the heat to speed things up, the sugars burn and the whole pan tastes bitter. Patience wins here.
4. Add the cornstarch slurry last. Mix the cornstarch with cold water separately, then pour it into the simmering sauce. This is what makes it glossy and restaurant-quality instead of thin and watery.
5. Slice against the grain. Once the chicken rests for 3-4 minutes, slice it against the grain. You’ll get much more tender bites.
Substitutions and Variations
This recipe is flexible. Here’s how to make it work for different situations:
| Swap | Use Instead |
|---|---|
| Chicken thighs | Chicken breasts (reduce cook time by 2 min) |
| Mirin | Rice vinegar + 1 tsp sugar |
| Sake | Dry sherry or apple juice |
| Honey | Brown sugar or maple syrup |
| Soy sauce | Coconut aminos (for gluten-free/soy-free) |
| White rice | Brown rice, cauliflower rice, or noodles |
Spicy version: Add 1-2 teaspoons of sriracha or gochujang to the sauce.
Sheet pan version: Skip the skillet, roast the thighs at 400°F for 20-22 minutes, then broil with the sauce for the last 3 minutes.
Salmon teriyaki: Same exact sauce, works perfectly with salmon fillets. Just cook skin-side down for 4 minutes, flip for 2 more.
Make-Ahead Tips
The sauce can be made up to 5 days ahead and stored in a jar in the fridge. This is actually a great idea if you meal prep on Sundays.
Marinate the chicken in half the sauce overnight for even deeper flavor. Just pat it dry before searing so you still get that golden crust.
Cooked chicken keeps well in the fridge for up to 4 days. Reheat in a pan with a splash of water to loosen the sauce.
Full Instructions
Step 1: Make the sauce. Whisk together the soy sauce, mirin, honey, sake, sesame oil, garlic, and ginger in a small bowl. Set it aside.
Step 2: Prep the chicken. Pat the chicken thighs dry with paper towels. Season lightly with salt and pepper on both sides.
Step 3: Sear the chicken. Heat your oil in a large skillet over medium-high heat. Once hot, add the chicken thighs smooth-side down. Cook without moving them for 5-6 minutes until deeply golden brown.
Step 4: Flip and finish. Flip the chicken and cook for another 4-5 minutes. The internal temperature should hit 165°F (74°C). Transfer to a plate.
Step 5: Build the sauce. Pour the sauce mixture into the same pan. Let it simmer over medium heat for 2-3 minutes, stirring occasionally.
Step 6: Thicken it. Mix the cornstarch and cold water together until smooth, then pour it into the simmering sauce. Stir constantly for about 1 minute until the sauce thickens and turns glossy.
Step 7: Bring it all together. Add the chicken back to the pan. Spoon the sauce over each piece and let everything cook together for 1 more minute.
Step 8: Serve. Slice the chicken, lay it over rice, and spoon extra sauce on top. Finish with sesame seeds and green onions.
Nutritional Info (Per Serving, Serves 4)
| Nutrient | Amount |
|---|---|
| Calories | ~420 kcal |
| Protein | 36g |
| Carbohydrates | 38g |
| Fat | 12g |
| Sodium | 820mg |
| Sugar | 14g |
Values are approximate and will vary based on exact ingredients and portion sizes.
Lighten it up: Use coconut aminos instead of soy sauce to cut sodium significantly. Swap honey for a smaller amount of monk fruit sweetener to reduce sugar.
Up the protein: Serve over cauliflower rice instead of white rice to cut carbs and keep it higher protein per calorie.
Meal Pairing Suggestions
This dish is pretty complete on its own, but if you want to round it out:
- Steamed or stir-fried broccoli (it absorbs the sauce beautifully)
- Cucumber salad with rice vinegar and sesame oil
- Miso soup for a full Japanese-inspired spread
- Edamame as a simple starter
Leftovers and Storage
Fridge: Store leftovers in an airtight container for up to 4 days.
Freezer: Freeze cooked chicken (without the rice) for up to 2 months. Thaw overnight in the fridge.
Reheating: Add a small splash of water to the pan when reheating to loosen the sauce. The microwave works too, just cover it so it doesn’t dry out.
Lunch the next day: Slice the cold chicken thin and tuck it into a rice bowl with whatever vegetables you have. It’s honestly just as good cold.
FAQ
Can I use frozen chicken? Yes, just make sure it’s fully thawed and patted dry before cooking. Frozen chicken releases too much water and you’ll end up with a soggy result.
My sauce is too thin. What happened? Either the cornstarch slurry wasn’t fully mixed (lumps don’t dissolve), or the heat was too low. Crank it up to a gentle boil and stir until it coats the back of a spoon.
My sauce burned. What went wrong? The heat was too high. Teriyaki sauce has a lot of sugar in it, and sugar burns fast. Keep it at medium and you’ll be fine.
Can I grill the chicken instead of pan-searing? Yes! Grill over medium-high heat for about 5-6 minutes per side, then brush with sauce in the last 2 minutes of cooking. It’s incredible.
Is this recipe gluten-free? Not as written, because soy sauce contains wheat. Swap it for tamari or coconut aminos and it becomes completely gluten-free.
Do I have to use mirin? Mirin gives the sauce its characteristic sweetness and depth. If you can’t find it, combine 3 tablespoons of rice vinegar with 1 teaspoon of sugar as a substitute. It won’t be identical, but it works.
Can I double the recipe? Absolutely. Just make sure you’re not overcrowding the pan when you sear the chicken. Cook in two batches if needed, otherwise the chicken steams instead of sears and you lose that golden crust.
Wrapping Up
If you’ve never made homemade teriyaki before, this is the recipe to start with.
It’s simple enough for a Tuesday night and good enough to serve when you have people over. That’s a rare combination.
Once you taste how much better this is than the bottled stuff (or the takeout version), you’ll understand why people go out of their way to make it from scratch.
Give it a try this week and drop a comment below. I’d love to hear how it turned out, what swaps you made, or any questions you have along the way. 🍗