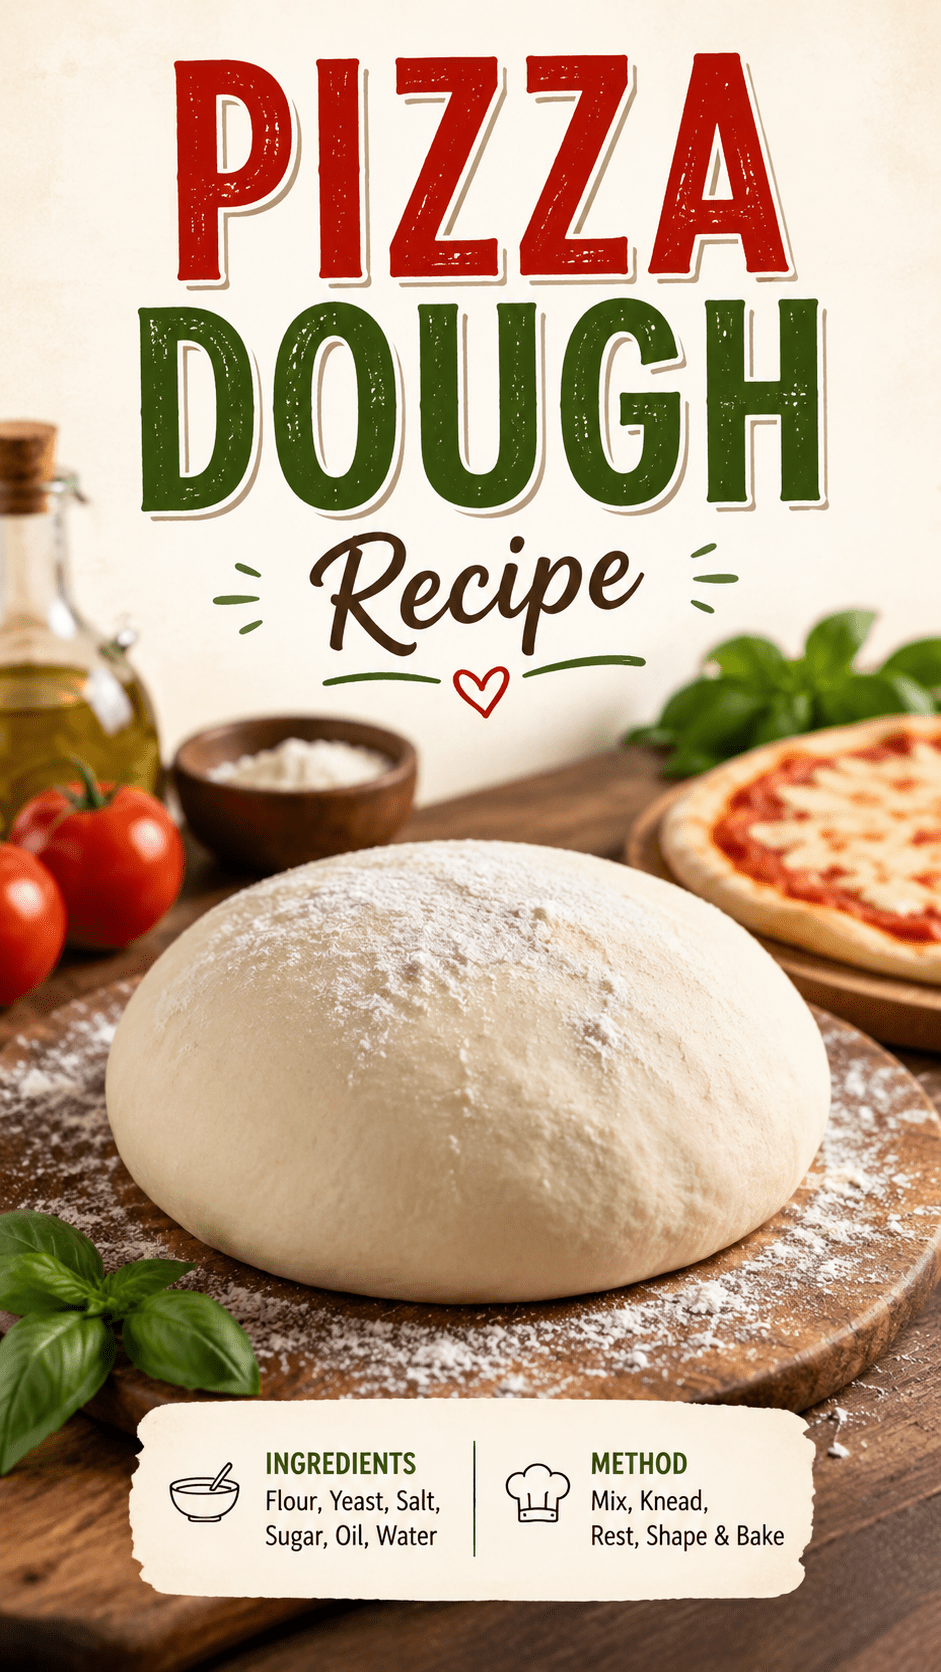
Homemade pizza dough sounds intimidating until you actually make it once.
Then you realize it’s basically flour, water, yeast, salt, and a little patience.
I used to buy the pre-made dough balls from the grocery store every single time. They were fine, but kind of bland and weirdly stiff.
The first time I made dough from scratch, I couldn’t believe how much better it tasted. And how little effort it actually took.
This is the recipe I make almost every Friday now. It’s soft, chewy, and gets those beautiful little air bubbles when it bakes. 🍕
Let’s get into it.
Why This Dough Beats Store-Bought
Store-bought dough is convenient, sure.
But it’s usually made in bulk, sits in a fridge for who knows how long, and doesn’t get the chance to develop real flavor.
Homemade dough only needs one thing store-bought can’t give you: time to rest and rise properly.
That resting time is where the yeast does its work, breaking down the flour and creating those little air pockets that give you a chewy, slightly crisp crust.
You’ll also notice the flavor difference immediately. Homemade dough tastes a little nutty, a little tangy, and way more interesting than anything from a plastic bag.
There’s also the cost side of things. A batch of ingredients for this dough costs less than a single store-bought ball, and it makes enough for two full pizzas.
Once you get the hang of the process, it takes about 15 minutes of hands-on work. The rest is just waiting.
What You’ll Need
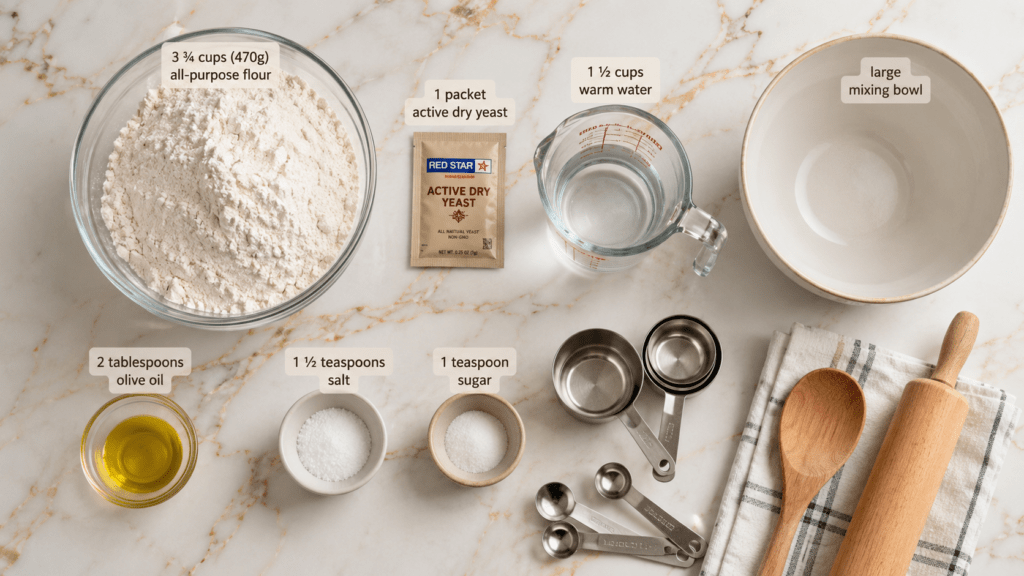
Here’s everything you’ll need to pull this off:
- 3 ¾ cups (470g) all-purpose flour (or bread flour for extra chew)
- 1 packet (2 ¼ tsp) active dry yeast
- 1 ½ cups (360ml) warm water (about 110°F)
- 2 tbsp olive oil
- 1 ½ tsp salt
- 1 tsp sugar
That’s it. Six ingredients, and you probably have most of them already.
Tools You’ll Need
- A large mixing bowl
- Measuring cups and spoons
- A kitchen towel or plastic wrap
- A wooden spoon or dough scraper
- A rolling pin (optional, I actually prefer using my hands)
- A pizza stone or baking sheet
Pro Tips Before You Start
A few things I learned the hard way, so you don’t have to.
1. Water temperature actually matters. Too hot and it kills the yeast. Too cold and it won’t activate. Aim for warm bathwater, not hot shower.
2. Don’t skip the rise time. I know it’s tempting to rush this part. But that hour of rising is where all the flavor and fluffiness comes from.
3. Knead longer than you think you need to. About 8 to 10 minutes by hand. Your arms will feel it, but the dough gets so much smoother and stretchier.
4. Room temperature dough stretches easier. If your dough has been in the fridge, let it sit out for 20 to 30 minutes before shaping. Cold dough tears instead of stretching.
5. A little extra flour on your hands goes a long way. This dough gets sticky. Keep flour nearby while shaping so it doesn’t glue itself to your fingers.
How to Make Pizza Dough
Step 1: Activate the yeast
In your mixing bowl, combine the warm water, sugar, and yeast.
Let it sit for about 5 to 10 minutes until it gets foamy on top. If nothing happens, your yeast might be dead and you’ll want to start over with a fresh packet.
Step 2: Mix the dough
Add the olive oil, salt, and 3 cups of flour to the yeast mixture.
Stir with a wooden spoon until it starts coming together into a shaggy dough.
Step 3: Knead it
Turn the dough out onto a floured surface.
Knead for 8 to 10 minutes, adding small amounts of the remaining flour as needed. You’re looking for a smooth, elastic ball that springs back when you poke it.
Step 4: Let it rise
Place the dough in a lightly oiled bowl and cover it with a damp towel or plastic wrap.
Let it rise somewhere warm for about 1 hour, or until it’s doubled in size.
Step 5: Punch it down and shape
Once it’s doubled, punch the dough down gently to release the air.
Divide it into two balls if you’re making two medium pizzas, or keep it whole for one large one.
Step 6: Stretch and top
Stretch or roll the dough into your desired shape on a floured surface or pizza stone.
Add your sauce, cheese, and toppings, then bake at 475°F for 12 to 15 minutes, or until the crust is golden and the cheese is bubbling.
If you have a pizza stone, preheat it in the oven for at least 20 minutes before baking. It makes a real difference in how crispy the bottom gets.
Substitutions and Variations
This dough is pretty forgiving, so feel free to play around:
| Swap This | For This | Why |
|---|---|---|
| All-purpose flour | Bread flour | Chewier, more structured crust |
| All-purpose flour | Whole wheat flour (half swap) | Nuttier flavor, more fiber |
| Active dry yeast | Instant yeast | Skip the activation step, mix straight in |
| Olive oil | Melted butter | Slightly richer flavor |
| Regular flour | Gluten-free 1:1 flour blend | For a gluten-free version (texture will differ slightly) |
You can also add garlic powder, dried oregano, or a pinch of red pepper flakes right into the dough for extra flavor. I do this often and it makes a noticeable difference.
Make Ahead Tips
This dough actually gets better with a little extra time.
- Fridge: After the first rise, punch it down, wrap tightly, and refrigerate for up to 3 days. Cold fermentation makes the flavor deeper and more complex.
- Freezer: Shape into balls, wrap individually in plastic, then place in a freezer bag for up to 3 months. Thaw overnight in the fridge before using.
- Always let refrigerated or frozen dough come to room temperature before stretching. Cold dough fights back.
Additional Details Worth Knowing
Nutritional breakdown (per serving, based on 8 slices from one batch):
Roughly 180 calories, 3g protein, 32g carbs, and 3g fat per slice (dough only, not counting toppings).
Diet-friendly swaps:
- Low-carb: try a cauliflower crust instead, though the texture will be very different
- Vegan: this recipe is already vegan as written, no eggs or dairy involved
- Gluten-free: use a 1:1 gluten-free flour blend, though the dough will be less elastic
Pairing suggestions:
A simple side salad with lemon vinaigrette cuts through the richness nicely. If you’re going for drinks, a light Italian red like Chianti pairs really well with a classic margherita.
Time efficiency tip:
Make the dough the night before and let it cold ferment in the fridge overnight. You’ll cut your day-of prep time down to just shaping and topping, which takes maybe 10 minutes.
Leftovers and Storage
If you end up with extra dough or baked pizza, here’s how to keep it fresh.
Unbaked dough: Store in the fridge for up to 3 days, or freeze for up to 3 months as mentioned above.
Baked pizza: Keep leftover slices in an airtight container in the fridge for up to 4 days.
Reheating: Skip the microwave, it makes the crust rubbery. Instead, reheat slices in a 375°F oven for 8 to 10 minutes, or in a skillet on medium heat with a lid for a few minutes to keep the crust crispy.
FAQ
Why is my dough not rising?
Your yeast is probably either expired or was mixed with water that was too hot. Double check the expiration date and use lukewarm, not hot, water next time.
Can I make this without a stand mixer?
Absolutely, this recipe is written for hand kneading. A stand mixer just saves your arms some work.
Why is my dough so sticky?
Some stickiness is normal, especially early on. Keep flouring your hands and surface as you knead, but avoid adding too much extra flour or the dough gets tough.
Can I use this dough for other things besides pizza?
Yes! It works well for breadsticks, calzones, or even a simple focaccia with some extra olive oil and rosemary on top.
How thin should I stretch the dough?
That depends on your preference. For a thin crust, stretch it out until it’s almost see-through in spots. For a thicker, chewier crust, keep it closer to a quarter inch thick.
My dough tore while I was stretching it. What went wrong?
This almost always happens when the dough is too cold or hasn’t rested long enough after shaping. Let it sit for 5 to 10 minutes and try again, it’ll stretch much easier once it relaxes.
Wrapping Up
Making pizza dough from scratch is one of those small kitchen wins that feels way bigger than it actually is.
Once you’ve made it a couple times, it becomes second nature. No recipe card needed.
Give this one a try this week, and let me know in the comments how it turned out. I’d love to hear what toppings you went with, or any questions you have along the way.