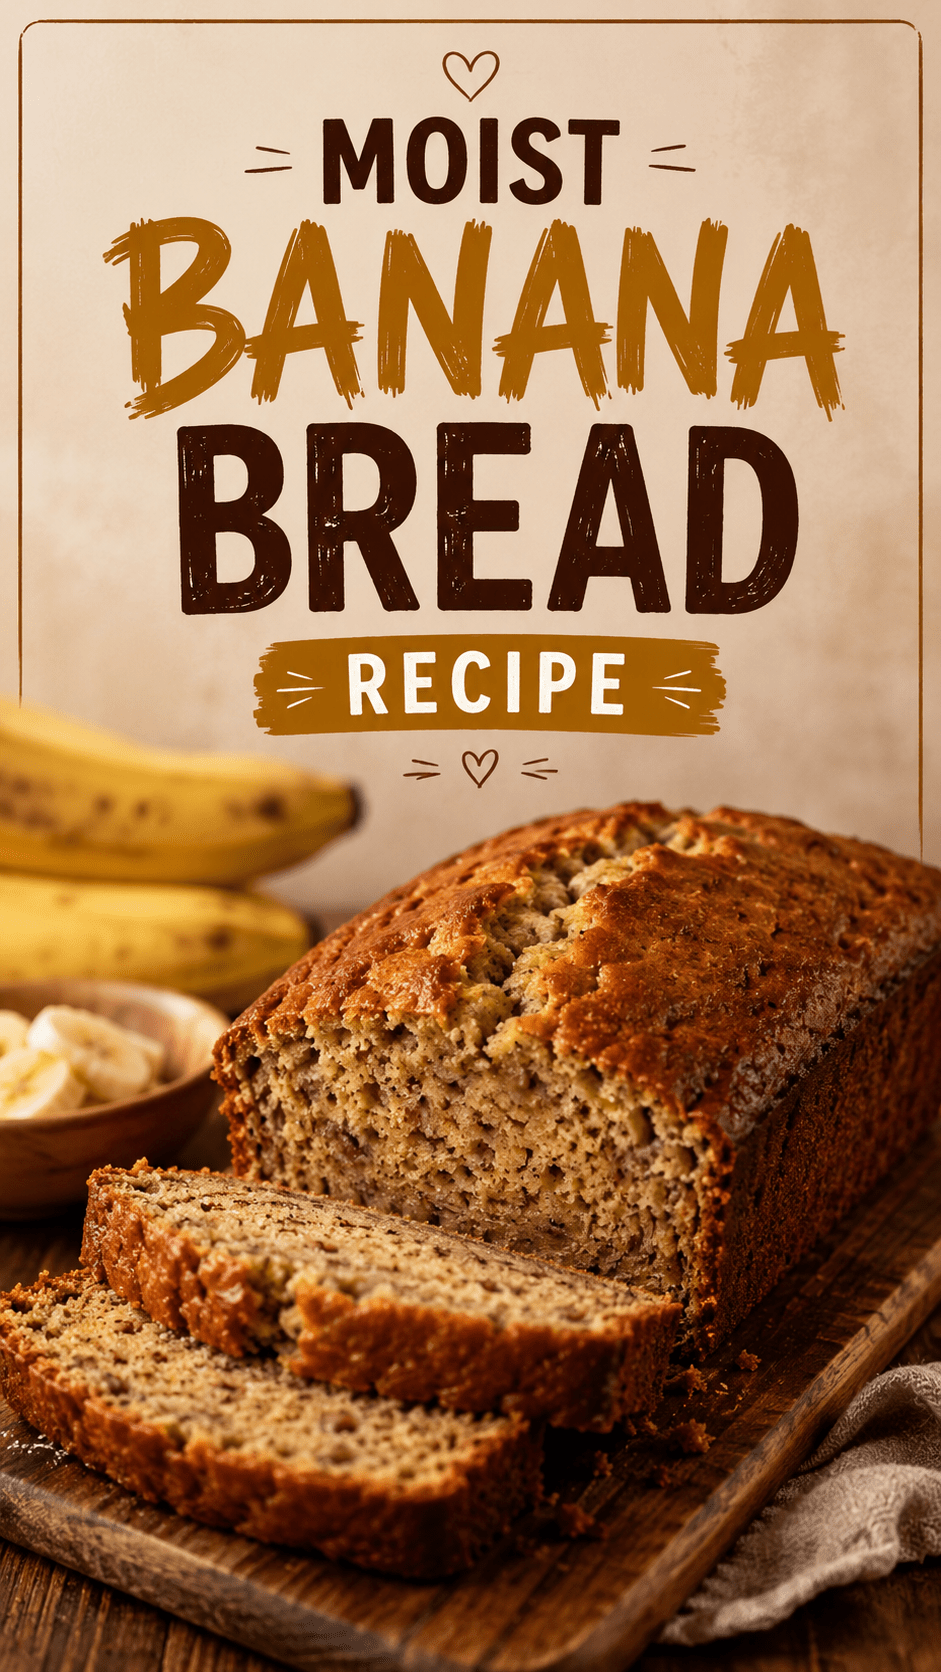
I left a loaf of this on the counter to cool and walked away for ten minutes.
When I came back, half of it was gone. My husband swears he “only had a slice.”
That’s the kind of banana bread we’re talking about here. Moist, dense in the right way, and dangerous to leave unattended.
I’ve made a lot of banana bread over the years. Some came out dry. Some sank in the middle. This version fixed all of that, and it’s become the one I actually keep making on repeat.
So if you’ve got browning bananas sitting on your counter right now, good. That’s exactly what you need.
What You’ll Need
Here’s everything to grab before you start:
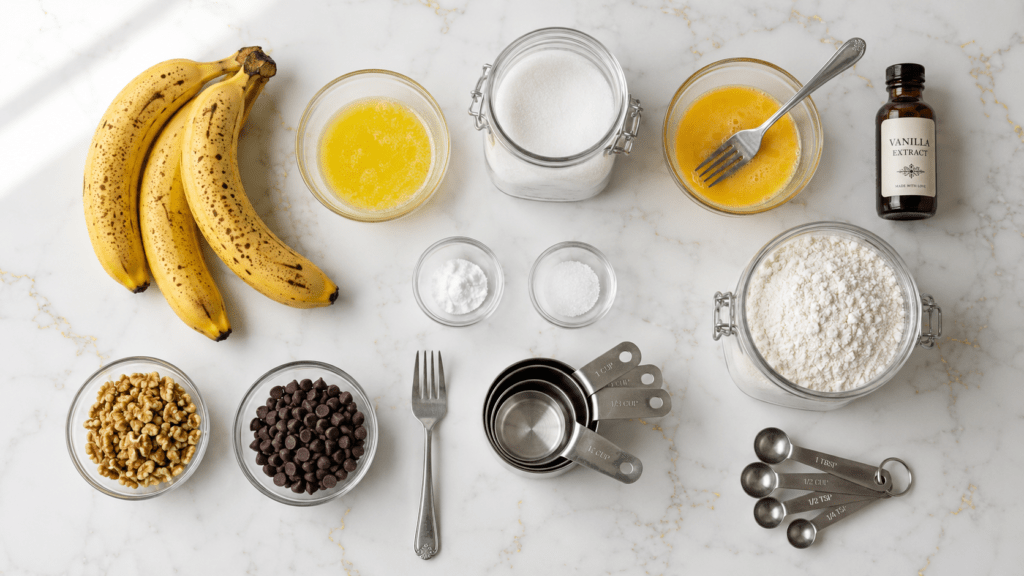
- 3 large ripe bananas (the spottier, the better)
- 1/3 cup melted butter
- 3/4 cup sugar
- 1 large egg, beaten
- 1 teaspoon vanilla extract
- 1 teaspoon baking soda
- A pinch of salt
- 1 1/2 cups all-purpose flour
- Optional: 1/2 cup chopped walnuts or chocolate chips
That’s it. Nothing fancy, nothing you have to special-order.
Tools You’ll Need
- 1 large mixing bowl
- A fork or potato masher (for the bananas)
- Measuring cups and spoons
- A 9×5 inch loaf pan
- Parchment paper (optional, but it saves you a headache later)
- A toothpick or skewer for testing
Pro Tips
These are the little things that genuinely change the outcome:
1. Use bananas that are almost too far gone. If they’re black and slightly mushy, you’re in the perfect spot. Yellow bananas just won’t give you the same depth of flavor.
2. Don’t overmix the batter. Once the flour goes in, stir just until it’s combined. Overmixing builds gluten, and that’s what gives you a tough, rubbery loaf instead of a tender one.
3. Melt the butter, don’t soften it. Melted butter blends into the banana mixture more evenly and it’s part of why this loaf stays so moist.
4. Line your pan with parchment paper. Banana bread can stick stubbornly to the sides, and the last thing you want is to lose half your loaf trying to get it out.
5. Let it cool before slicing. I know it’s tempting to cut in right away. But a few minutes of patience keeps the slices from crumbling apart.
Instructions
- Preheat your oven to 350°F (175°C). Grease your loaf pan or line it with parchment paper.
- In a large bowl, mash the bananas with a fork until mostly smooth. A few small lumps are fine.
- Stir the melted butter into the mashed bananas.
- Mix in the sugar, beaten egg, and vanilla extract until everything is combined.
- Sprinkle the baking soda and salt over the mixture and stir it in.
- Add the flour and gently fold it in. Stop as soon as you don’t see dry streaks anymore.
- If you’re using walnuts or chocolate chips, fold those in last.
- Pour the batter into your prepared loaf pan and smooth the top.
- Bake for 55 to 65 minutes. Start checking around the 50-minute mark.
- Insert a toothpick into the center. If it comes out clean or with just a few moist crumbs, it’s done.
- Let the loaf cool in the pan for about 10 minutes, then move it to a wire rack to finish cooling.
That’s genuinely the whole process. Nothing complicated, no equipment you don’t already own.
Substitutions and Variations
This recipe is forgiving, so play around with it:
| Original | Swap | Why it works |
|---|---|---|
| All-purpose flour | Whole wheat flour | Adds a slightly nutty flavor, denser texture |
| Sugar | Brown sugar | Deeper, almost caramel-like flavor |
| Butter | Coconut oil | Dairy-free option, subtle coconut hint |
| Egg | Flax egg (1 tbsp flax + 3 tbsp water) | Works for egg-free baking |
| Walnuts | Pecans or no nuts at all | Personal preference, no real impact on texture |
You can also stir in a teaspoon of cinnamon, a handful of shredded coconut, or some chopped dried fruit if you want to switch things up.
Make Ahead Tips
You can mash your bananas and store them in the fridge for up to two days before baking.
You can also mix the dry ingredients (flour, baking soda, salt) ahead of time and keep them in a sealed container on the counter.
If you want to go further, the unbaked batter can sit in the fridge overnight, covered tightly. Just bring it closer to room temperature before baking so it cooks evenly.
A Quick Note on Texture
If your banana bread has ever come out dry, it’s almost always one of two things: too much flour, or it baked too long.
Spoon your flour into the measuring cup instead of scooping directly from the bag. Scooping packs in extra flour without you realizing it, and that small difference is enough to throw off the whole loaf.
Nutritional Breakdown (Per Slice, Based on 10 Slices)
- Calories: roughly 210
- Carbohydrates: 32g
- Sugar: 16g
- Fat: 8g
- Protein: 3g
These numbers shift depending on whether you add nuts or chocolate chips, so treat this as a general guide rather than an exact science.
Pairing Suggestions
This loaf works well with:
- A warm cup of coffee or chai in the morning
- A scoop of vanilla ice cream if you’re serving it as dessert
- A spread of peanut butter for an afternoon snack
- Fresh berries on the side for a little brightness
Leftovers and Storage
Banana bread actually gets better the day after baking, once the flavors settle.
- Room temperature: Store in an airtight container for up to 3 days.
- Refrigerator: Wrap tightly and it’ll keep for about a week.
- Freezer: Slice it first, then freeze individual pieces wrapped in plastic. They’ll keep for up to 3 months and thaw quickly on the counter.
A toaster oven works great for warming up a frozen slice if you want that fresh-baked feel again.
FAQ
Why did my banana bread sink in the middle? This usually happens from underbaking or opening the oven door too early. Give it the full bake time and resist peeking until close to the end.
Can I use frozen bananas? Yes. Thaw them first and drain off any excess liquid before mashing, or your batter will be too wet.
Why is my loaf dense instead of fluffy? A small amount of density is normal for banana bread, that’s part of its charm. But if it feels more like a brick, it’s likely overmixed batter or too much flour.
Can I double this recipe? You can, but bake it in two separate pans rather than one larger one. A single oversized loaf won’t cook evenly in the middle.
Do I need a stand mixer for this? Not at all. A fork and a bowl are genuinely all you need.
Wrapping Up
This is one of those recipes you make once and then keep coming back to every time bananas start going brown on your counter.
It’s simple, it’s quick, and it disappears fast once people in your house catch the smell.
Give it a try this week, and let me know in the comments how yours turned out. If you made any swaps or added your own twist, I’d genuinely love to hear about it. 🍌