I used to spend $14 on a tiny bottle of elderberry syrup every October like it was nothing.
Then I found out it takes about 10 minutes of actual hands-on work to make at home. For a fraction of the price. And it tastes so much better.
So now I make a big batch every fall and just keep it in the fridge until it’s gone.
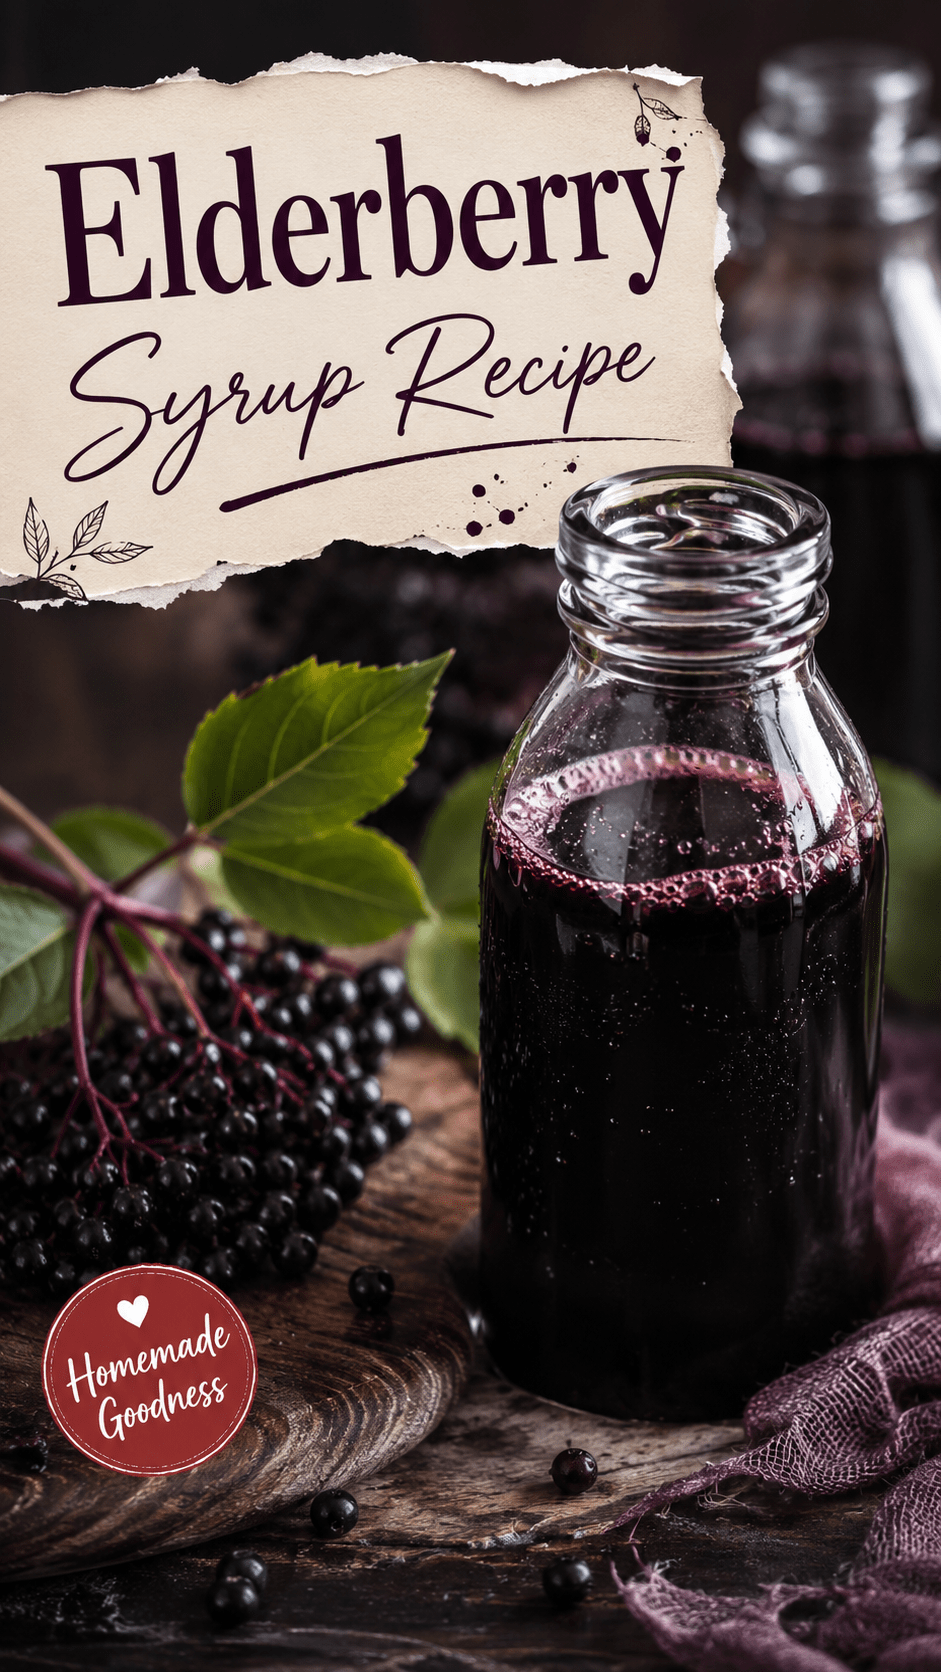
It’s dark, syrupy, a little tart, a little sweet, and honestly kind of addictive on its own. My kids ask for “the purple medicine” by name, which still cracks me up.
If you’ve never made it before, don’t stress. This is one of those recipes that looks fancy but is almost impossible to mess up.
Side Note: If you’re building out your cold season lineup, this pairs really well with a good herbal tea rotation too.
What You’ll Need
Here’s everything going into the pot. Nothing exotic, I promise.
| Ingredient | Amount |
|---|---|
| Dried elderberries | 1 cup |
| Water | 4 cups |
| Fresh ginger, sliced | 1-inch piece |
| Cinnamon stick | 1 |
| Whole cloves | 4 |
| Raw honey | 1 cup |
| Lemon juice (optional) | 1 tablespoon |
A couple quick notes on ingredients:
- Dried elderberries only. Fresh or raw elderberries (and the leaves, stems, and seeds) aren’t safe to eat raw, so don’t go picking berries off a random bush in your yard for this.
- Raw honey goes in at the end, off heat, so it stays raw. If you cook it, you lose some of the good stuff honey is known for.
- Cinnamon and cloves are optional but they add this warm, almost mulled-wine kind of flavor that I really love.
Tools You’ll Need
- Medium saucepan
- Fine mesh strainer or cheesecloth
- Wooden spoon
- Funnel (makes bottling way less messy)
- Glass bottle or jar with a tight lid
Pro Tips
A few things I’ve learned after making this more times than I can count:
- Don’t rush the simmer. You want a low, gentle simmer for a solid 45 minutes to an hour, not a rolling boil. This is what pulls all the flavor and color out of the berries.
- Mash the berries before straining. Once they’ve simmered down and gone soft, press them against the side of the pot with your spoon. You’ll get so much more juice out of them.
- Let it cool before adding the honey. If the liquid is still hot, wait until it’s warm (not hot) before stirring in the honey. Too much heat kills the raw honey benefits.
- Taste before you bottle it. Depending on your berries, some batches come out more tart than others. A little extra honey or a squeeze of lemon can balance it right out.
- Buy elderberries in bulk if you make this often. It’s way cheaper per batch, and dried elderberries keep for ages in a sealed container.
How to Make Elderberry Syrup
Step 1: Combine everything except the honey. Add the elderberries, water, ginger, cinnamon stick, and cloves to your saucepan.
Step 2: Bring it to a boil, then drop to a simmer. Once it hits a boil, turn the heat down low and let it simmer uncovered for 45 minutes to an hour. The liquid should reduce by almost half.
Step 3: Mash the berries. Once it’s done simmering, use your spoon to mash the softened berries against the side of the pot. This helps release even more flavor.
Step 4: Strain it. Pour the mixture through a fine mesh strainer or cheesecloth into a bowl. Press on the solids to squeeze out every last drop, then toss what’s left in the strainer.
Step 5: Let it cool slightly. Give it about 10 to 15 minutes until it’s warm instead of hot.
Step 6: Stir in the honey. Add the honey (and lemon juice, if using) and stir until it’s fully dissolved.
Step 7: Bottle it up. Use a funnel to pour the syrup into a clean glass bottle or jar. Store it in the fridge.
Substitutions and Variations
| Original | Swap | Notes |
|---|---|---|
| Raw honey | Maple syrup | Good for a vegan version, though raw honey has more research behind it |
| Cinnamon stick | Ground cinnamon (½ tsp) | Slightly cloudier syrup, but works in a pinch |
| Fresh ginger | Ground ginger (½ tsp) | Less punchy, but fine if that’s what you have |
| Water | Half water, half orange juice | Adds a citrusy sweetness, reduce honey slightly |
| Whole cloves | Star anise (1 pod) | A different but equally cozy flavor direction |
Make Ahead Tips
This syrup is basically made to be made ahead, which is half the reason I love it.
- It keeps in the fridge for 2 to 3 months in a sealed glass bottle.
- You can also freeze it in ice cube trays, then pop out a cube or two whenever you need it. It thaws fast.
- Double or triple the batch during elderberry season (usually late summer through fall) so you’re stocked for months.
Nutritional Breakdown (Per Tablespoon)
| Nutrient | Amount |
|---|---|
| Calories | ~25 |
| Total Sugars | 6g |
| Vitamin C | 3% DV |
| Antioxidants | High (anthocyanins) |
| Fat | 0g |
Keep in mind this is an approximation since it depends on your exact honey and berry ratios.
Leftovers and Storage
- Store in an airtight glass bottle or jar in the fridge, not the pantry.
- Give it a shake or stir before each use since natural separation happens.
- If it starts smelling off or looks fuzzy on top, toss it. Better safe than sorry with anything homemade.
- I like using a small dark glass bottle since it helps the syrup last a bit longer.
FAQ
Can I use fresh elderberries instead of dried? Not raw, no. Fresh elderberries need to be fully cooked to be safe, and most home cooks find dried berries way easier to source and use consistently.
How much should I take, and how often? This is one of those “everybody’s different” situations, so it’s worth checking with your doctor, especially for kids, if you’re pregnant, or if you’re on medication. I’m sharing my recipe here, not medical advice.
Why is my syrup thinner than store-bought? Homemade syrup is naturally a bit thinner since it doesn’t have thickeners or preservatives. It’ll thicken slightly once it’s fully chilled.
Can I make this alcohol-free elderberry syrup shelf stable? Not really, no. Without alcohol as a preservative, this needs to stay refrigerated and used within a few months.
Is elderberry syrup safe for kids? Many families do give it to kids, but please check with your pediatrician first, especially for babies under one due to the honey.
Wrapping Up
Honestly, once you make this yourself, it’s really hard to go back to the store-bought stuff.
It’s cheaper, it tastes better, and there’s something kind of satisfying about having a little jar of it in your fridge all season long.
Give this one a try and let me know in the comments how yours turned out. And if you tweaked it with a different spice or sweetener, I’d genuinely love to hear about it.