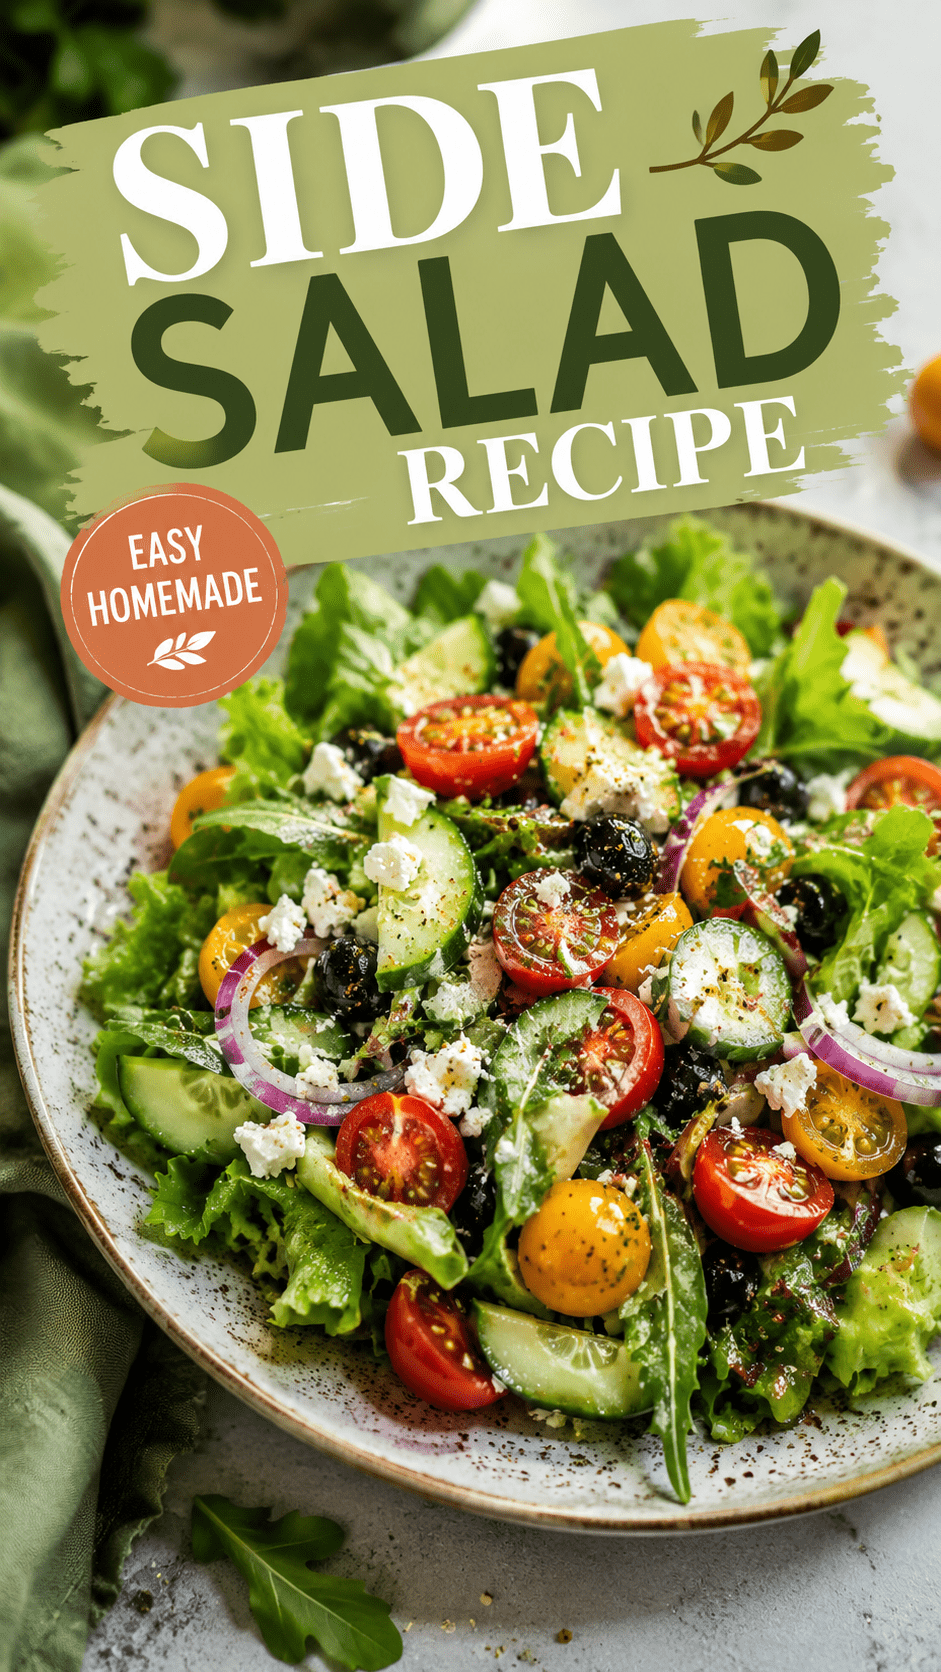
Silas came downstairs last week, opened the fridge, looked at the produce drawer, and said “so we’re having the salad tonight” before I’d even said a word.
That’s how often this one shows up at our table. 🥗
It’s not fancy. It’s not trying to be the star of the show. But it’s the side dish that makes everything else on the plate taste better, and somehow it never gets boring.
I’ve made about a hundred versions of a garden salad over the years. Some had too much dressing. Some were just sad, wilted lettuce with a tomato slapped on top out of guilt.
This one is the version that stuck. It’s crisp, it’s fresh, and it comes together in the time it takes your main dish to finish cooking.
Let’s get into it.
What You’ll Need
| Ingredient | Amount |
|---|---|
| Mixed greens (romaine, butter lettuce, spinach, or a spring mix) | 6 cups |
| Cherry tomatoes, halved | 1 cup |
| English cucumber, sliced | 1 cup |
| Red onion, thinly sliced | 1/4 cup |
| Carrot, shredded | 1/2 cup |
| Bell pepper, diced | 1/2 cup |
| Feta cheese, crumbled (optional) | 1/3 cup |
| Olive oil | 3 tbsp |
| Red wine vinegar or lemon juice | 1 tbsp |
| Dijon mustard | 1 tsp |
| Honey | 1 tsp |
| Salt and pepper | To taste |
That’s it. Nothing here needs a special trip to a fancy grocery store.
Tools You’ll Need
- Large salad bowl
- Small jar or bowl for the dressing (a jar with a lid makes shaking it up so much easier)
- Cutting board and sharp knife
- Salad spinner (not required, but it saves you from soggy greens)
Pro Tips From My Kitchen
I’ve made enough salads to know exactly where people go wrong, so here’s what actually matters.
- Dry your greens completely. Wet lettuce means watered down dressing that just slides right off. A salad spinner is worth the counter space, I promise.
- Salt your cucumbers first. Lay the slices on a paper towel, sprinkle with a little salt, and let them sit for 5 minutes before adding them in. It pulls out extra water so your salad doesn’t get soggy.
- Dress it right before serving. Not 20 minutes before. Not while you’re still cooking the main course. Toss it right before you sit down and every bite stays crisp.
- Cut everything roughly the same size. It sounds small, but it makes every forkful actually balanced instead of all lettuce or all tomato.
- Taste your dressing before it goes on the salad. A spoon dipped straight into the jar tells you everything. Too sharp? Add a touch more honey. Too flat? A pinch more salt.
How to Make It
Step 1: Wash and dry the greens. Rinse your greens under cold water, then dry them completely using a salad spinner or clean kitchen towel.
Step 2: Prep your vegetables. Halve the cherry tomatoes, slice the cucumber, thinly slice the red onion, shred the carrot, and dice the bell pepper.
Step 3: Make the dressing. In a small jar, combine the olive oil, vinegar (or lemon juice), Dijon mustard, honey, salt, and pepper. Put the lid on and shake until it’s fully combined.
Step 4: Assemble the salad. Add the greens to your large bowl first, then layer the tomatoes, cucumber, onion, carrot, and bell pepper on top.
Step 5: Add the feta. Sprinkle the crumbled feta over the top if you’re using it.
Step 6: Dress and toss. Pour the dressing over the salad right before serving, then toss gently until everything is coated.
Step 7: Serve immediately. Serve right away while the greens are still crisp and cold.
Substitutions and Variations
| Swap This | For This |
|---|---|
| Feta | Goat cheese, parmesan, or leave it out for dairy-free |
| Red wine vinegar | Apple cider vinegar or balsamic |
| Honey | Maple syrup for a vegan version |
| Cherry tomatoes | Grape tomatoes or diced regular tomatoes |
| Mixed greens | Kale (massaged first) or arugula for more bite |
| Feta + olive oil | Add sliced avocado for extra creaminess |
Want to turn it into a full meal? Add grilled chicken, chickpeas, or hard boiled eggs and you’ve got lunch.
Make Ahead Tips
You can prep the components ahead of time, just don’t combine them until you’re ready to eat.
- Wash and dry your greens up to 3 days ahead. Store them in a container lined with a paper towel to soak up extra moisture.
- Chop the vegetables and store them in a separate airtight container for up to 2 days.
- Make the dressing up to a week ahead and keep it in the fridge in that same jar.
- Assemble everything right before serving so nothing gets soggy.
Estimated Nutritional Breakdown
These numbers are estimates only, not lab tested values. They’ll shift depending on your exact ingredients and portion sizes.
| Nutrient | Per Serving (about 1.5 cups) |
|---|---|
| Calories | 140 |
| Protein | 4g |
| Carbohydrates | 9g |
| Fat | 10g |
| Fiber | 2g |
Meal Pairings
This salad plays well with almost anything, but here are a few of our go to combos at home.
- Grilled chicken or salmon
- A big bowl of pasta on a night we want something lighter alongside it
- Roasted potatoes and a protein for a simple weeknight dinner
- Soup and salad for a cozy, lighter meal
Leftovers and Storage
If you have dressed leftovers, eat them the next day. They won’t be as crisp, but they’re still fine.
Undressed salad keeps much better. Store the greens and chopped vegetables separately in airtight containers in the fridge for up to 3 days, then just toss with dressing when you’re ready to eat.
I don’t recommend freezing this one. Fresh greens just don’t bounce back after freezing.
FAQ
Can I make this salad the night before? You can prep all the ingredients the night before, just store the greens and vegetables separately and dress right before serving.
What’s the best way to keep the greens from wilting? Dry them completely before storing and don’t add dressing until the last minute.
Can I use bagged salad mix instead of fresh greens? Yes, a bagged mix works great here and saves you a step. Just give it a rinse if the bag isn’t pre-washed.
Is this salad gluten free? Yes, every ingredient in this recipe is naturally gluten free.
Can I add protein to make it a meal? Grilled chicken, shrimp, chickpeas, or a hard boiled egg all work well here.
Wrapping Up
This is the kind of recipe that earns its spot in your regular rotation without ever asking for much attention.
It’s simple, it’s fast, and it makes whatever you’re serving it next to taste even better.
Give it a try this week and let me know in the comments how it turned out for you. If you made any fun swaps or added your own twist, I’d love to hear about it too.